 Skip to content
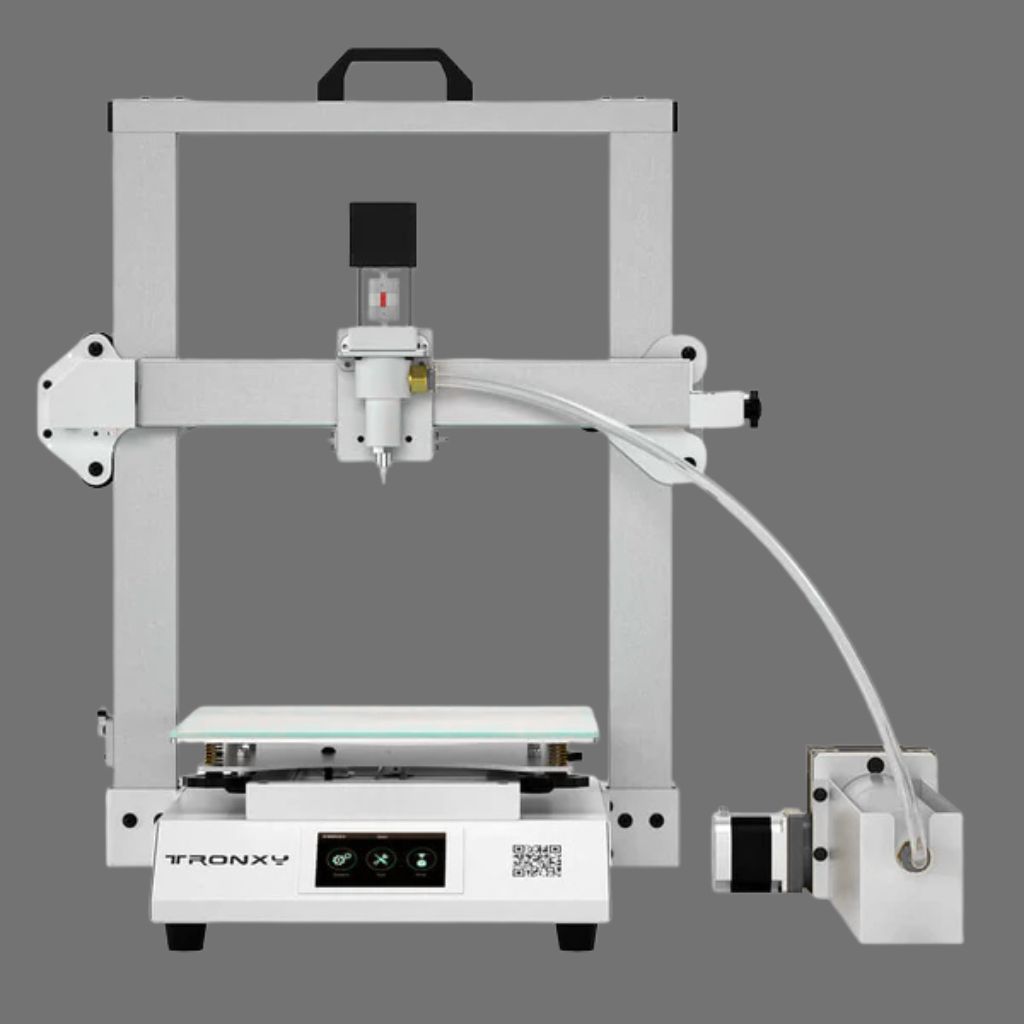
The Tronxy Moore 2 Pro Clay 3D Printer key to successful ceramic 3D printing is mastering the clay’s viscosity (or consistency). Clay must be fluid enough to extrude but stiff enough to support its own weight. Since the Tronxy Moore 2 Pro uses a precise screw-based electric extruder, consistent viscosity is paramount for avoiding clogs and structural collapse.
Traditional Methods Adapted for LDM
Instead of subjective feel, potters and researchers use quantifiable tests to determine the ideal stiffness:
- The Drop Spike Test (Penetrometer Test): This is a widely adopted, simple, and effective method.
- Procedure: A specialized spike (or sometimes a blunt pencil/rod) of a known weight and dimension is dropped from a set height onto a prepared clay sample.
- Measurement: The depth the spike penetrates the clay indicates its stiffness. Less penetration means stiffer clay (less water), while deeper penetration means softer clay (more water).
- Goal: Users aim for a specific, repeatable penetration depth that corresponds to successful prints on their specific printer setup.
- The Syringe Extrusion Force Test: This method is more directly related to the pressure generated by the Moore 2 Pro’s screw mechanism.
- Procedure: A sample of clay is placed into a large syringe, which is then inverted and pressed down onto a kitchen scale.
- Measurement: The scale measures the force (in Newtons or kilograms) required to start the clay flowing out of the syringe tip.
- Goal: This provides a measurable yield stress value. A lower force is required for softer clay; a higher, consistent force identifies the ideal print-ready viscosity.
Practical Tips for Moore 2 Pro Users
- Consistency Over Type: Different clay bodies (porcelain, stoneware, earthenware) require different water content for the same stiffness. Once you find the optimal viscosity for your clay, measure and record its Specific Gravity (weight per volume) as a repeatable reference point.
- De-Airation is Crucial: Regardless of viscosity, air bubbles will cause extrusion gaps. Thoroughly mix the clay and press it firmly into the $500\text{ml}$ barrel, beating the bottom to force air to the surface.
- Slower is Safer: When in doubt, err on the side of slightly stiffer clay and slower print speeds ($10-20\text{mm/s}$), especially for tall objects, to allow lower layers time to stiffen slightly and bear the load.
