 Skip to content
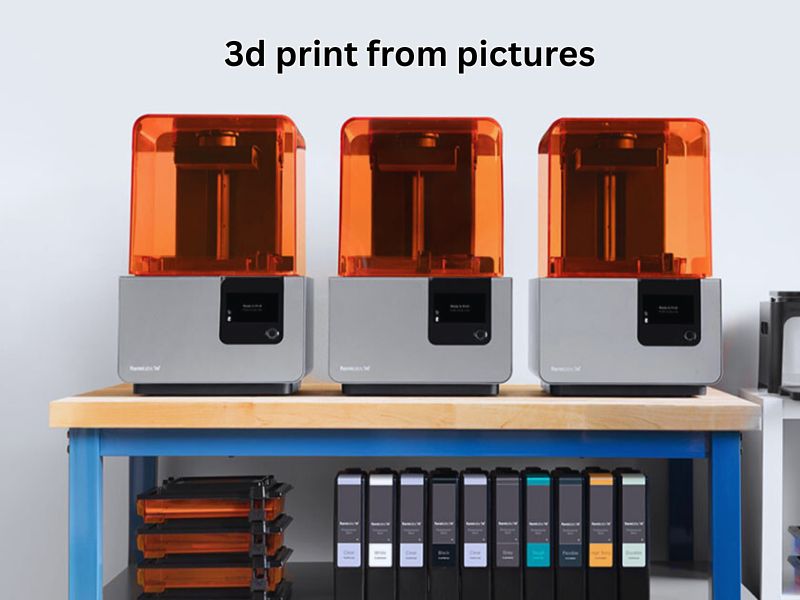
As a 3D printing expert with years of hands-on experience, I’ve seen how easy it’s become to 3D print from pictures. With the right tools and the best 3D printer for small business, anyone can turn a flat image into a real, useful object. Whether you’re creating custom gifts, educational tools, or product samples, converting photos into 3D designs is now simple and exciting. In this guide, I’ll show you how to bring your pictures to life using a 3D printer.
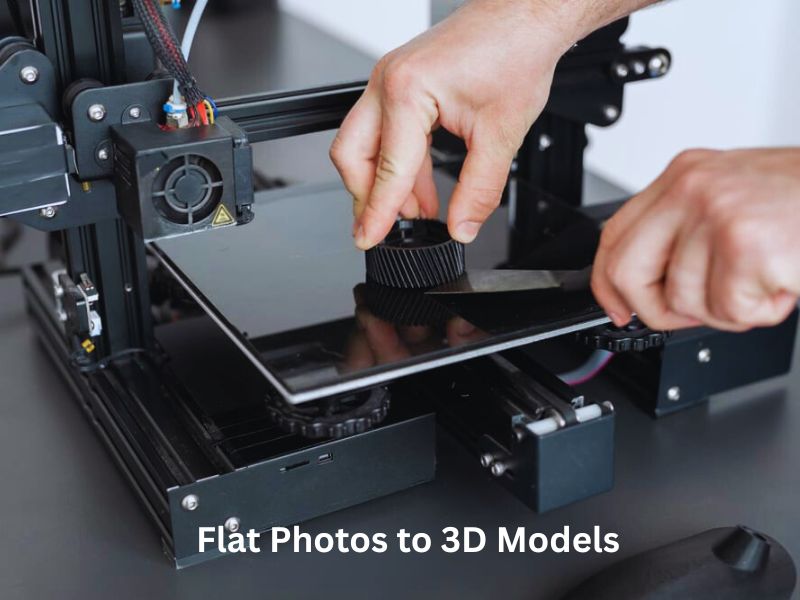
Understanding the Basics: From Flat Photos to 3D Models
What It Means to Convert a Photo into a 3D Model
Converting a 2D photo into a 3D model involves transforming a flat image into a three-dimensional object that can be viewed and interacted with from multiple angles. Using a 3D Picture Printer, this process adds depth, volume, and perspective to the original image, making it tangible and suitable for 3D printing.
The transformation begins by analyzing the photo to extract depth information and spatial relationships. Advanced algorithms and AI tools then 3D print from pictures, reconstructing the image into a 3D mesh that captures intricate details and textures. This model can be further refined using 3D modeling software to ensure accuracy and readiness for printing.
Why People Want to Turn Pictures into 3D Models
Personal Keepsakes Like Family Portraits or Pet Photos
Many individuals seek to preserve cherished memories by converting family portraits or pet photos into 3D models. This transformation allows for the creation of personalized keepsakes, such as figurines or busts, that serve as lasting reminders of loved ones. These custom 3D prints make for meaningful gifts and home decor items.
Business Uses Like Making Custom Promotional Items
Businesses leverage 3D print from pictures to create custom promotional items that stand out. By converting logos, product designs, or event photos into 3D models, companies can produce unique merchandise, awards, or prototypes that enhance brand identity and engage customers. This approach adds a tangible dimension to marketing efforts.
Fun Home Projects or One-of-a-Kind Gift Ideas
For hobbyists and DIY enthusiasts, 3D print from pictures opens up a world of creative possibilities. Whether it’s crafting personalized gifts, creating custom home decor, or experimenting with new design ideas, the ability to transform images into 3D prints adds a fun and innovative aspect to home projects. This process encourages creativity and hands-on learning.
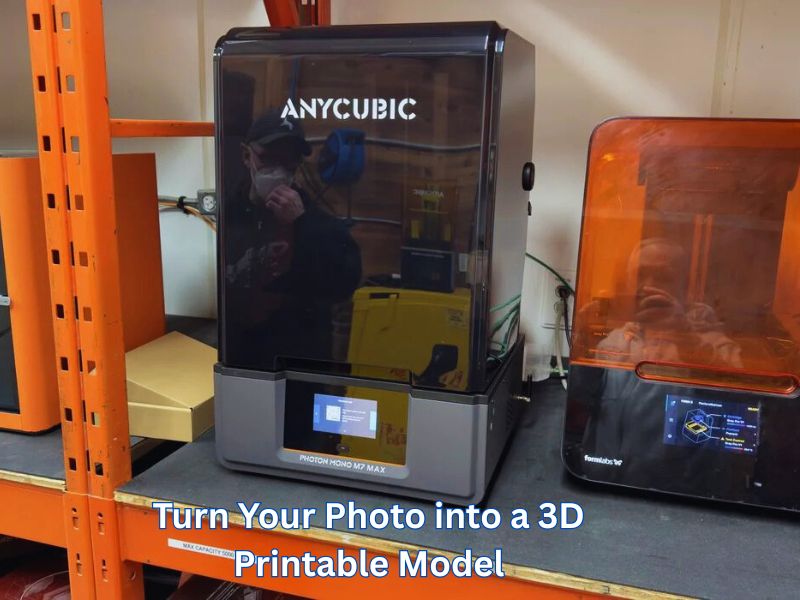
Step-by-Step Guide: How to Turn Your Photo into a 3D Printable Model
Step 1: Pick the Best Photo to Start With
- Choose a clear, sharp picture with strong contrast.
Select a high-resolution image with well-defined edges and good lighting. This ensures that the details are captured accurately when you 3D print from pictures. - Avoid messy backgrounds and poor lighting.
A cluttered background or uneven lighting can confuse the software, leading to inaccurate 3D models. - Front-facing images work best for beginners.
For portraits or objects, straight-on photos are easier to convert into 3D models, especially for those new to 3D printing.
Step 2: Decide on the Right Method for Converting the Photo
Easy Online Tools for Quick 3D Model Creation
- Great for beginners or quick personal projects.
Platforms allow users to upload a photo and automatically generate a 3D model. - No need to install anything or learn software.
These tools are web-based, making them accessible without additional software installations.
Photogrammetry Software for More Complex 3D Projects
- Use software that builds a model from several pictures.
Programs like Autodesk ReCap or Meshroom require multiple images taken from different angles to create a detailed 3D model. - Perfect for creating detailed models.
This method is ideal for objects with intricate textures or structures.
AI-Based Tools That Make Conversion Faster and Smoother
- These tools simplify the process by using innovative technology.
AI-driven platforms can quickly process images and generate 3D models, reducing manual effort. - Helpful for busy users or small businesses.
AI tools streamline the conversion process, saving time for entrepreneurs and professionals.
Step 3: Clean Up and Polish Your 3D Model
- Use editing tools to fix shapes and smooth surfaces.
Software like Blender or Meshmixer allows you to refine the model, removing imperfections and enhancing details. - Remove extra bits and make the design stronger.
Eliminate unnecessary elements and reinforce weak areas to ensure the model is structurally sound. - Ensure the model can be printed without errors.
Check for non-manifold edges or holes that could cause printing issues.
Step 4: Get Your Model Ready for the 3D Printer
- Export in printable formats like STL or OBJ.
These formats are widely accepted by most 3D printers and slicing software. - Resize the object for the printer bed.
Ensure the model fits within the dimensions of your 3D printer’s build area. - Check that the model is solid and not hollow.
A solid model is crucial for structural integrity during printing.
Step 5: Start Printing Your 3D Masterpiece
- Choose the right material for the object’s purpose.
Select materials like PLA for general use, ABS for durable items, or resin for high-detail prints. - Adjust printer settings like speed, height, and strength.
Fine-tune settings to balance print quality and time efficiency. - Watch the print to avoid failures or surprises.
Monitor the printing process to catch issues early and ensure a successful print.
Here’s a table summarizing the main points from your steps:
| Step | Main Action | Key Tips |
| Step 1: Pick the Best Photo | Choose a sharp, high-res image with strong contrast | Avoid messy backgrounds; front-facing photos work best |
| Step 2: Choose the Right Conversion Method | Use online tools, photogrammetry software, or AI-based tools | Online tools for quick projects, photogrammetry for detailed work, and AI tools for faster conversion |
| Step 3: Clean Up and Polish Your Model | Refine the model using editing software | Remove imperfections, fix weak areas, and check for errors like holes or non-manifold edges |
| Step 4: Prepare for 3D Printing | Export in STL/OBJ, resize for the printer bed | Ensure the model is solid and fits the printer bed dimensions |
| Step 5: Start Printing | Choose materials, adjust settings, and monitor print process | Use appropriate material, adjust settings for quality and speed, and keep an eye on the print |
This table briefly summarizes the key points for each step in turning photos into 3D prints.
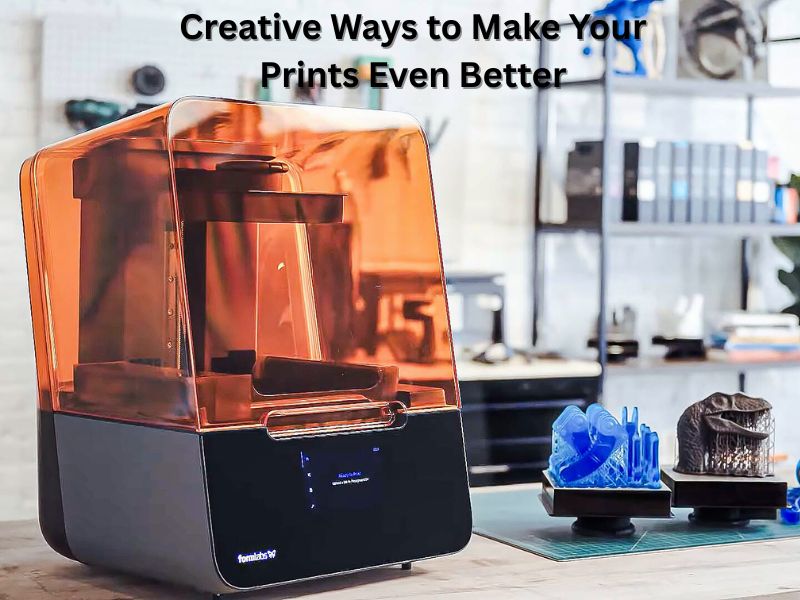
Take It Further: Creative Ways to Make Your Prints Even Better
Add Colors and Textures for a Realistic Look
Enhancing your 3D prints with colors and textures can significantly improve their appearance. Here’s how you can do it:
- Surface Effects for Style and Detail
Use modeling software to apply surface textures like bumps, grooves, or patterns. This adds depth and visual interest to your prints, making them look more realistic or artistic. It’s one of the easiest ways to enhance results when you 3d print from pictures. - Special Filaments for Unique Finishes
Try filaments with built-in effects, like wood-filled, marble, or silk PLA. These materials give your print a distinct feel without needing extra steps. - Post-Processing with Paint or Polish
After printing, you can sand your model smooth, apply primer, and paint it by hand. Use matte, glossy, or metallic finishes to achieve your desired style.
Use More Than One Photo to Build a Complete 3D Model
Using more than one photo helps create a fuller, more detailed 3D model:
- Combine Front and Side Views for Better Depth
Instead of relying on a single image, take pictures from several angles — front, side, and even top-down. This gives your software more information to build a better model. - Great for Statues or Full-Body Models
Multiple photos allow for better symmetry and lifelike proportions if you model a person or a detailed object. This method is ideal for busts, figurines, or realistic sculptures, particularly when you need to 3D print from pictures for more accurate results.
Unique Ideas Most People Don’t Think Of
Craft a Custom 3D Puzzle or Toy from a Family Photo
Turning a favorite family photo into a puzzle or toy is a creative way to preserve memories. It also makes a thoughtful gift or a fun project for kids and adults alike.
Step 1: Pick a Clear, High-Quality Photo
Start with a sharp image that has good lighting and contrast. A photo with a simple background and well-defined subjects works best for puzzle making.
Step 2: Convert the Photo into a Puzzle Layout
You can use free tools or design software to turn your photo into a block-style layout. This layout helps you break the photo into smaller shapes or pieces that can be turned into puzzle parts.
Step 3: Design Puzzle Pieces in a 3D Modeling Tool
Import your photo layout into a beginner-friendly 3D design program. Create the puzzle outline and add tabs or interlocking shapes to each piece. The software lets you control the size and shape to make it as easy or challenging as you want. It’s a fun way to 3D print from pictures and turn your memories into a custom puzzle.
Step 4: Export and Prepare for 3D Printing
Once your puzzle is designed, export the file and load it into slicing software. Adjust the print settings for strength and clarity, and ensure the puzzle fits your printer’s build size.
Step 5: Print, Test, and Enjoy
Print your puzzle, test how the pieces fit, and tweak the design if needed. You can paint the puzzle or keep the natural filament color for a sleek look.
Design Personalized 3D Wall Art That Pops
Photos can become more than flat prints—they can stand out as striking wall art with a 3D twist.
Step 1: Choose a Striking Image
Pick a photo with a single subject, like a face or building, and clear lines. Portraits, pets, or meaningful places make great choices.
Step 2: Turn the Image into a 3D-Ready Outline
Use a simple image-to-outline converter to create a silhouette or depth map. This will guide your 3D model so the image gets dimensions.
Step 3: Build the Wall Art in 3D Design Software
Use the outline to create raised surfaces and layers. You can control the depth of each part of the image. This gives your wall art a textured, pop-out look that adds style and meaning to any room.
Step 4: Prepare for Printing and Display
Slice your 3D model, then 3D print from pictures using your preferred filament. Choose a strong material for large displays. After printing, mount it on a frame or directly on the wall. You can also paint it to match your home’s colors.
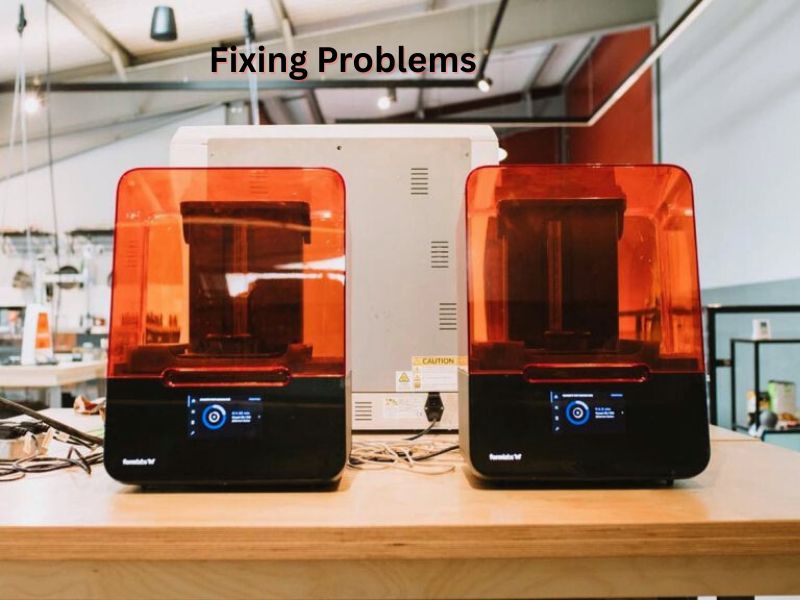
Fixing Problems: What to Do When Things Don’t Work
Your Image Looks Blurry, or the Model Isn’t Clear
Blurry or unclear 3D models usually come from low-quality images or incorrect settings during conversion.
- Use High-Resolution Photos: Choose sharp, well-lit pictures. Avoid low-resolution images that miss fine details.
- Adjust Exposure Before Processing: Images that are too dark or too bright can confuse the software and reduce model accuracy.
- Check the Slicer Settings. Some slicing tools might apply softening or smoothing effects. If clarity drops, turn those off.
Your 3D Model Has Holes or Unusual Shapes
Holes, distortions, or broken parts in your 3D model can stop it from printing correctly.
- Use Mesh Repair Tools: Most 3D modeling software includes features that detect and fix broken surfaces. Look for automatic repair or inspector tools.
- Try a Different Editor: If one tool doesn’t work well, another might. Use editing software with strong mesh-fixing options.
- Simplify the Geometry: Excessive detail can lead to modeling errors. Lowering the complexity helps clean up weird shapes.
The Print Doesn’t Come Out Right
If the printed object fails, is messy, or doesn’t match the model, try these steps:
- Level the Bed Properly: A tilted or uneven build plate can cause layers to shift or not stick. Level it before each print.
- Check First Layer Settings: Ensure the nozzle isn’t too high or too low. A strong first layer is key to good results.
- Clean the Build Plate: Dust, oil, or old glue can affect sticking. Wipe the surface clean before printing.
- Watch Room Conditions: Drafts, heat, or humidity can ruin a print. Try to print in a steady, closed environment.
Wrapping Up
Turning photos into 3D models is now within reach for hobbyists and small businesses alike. With tools like photogrammetry software, AI-based converters, and lithophane generators, you can 3D print from pictures and transform 2D images into tangible 3D prints. Whether you’re creating personalized gifts, educational tools, or product prototypes, the process has become more accessible than ever. By selecting high-quality images and utilizing the right software, you can bring your pictures to life in three dimensions. Embrace this technology to expand your creative possibilities and bring your ideas into the physical world.
Frequently Asked Questions
Can I 3D print from a single photograph?
Yes, you can. However, the quality of the result will be limited. A single photo is best for simple methods like creating a lithophane or a 3D relief model (an embossed design). For more realistic or detailed models (like a figurine or a bust), you should use multiple high-resolution photos taken from various angles (front, side, top) for a process called photogrammetry or use an AI-based tool that can infer the missing geometry.
What are the main methods for converting a 2D image into a 3D model?
There are four primary methods:
1. Lithophane Generation: (Easiest) Converts image contrast/brightness into thickness, creating a translucent panel that reveals the image when backlit.
2. 3D Relief/Embossed Model: Converts the image into grayscale, where the gray intensity determines the height or depth of the model’s surface.
3. Photogrammetry: (Most complex/detailed) Uses 20-100+ photos of an object taken from every angle to reconstruct the full 3D geometry mathematically.
4. AI-Based Generation: (Fastest) Uses advanced machine learning to analyze a single photo (or a few) and automatically generate the full 3D geometry and texture.
What file formats are used for 3D printing from a photo?
The industry standard for 3D printing is the STL (Stereolithography) file. It contains only the raw geometry (shape) of the object. If your model includes textures or color (which some newer 3D printers can use), you should use the OBJ or VRML/WRL file formats, as these can store color information alongside the geometry.
What does it mean for a 3D model to be “watertight,” and how do I fix errors?
A “watertight” or “solid” model means all surfaces (faces) of the model are connected and form a fully closed, enclosed volume, with no gaps or holes. If your model has errors like holes, non-manifold edges, or broken shapes, it will not slice correctly. You must use mesh repair tools in software like Meshmixer or MeshLab to automatically or manually close the gaps before slicing the file.
What is a lithophane, and what filament should I use to print one?
A lithophane is a thin, translucent 3D print where the image is visible when a light source is placed behind it. The different thicknesses of the plastic create the varying shades of the image. Best Filaments: Use white or light translucent PLA filament, as these materials diffuse the light most effectively to display the image clearly.
