
3D Printer DIY: 3D Printing is projected to grow at a compound annual growth rate (CAGR) of 24.61% between 2024 and 2030, underscoring its rapid growth and increasing significance. As a specialist with previous experience in 3D Printing and modeling, I know that DIY 3D printer projects are both interesting and practical—especially when utilizing the best 3D printer for small business setups.
You have the opportunity to stretch your imagination and offer an innovative machine when you build your own 3D printer. With the right tools and assistance, you can make a machine within your budget that does exactly what you want.
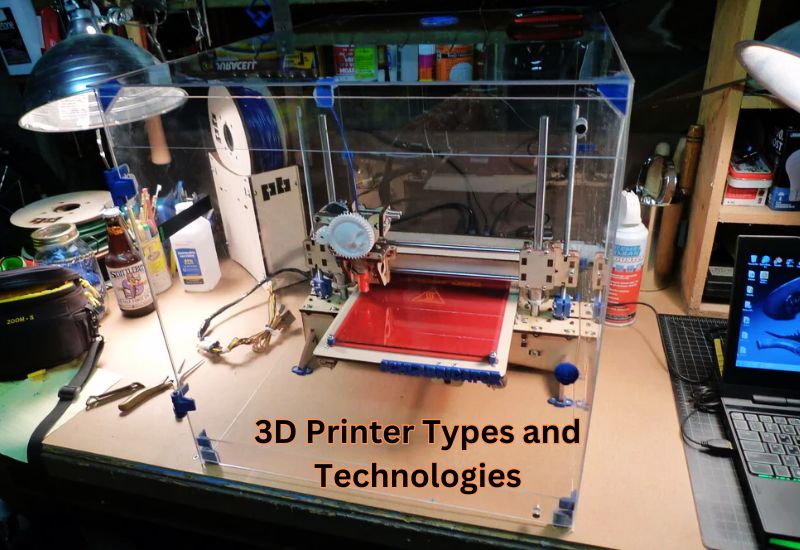
Understanding 3D Printer Types and Technologies
Fused Filament Fabrication (FFF) Basics
Understanding FFF Technology
The ease of use and versatility of fused filament fabrication (FFF) make it a standard technique for 3D printing. This method involves laminating heated thermoplastic material that solidifies on contact. During the printing process, plastic filament is fed continuously from a spool to a heated extruder nozzle. Using digital blueprints stored on a computer, the filament is then sprayed one layer at a time onto the surface.
Role of FFF in DIY 3D Printing
The ease of use and versatility of fused filament fabrication (FFF) make it a standard technique for 3D printing. This method involves laminating heated thermoplastic material that solidifies on contact. During the printing process, plastic filament is fed continuously from a spool to a heated extruder nozzle. Using digital blueprints stored on a computer, the filament is then sprayed one layer at a time onto the surface.
Key Components of FFF 3D Printers
- Extruder Head: The most crucial part of the FFF printer is the heating and extruding mechanism, which allows the object to be built layer by layer.
- Filament Spool: The quality of your print will depend on the filament you choose, as the spool feeds the filament into the extruder.
- Build Platform: In some cases, the base of the object should be rigid and heated so that it combines well and does not bend.
FFF printers function properly, aiming to provide high-quality, precise prints, making them a popular choice for DIY enthusiasts.
Other Popular 3D Printing Technologies
Simple Overview of SLA and SLS with DIY Possibilities
Stereolithography (SLA): The stereolithography process (SLA) and the selective laser sintering process (SLS) are ideal for individuals who prefer not to use conventional 3D printing methods.
SLA 3D Printing: This process utilizes ultraviolet light to solidify liquid resin. Using SLA, jewelry designers and dentists can create intricate and smooth prints. The resin used makes SLA difficult to work with, but hobbyists will appreciate its accuracy.
SLS 3D Printing: SLS enthusiasts can also try SLS, although handling powders requires care. It is easier to create intricate geometries without the need for supports.
SLA and SLS require more time, money, and expertise than printing, but the quality of the final product will certainly attract people.
Choosing the Right Printer Design for Your Needs
Choosing the right 3D printer depends on what you want to accomplish. Here are some simple tips:
1. Know the Printer Types
- FDM Printers: If you’re new to printing, these are great because they’re inexpensive and work well.
- SLA Printers: They are ideal for small, precise items that require very detailed prints.
- SLS Printers: In industries, they’re often used for solid and complex parts.
2. Consider Your Project Needs
Printing oversized items requires larger printers, and printing detailed items requires high precision.
3. Think About Your Experience
SLA or SLS printers are better suited to more experienced users, while FDM printers are easy to use for beginners.
4. Plan for the Future
Your printer should be versatile enough to grow with your project as it expands.
It’s essential to know your goals and understand the different types of printers so you can choose the right machine for your needs.

Essential Tools and Materials for 3D Printer DIY
Basic Tools Required for 3D Printer Assembly
3D printers arrive with a comprehensive set of basic tools to facilitate straightforward and efficient assembly. Here are some must-have items:
- After connecting the wires, the task requires screwdrivers and Hex Keys, as well as tightening the frame components.
- Pliers and tweezers are indispensable tools for grasping and bending wires, as well as manipulating tiny parts.
- Since hardware assembly involves a lot of measurement, Use Digital Calipers. It gets the job done right.
- I use a Utility Knife to cut any excess wrapping paper and trim the leftover parts during the process.
- A spatula or scraper makes it easier to separate the print from the print bed without harming it.
Sourcing Quality Materials
Here are a few suggestions that may help you select the best materials for your 3D printer.
- Frame Materials: Use strong materials such as aluminum extrusions when building the frame. These are lightweight and robust.
- Electronics: To ensure durability, choose well-known brand stepper motors, motherboards, and power supplies.
- Budget-Friendly Options: Buying in large quantities online is an effective way to reduce costs. Look for reliable online vendors that offer promotions and sales to reduce your costs further.
- Local Suppliers: Basic materials may be available at a reasonable cost at local hardware stores.
It is essential because it provides you with all the necessary tools and materials to build a high-quality 3D printer. Thus, you are ready to get started immediately.
Step-by-Step Guide on Building a 3D Printer
Designing Your Printer Framework
When constructing an efficient 3D printer, a strong framework should be established. Aluminum extrusions are ideal for this because they are both strong and lightweight. To ensure a printing fit that fits perfectly, ensure all contact points and components are correctly aligned.
They allow for the construction of a strong frame without weighing it down. This ensures that the print does not wobble, improving the quality.
Constructing the Motion System
In a 3D printer, the motion system determines how faithfully objects will be reproduced. Several configurations can be addressed:
- Linear Rails, Rods, and Carriage Setups: Linear rail systems offer the optimal movement for producing high-quality prints. Rods with bearings, on the other hand, can sag and require more support.
- CoreXY vs. Cartesian vs. Delta Configurations:
- The CoreXY configuration utilizes a belt path specifically designed for high-speed printing without sacrificing precision.
- For beginners, Cartesian coordinates are the most straightforward setup to handle.
- Traditional delta printers utilize triangular towers to execute vertical motions, resulting in impressive print layer speeds.
Assembly of the Extruder and Hotend
Direct-drive extruders, located on the print head, provide greater control over flexible filaments. Therefore, it is crucial to choose the right type of extruder for consistent filament flow. Bowden setups, on the other hand, are lighter in terms of moving components, which increases machine speed, but comes at the cost of some flexibility.
When installing heaters, consider heat transfer. Use nozzle sizes ranging from 0.2 mm for detailed work to 0.8 mm for fast printing. Ensure you fasten components tightly to minimize relative motion and fit the nozzle properly to your project.
Setting Up Electronics and Firmware
Efficient wiring and electronics setup are vital for your 3D printer’s performance:
- Wiring: Connect your components with flexible wires that can withstand high temperatures. Make sure the cables don’t contact moving parts, and the final product is spic and span.
- Installing the Motherboard: Install a motherboard with the requisite features, such as advanced motion control and multiple extruders. Verify the motherboard’s processing capabilities as well.
- Configuring Firmware: Firmware links design software and printers. When defining the printer in Marlin or Repetier, run through specific shifts, such as those required for accurate printing and movement. Specific settings must be adjusted for the firmware to work correctly with your printer.
With these upgrades, your existing 3D printers can be enhanced, allowing you to improve the quality of your work without any limitations.
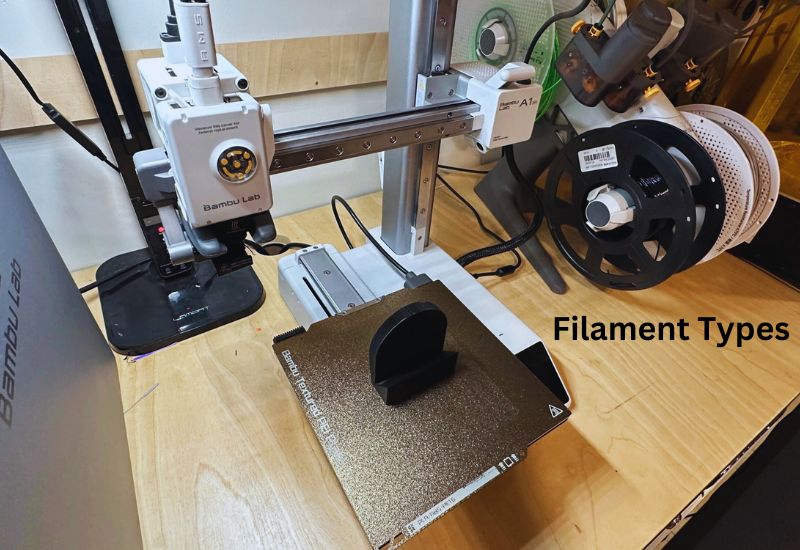
3D Printer DIY: Filament Types – Pros and Cons
For beginners, it is essential to choose the right filament. Here are some common filament types and the pros and cons for each:
| Filament Type | Pros | Cons |
| PLA (Polylactic Acid) | Easy to print, eco-friendly, no heated bed needed | It can be brittle, not for high-temperature use |
| ABS (Acrylonitrile Butadiene Styrene) | Durable, heat-resistant, great for functional prints | It needs a heated bed and emits fumes when printing |
| PETG (Polyethylene Terephthalate Glycol) | Tough, impact-resistant, excellent layer adhesion | Requires a heated bed, which may cause stringing |
Unique Considerations and Customizations
You can enhance your setup with a few notable modifications that can improve the performance of your 3D printer.
Innovative Cooling and Ventilation Solutions
The cooling process plays a crucial role in printing, preventing heat-related issues. Radial fans direct airflow more effectively in tight spaces, while axial fans can move large volumes of air in other situations. High-end power applications benefit more from water cooling, but users must handle it carefully to prevent leaks.
Advanced Calibration Techniques for Precision Printing
The calibration process ensures high-quality, consistent prints. First, level the print bed, either manually or automatically using sensors. E-steps control the filament flow, directly addressing common printing defects. Leveling the mesh bed compensates for uneven surfaces, enhancing print quality.
Exploring Dual Extrusion Options
Setting up dual extrusion requires adding another extruder and aligning it correctly. This creates more elaborate prints than those made using a single filament.
Whether you’re a hobbyist or a business, these simple customizations can significantly improve your printing.
Enhancing Your DIY 3D Printer Experience
Troubleshooting Common Issues
The benefits and fun of printing can be very frustrating. Failures are usually due to misplaced adjustments or incorrect parameters. Check your printer’s software configuration. Incorrect layer height and print speed can resolve problems. Damaged parts, such as nozzles, can also cause problems. If your printer has problems, consider replacing it periodically or adjusting it to the correct level.
Upgrading and Modifying Your Printer for Better Performance
If you replace the aluminum bed surface with PEI, your printer can be easily updated. This makes prints adhere well and release easily. To speed up printing, consider installing a bimetal heat break and a heater cartridge, or utilize a CHT nozzle. Making these changes can improve your projects and increase the printer’s capabilities.

Leveraging 3D Printing for DIY and Business Success
Exploring Business Opportunities with DIY 3D Printers
The possibilities of printing are numerous. With a DIY 3D printer, you can create unique items like jewelry or home decor. Custom products are also in demand. Making prototypes quickly can save you money, allowing you to experiment with concepts before going to full production. Another option is to provide 3D printing services. People need prints, but they don’t have the tools to make them.
How to Use Your DIY Printer for Product Creation and Prototyping
With determination and a focus on people’s needs, you can thrive in areas where Printing provides solutions. Using your printer for testing small batches allows for trial and error, enabling you to improve models efficiently without incurring significant costs.
Case Studies of Successful DIY 3D Printing Projects
The DIY 3D printing trend has experienced considerable success. A startup, for example, used its printer to make office supplies internally, which was cost-effective and helped it grow. In contrast, Chick has managed to carve out a niche by creating custom action figures based on his passion for the genre. As you can see, Printing has enabled people to innovate and succeed in many ways.
Joining Communities And Finding Resources
You can learn everything you need to know about DIY manufacturing from 3D Printing groups. These communities have experienced manufacturers, designers, and other innovators who are always willing to lend a hand.
| Community | Description |
| Thingiverse | A popular platform where makers share 3D printable designs. It offers a wide range of free and customizable 3D models. |
| Reddit 3D Printing | Forums such as Ultimaker Community, PrusaPrinters, and RepRap Forums facilitate knowledge exchange and problem-solving among users. |
| Online Forums | Printing communities such as Ultimaker Community, PrusaPrinters, and RepRap Forums facilitate knowledge exchange and problem-solving among users. |
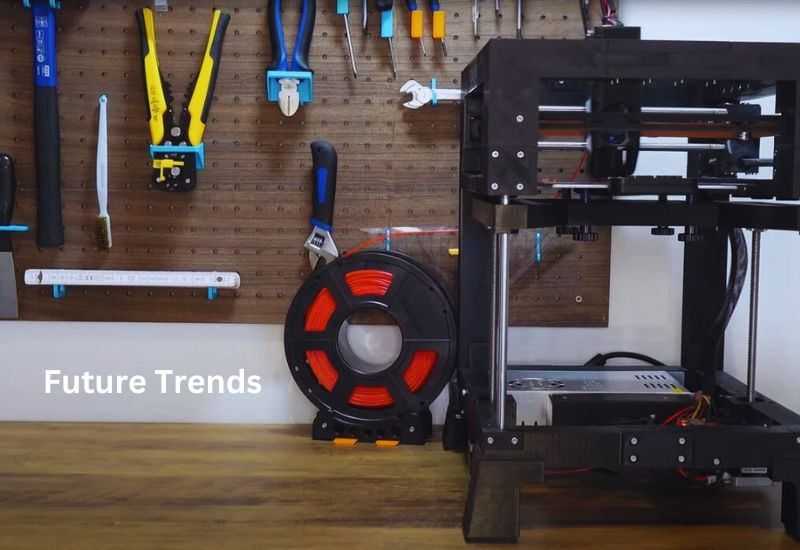
Future Trends in 3D Printer DIY Projects: Printing
3D printing is evolving rapidly as biomaterials and earth-based materials gain popularity. This makes printing greener and more cost-effective.
Thanks to increasingly adept and faster 3D printers, manufacturers can now produce many items more efficiently and at significantly lower costs.
With AI and machine learning, optimization settings can be refined, and errors can be minimized.
Companies can also adopt these changes to accelerate the prototyping process and reduce costs. We are all excited about the future of DIY 3D printing.
Wrapping Up
3D printer DIY projects are both fun and enlightening. Building your own printer is not just for fun but also for improving your business operations. With advances in both materials and technology, now is the perfect time to start your project. Get your concepts to life with Printing! The future is in your hands! There’s a world of possibilities waiting for you! Creativity knows no bounds!
FAQs
Is building a DIY printer worth it compared to buying pre-assembled?
Building your own 3D printer isn’t just about saving money; it’s a hands-on education in engineering, electronics, and coding. You’ll learn how stepper motors work, how to wire and configure a control board, and even how to optimize firmware settings. Building your own printer is ultimately more rewarding than purchasing a ready-made one. This is because, due to the nascent nature of 3D printing, the printer you buy will, most likely, malfunction, and you will need to repair it. If you have built it yourself, you should be able to identify and fix the problem easily.
Should I build from a kit or from scratch for my first 3D printer?
If you don’t already own a 3D printer, I would recommend getting a kit, simply because struggling with trivial things like parts not fitting together can take away the fun for many people. If you don’t have prior experience, it’s best to avoid building a 3D printer from scratch, as it can be pretty challenging, and I wouldn’t recommend it for beginners. I’d recommend buying a kit for your first printer and building your second, if for no other reason than you will probably want/need to print at least one part when you make your own, and if you don’t have a working printer…
How much time does it take to build a DIY 3D printer?
Most kits take between 1 and 5 days to complete, depending on the specific kit. For specific models, assembling the Ender 5 S1 only takes slightly longer than the Anycubic Kobra, at 1–2 hours, depending on the user’s experience. Depending on the complexity of your design and your familiarity with the components, the time required can range from a few days to several weeks.
What are the essential parts I need to build a 3D printer from scratch?
Building a DIY 3D printer requires assembling specific essential components. Below is a checklist of critical parts you’ll need for your project. Key elements include frame, stepper motors, control board, hot end, extruder, power supply, and heated bed. Lead screws and pulleys convert the rotational movement of a motor shaft into linear motion. Stepper motors are brushless DC motors that can move accurately without positional feedback.
Direct drive or Bowden extruder for DIY builds?
With both the extruder and hot end selected, all that is left is to connect them together. The obvious answer is a direct connection using the groove mount, but this means that the head must support the weight of the extruder and its motor. To overcome this, a Bowden system can be used, which places the extruder (and its motor) on the printer frame and feeds the hot end via a Bowden tube. While this reduces the amount of control over the filament, it allows the head acceleration to be increased, which in turn lowers print artifacts.
Why does my first layer not stick properly on my DIY printer?
Nozzle Height Adjustment: Fine-tune the nozzle height for optimal first-layer adhesion. Heated Bed and Adhesion Aids: Utilize a heated bed and consider using adhesion aids, such as hairspray or a glue stick, to enhance bed adhesion.
Which firmware should I use for my DIY 3D printer?
Marlin Firmware is one of the most popular open-source firmwares available for 3D printing. It is highly customizable. Many DIY builders also consider Klipper for its advanced features, such as input shaping.