 Skip to content
3d Printer Future: The future of 3D printing is promising. Estimates suggest the industry will grow to $24.8 billion by 2024. This growth provides unique opportunities for personal hobbyists and businesses to invest in technology.
A 3D printer can make anything from custom tools to finely detailed models. It’s more than just a fashion statement. It’s revolutionizing how products are designed. Whether you are an expert or just starting out, now is the perfect time to explore 3D printing.
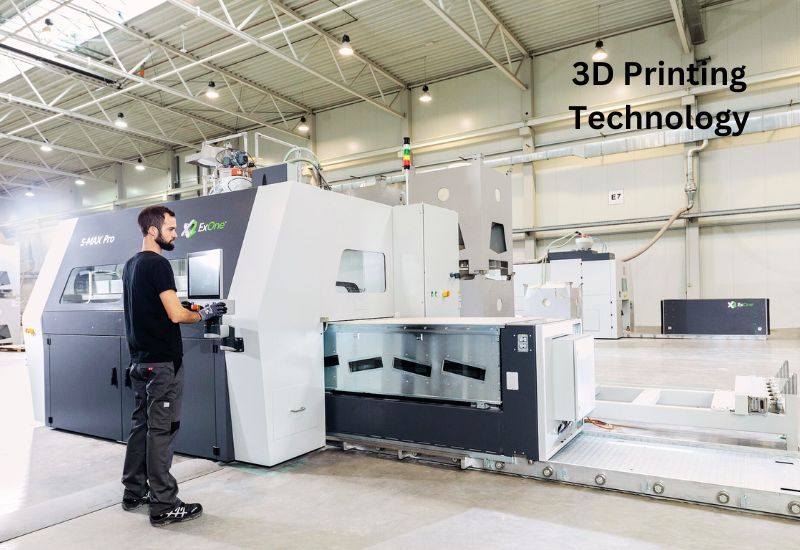
Key Trends in 3D Printing Technology
Rise of AI Integration in 3D Printing
It’s revolutionizing 3D printing because artificial intelligence makes it faster, easier, and better while improving quality. By using artificial intelligence, Printpal.io reduces errors in printing, resulting in fewer mistakes and improved downstream results.
It saves time searching for the right paper. With enough patience, even beginners can finish a fine project. The use of AI in 3D printing opens up new possibilities in furniture and industrial equipment. It also helps create intricate designs more rapidly—especially when paired with the best 3d printer for small business, making production faster and more cost-effective.
Sustainable and Eco-Friendly 3D Printing Practices
The advantages of 3D printing include the ability to produce fewer waste parts than other machining processes by building on top of what has already been constructed with a layer-by-layer strategy that consumes fewer resources.
3D printing uses sustainable materials such as PLA, which comes from corn and breaks down when exposed to the environment, reducing the carbon footprint.
Sulapac is a bio-based plastic that breaks down naturally. It can replace plastics without weakening them and can also be used in various 3D printers.
The use of such recycled materials would greatly reduce landfill strain, not only because it reduces the use of new resources but also because it reduces landfill strain.
Adopting these practices is also cost-effective, and they will benefit the planet and its people. 3D printing is a leading tool for sustainable manufacturing.
Expansion Beyond Plastics: New Material Innovations
3D printing extends beyond plastics with new bio-based filaments. PLA and bamboo are popular materials for environmentally friendly projects. They can be mixed with other fibers to create unique looks.
The aerospace, automotive, and other industries use metal printing powder to subvert practices. With the advent of 3D printing materials, the possibilities for creative and innovative design grow. Selective Laser Melting parts are durable and intricate.
Innovative Applications Across Industries
3D Printing in Construction and Architecture
Architecture and infrastructure alike are being revolutionized by 3D printing. It saves time and money. By using this method, less labor is required, and less material is wasted. Projects are completed in a matter of days rather than weeks.
The technology allows construction workers to create complex designs that are impossible to achieve with traditional methods. It can also be used to recycle concrete, an environmentally friendly material.
3D printing technology allows buildings to be constructed for less money and reduces their carbon footprint. Thus, it has a competitive potential for alleviating housing deficits. As more builders embrace 3D printing, it will become the future of construction.
Medical and Healthcare Advancements
3D printing is interestingly transforming healthcare. Surgeons can construct prosthetic bones that are tailored exactly to each individual’s limb structure. With 3D printers, personal healthcare devices are faster and more affordable than they used to be.
Doctors can scan a patient’s limb to create a computer-aided design. Then, they can print out the 3D model to create prosthetic limbs. Thanks to a 3D printer, prosthetic limbs can now be constructed in new ways. A prosthesis can be constructed with soft and hard parts to increase comfort and functionality.
Future organ donors will be less dependent on organ donors because 3D printing will make organs into solid objects on demand. It is a matter of safety measures and challenges for printed organs in this world where everyone has a unique identity. We are moving toward a new era of custom-made medicine.
Aerospace and Space Exploration
With 3D printers, we can now construct on the moon and on Mars, using local resources and minimizing the costs associated with transporting supplies from Earth.
3D printing service providers offer several advantages to space explorations. They use materials available at the site, making expeditions more efficient. By using 3D printing technology, astronauts can quickly create tools and elements, improving both safety and success. In the future, technology may allow us to colonize other planets.
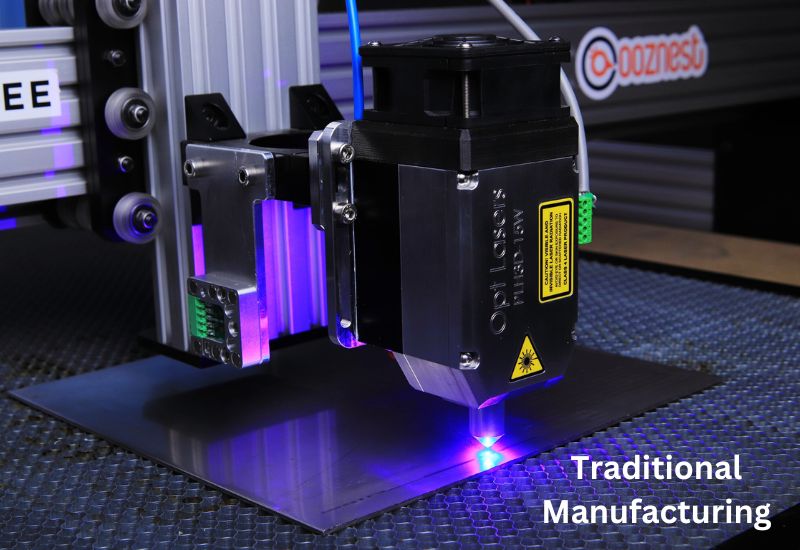
Integration with Traditional Manufacturing
Hybrid Manufacturing Techniques
Hybrid manufacturing combines the best of each method, using 3D printing, CNC machining, and injection molding. Because 3D printing works in an additive manner, complex geometry can be constructed. By combining CNC machining with 3D printing, intricate geometries are produced faster with little waste.
This method lowers production costs by eliminating the use of expensive dies and shortens the time it takes to make a 3D model for printing. In sectors such as aerospace and healthcare, hybrid techniques allow different materials to be incorporated into the same part.
Hybrid manufacturing makes it easier to make high-precision parts at a reasonable price by combining additive and subtractive methods, which present new challenges to manufacturers.
On-Demand Manufacturing and Supply Chain Innovations
On-demand manufacturing is indeed the revolution that changes the status quo in the ways we make things. By making everything locally, transportation costs are reduced, and carbon emissions are reduced. Only the items ordered are manufactured, thus reducing resource waste.
As a result, imports are reduced, and quite a few local jobs are created, leading to eco-innovation.
3D-printed products can be customized during the design process and can be produced quickly and inexpensively, which is another major benefit.
In today’s market, eco-friendliness and individualization are essential requirements. As a result, entrepreneurs are increasingly adopting this model, and the favorable effects are already being seen. It enables them to produce exactly what they need at the right time.
3d Printer Future: Checking The Components
The 3D printer assembly process begins by ensuring all the parts are available and are working properly. Carefully open the box and check the manufacturer’s manual for the items inside:
| Component | Quantity |
| 3D Printer Frame | 1 |
| Print Bed | 1 |
| Extruder Assembly | 1 |
| Filament Spool Holder | 1 |
| Screws and Nuts | Various |
| Power Supply | 1 |
Check that all items are undamaged and free from defects. If anything is missing or damaged, contact the manufacturer for assistance.
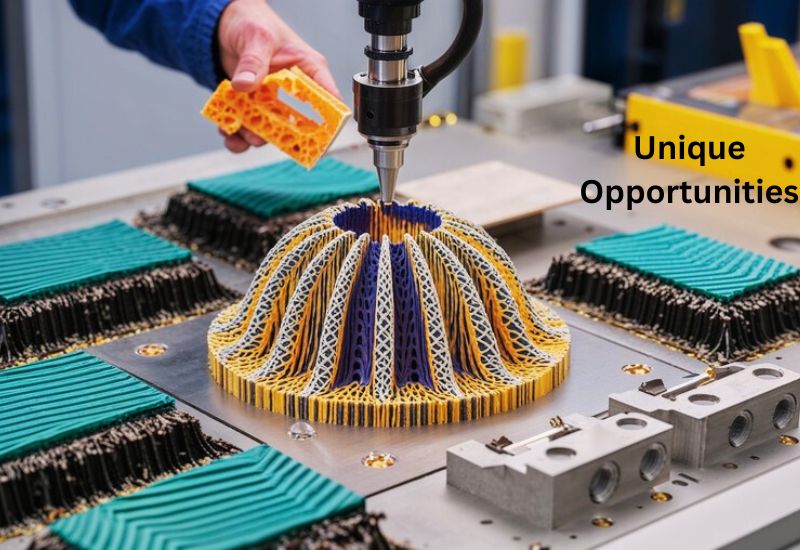
Unique Opportunities and Emerging Markets
Personalization and Customization in Consumer Goods
How 3D Printing Enables Mass Customization
In today’s world, a product must be compatible with one’s style. Thanks to 3D printing technology, businesses can now produce distinctive products at low costs. In contrast to other forms of production, which can be costly for customized products, this is possible thanks to this technology.
Examples in the Fashion Industry
The fashion industry is being revolutionized by the use of 3D printing technology to produce auto parts and several fashion accessories. Adidas is using this technology to design shoe soles that fit perfectly to each individual’s foot. Several high-end brands are also creating customized jewelry and fashion accessories, allowing people to own one-of-a-kind pieces.
Examples in the Electronics Industry
3D printing can be used to manufacture cases and other electronic parts. In no time, personalized earphones that fit easily can be made, enhancing comfort and sound quality. As a result, the product is delivered to the market earlier, accelerating the design process.
Benefits of 3D Printing in Mass Customization
3D printing offers many advantages. It allows the creation of designs that are not possible with traditional methods. Small production runs are cheaper since molds are not needed. In addition, 3D printing encourages the creation of new materials and new ideas, resulting in product innovation. Potential customers and clients can afford custom-made goods by using 3D printing.
Generally, 3D printing plays a significant role in consumer goods. With this technology, businesses can respond to a trend toward individualized products based on consumer experience, just as they did with electronics.
Educational Uses and DIY Community Growth
3D printing has revolutionized student teaching methods over the last few years. Learners are more satisfied and enjoy the learning process when models of biology or engineering designs are printed, which helps them understand complex concepts more easily. Learners learn concepts directly from the pages.
The concept of 3D printing is being implemented in schools as a way to better prepare students for the job market. The school partners with businesses in the area because students are learning career-related lessons. In fact, students make real parts and learn as a result.
With 3D printing, people can easily make tools and models at home. As it becomes more affordable, more people are joining the movement. This encourages innovation, and people share ideas and models, which contributes to community development.
A 3D printer provides opportunities for learning and creating. It brings together people who love to make things and be creative.
3d Printer Future: Different Types Of 3d Printers
3D printers come in various types, each offering unique capabilities and functionalities. Let’s take a closer look at some of the most common types:
| Type | Description |
| Fused Deposition Modeling (FDM) | A thermoplastic filament is melted and extruded into layers, making it ideal for novices. It is inexpensive and it can be used in a variety of colors. |
| Stereolithography (SLA) | These objects are produced with an extra smooth and thick structure with amazing detailing using a liquid resin cured with ultraviolet light (UV). |
| Selective Laser Sintering (SLS) | This process uses a laser of high intensity to bond plastics and metals in powdered form selectively. It is widely used in manufacturing and high-end modeling. |
3D printers come in many models. Each one has its pros and cons, so you should choose one that meets your needs and your goals.
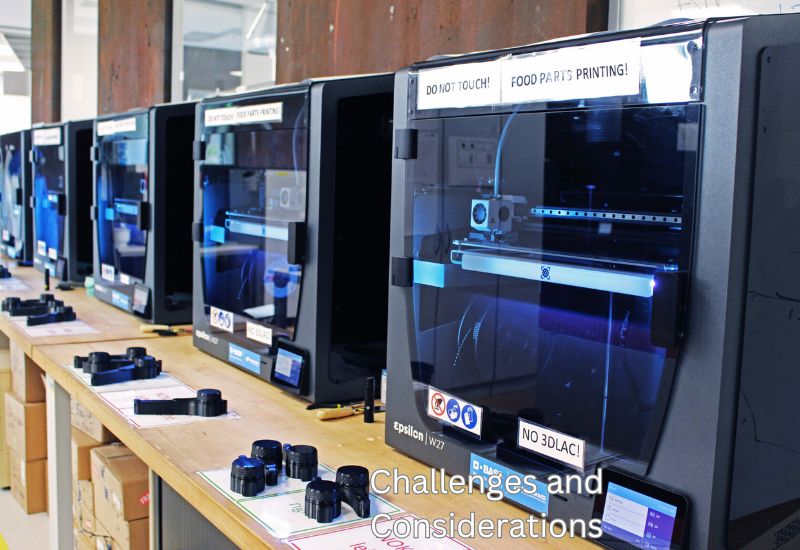
Challenges and Considerations for the Future
Quality Assurance and Cybersecurity
3D printing is an industry that requires caution, especially when scanning and printing objects. Quality assurance checks ensure products are consistently produced within standards and are defect-free.
Devices that implement policies can increase security by limiting users’ ability to modify files. Data protection ensures that the executed process is not stolen or modified. These processes contain how the design is conceived and implemented.
It is also vital to follow rules that ensure product safety and uniformity. These factors will increase customers’ and partners’ confidence in the product.
For 3D printing to continue to innovate, it must emphasize quality and security.
Overcoming Technical Barriers and Enhancing Usability
It is essential to make 3D printing software easier to use in order to increase its popularity. Users can easily grasp the software with the aid of tutorials and videos. Most programs today guide users through the process in a tutorial manner. To prepare prints and use design programs, you will need the materials.
The software can be made easy to use by users with limited technical expertise. By making it easy to use, a large number of people will be interested in 3D printing. By eliminating a variety of technological issues, it promotes imagination.
3d Printer Future: Materials Used In 3d Printing
The future of 3D printing will be greatly influenced by technology development as it empowers users to create various objects. To achieve success with 3D printing, the proper materials must be chosen. The table below highlights some of the most common materials used in 3D printing, their characteristics, and their applications.
| Material | Properties | Typical Applications |
| PLA (Polylactic Acid) | Biodegradable, easy to use | Prototypes, models, household items |
| ABS (Acrylonitrile Butadiene Styrene) | Durable, strong mechanical properties | Functional parts, automotive components |
| Nylon | Flexible, resistant to wear | Moving parts, gears, durable tools |
| Metal Alloys | Robust, suitable for industrial use | Engine components, aerospace parts |
As technology advances, there will be even more options available in the future. These materials aren’t limited to these. We’ll explain how to use your 3D printer for the first time in our next post, so stay tuned!
Wrapping Up
In the future, 3D printing will impress more than prejudice, focusing on health, automobile, and construction reform rather than blaming it for all the controversy it generates. As this technology develops, many new ideas will become feasible. It is both the agent of change and the means of change. Innovations that redefine human construction and creation are ahead.
Frequently Asked Questions
Will 3D printing completely replace traditional manufacturing methods?
No. It is anticipated that 3D printing will work alongside traditional methods, particularly for producing custom items, small batches, and parts with complex geometries, rather than fully replacing large-volume production.
What is ‘Hybrid Manufacturing’?
Hybrid manufacturing is a technique that combines the best of both worlds, integrating additive processes (3D printing) with subtractive processes (CNC machining) to create high-precision, intricate parts more quickly and with less waste.
How is Artificial Intelligence (AI) influencing 3D printing technology?
AI integration is streamlining the process by helping to reduce printing errors, making production faster and easier, and assisting in the rapid creation of highly intricate designs.
What are the main types of 3D printers?
The three common types mentioned are:
- FDM (Fused Deposition Modeling): Affordable and ideal for novices, it melts and extrudes thermoplastic filament layer by layer.
- SLA (Stereolithography): Uses UV light to cure liquid resin, producing objects with exceptional detail and a smooth finish.
- SLS (Selective Laser Sintering): Employs a high-intensity laser to bond powdered materials (plastics and metals), often used in high-end manufacturing.
What is 3D printing’s role in aerospace and space exploration?
It offers the critical advantage of in-situ resource utilization, allowing astronauts to quickly create necessary tools and parts on the Moon or Mars using local resources, minimizing the costs and logistics of transporting supplies from Earth.
