
3D Printing Optimization: The 3D printing industry is experiencing significant development, estimated at $24.8 billion by 2024. With this fast pace of growth, you can invest in 3D printing technologies.
A 3D printer for fashion is used to overcome spatial and financial limitations. However, while 3D printers generally use polymer materials like PLA and PETG, which are relatively inexpensive, they still cannot replicate traditional textile materials. Consequently, this limits the range of fashion design options.
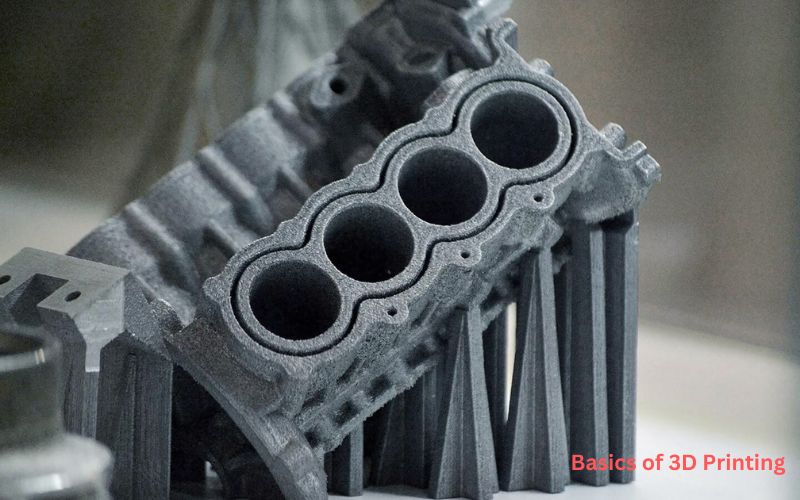
Understanding the Basics of 3D Printing
How 3D Printers Work
First, a 3D printer produces tangible items from virtual models. First, a 3D printer produces tangible items from virtual models. To do this, a computer file—often designed in CAD—is created, and then it is sliced into dozens of thin sections. Using the additive manufacturing process, the printer builds up layers of material one at a time, adhering to the layer that was just built.
Each layer is constructed individually. Using this technique, complex shapes can be quickly manufactured which would be impossible with conventional techniques. Moreover, this method opens up creative ways to make money from a 3D printer, especially by producing custom parts or unique designs.
Types of 3D Printing Technologies
Fused Deposition Modeling (FDM):
The FDM printer uses hot plastic threads to apply layers of filament layer by layer. It is inexpensive and straightforward to use.
Stereolithography (SLA):
A laser is used in SLA 3D printing to cure the liquid resin into a solid state. The resin is traced by the laser, which produces a smooth and fine print.
Selective Laser Sintering (SLS):
This process uses a laser to sinter nylon powder materials layer by layer, eliminating the need for support materials and enabling the creation of complex features within strong parts.
These technologies come with specific values and advantages. As 3D printing advances, these alternatives are becoming more flexible for makers. FDM is cost-effective, SLA is accurate, and SLS is robust. They are all designed for various requirements, ranging from simple tasks to industrial applications.
3D Printing Optimization: Finding the Right Printer Settings
| Printer Setting | Description | Importance |
| Temperature | Controls the heat of the nozzle and bed. Optimal temperatures prevent warping and ensure proper adhesion. | Ensures smooth extrusion and layer bonding, critical for print success. |
| Bed Leveling | Aligns the print bed to ensure even layers. | Prevents warping and detachment, crucial for first layer adhesion. |
| Print Speed | Determines the rate of movement of the print head. | Balances print time and quality; slower speeds improve detail. |
| Infill Density | Defines the internal structure of a print. | Affects weight, strength, and material usage; important for durability. |
| Retraction | Pulls filament back during travel moves to prevent stringing. | Reduces unwanted filament oozing and improves surface finish. |
| Layer Height | The thickness of each printed layer. | Impacts resolution and print time; finer layers enhance detail. |
| Cooling Settings | Adjusts the fan speed for cooling the filament. | Essential for sharp details and preventing warping or overheating. |
| Shell Thickness | Thickness of the outer walls of the print. | Provides structural strength and affects surface quality. |
| Support Structures | Temporary supports for overhanging parts. | Necessary for complex designs to ensure print integrity. |
| Flow Rate | Determines the amount of filament extruded. | Influences surface finish and print accuracy; adjusts for material flow. |
Using this table, users can optimize 3D printing settings to improve the practicality and aesthetics of their 3D models by adjusting these parameters.
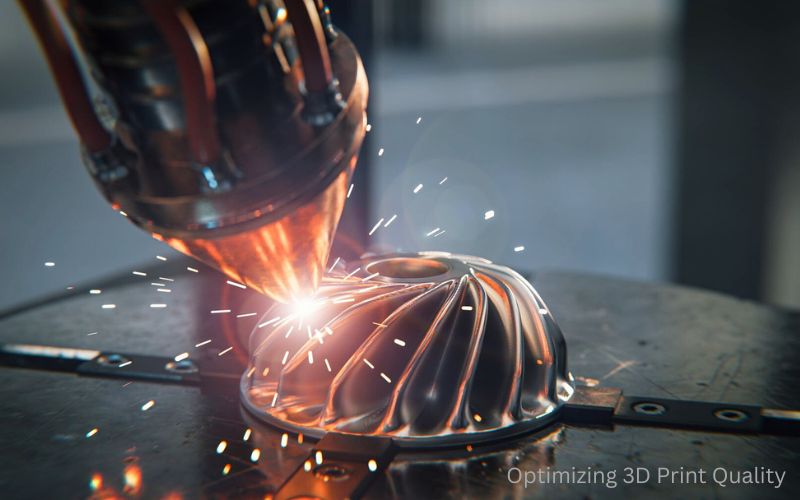
Key Techniques for Optimizing 3D Print Quality
Bed Leveling and Nozzle Calibration
When leveling the bed, it is very easy for the prints to adhere correctly. Paper can be used to verify gaps. Corners and centers should be adjusted as well.
First, the nozzle should be calibrated; then, it must be heated to support the filament. Next, measure it with calipers, and finally, adjust it to achieve the desired flow rate.
Enhancing Print Quality Through Software
Using this software, you can make better prints. Many tools, including Fusion 360, are available. By adjusting the settings, you will be able to achieve the best results.
Ultimaker Cura is capable of processing models into layers – modifications can be made to enhance the quality.
Regular Maintenance for Consistent Results
It is important to maintain your printer. Clean the bed or nozzle, and extract axis calibration from time to time.
Maintain the quality of printing by checking that all parts are tight. Moderate the software’s capabilities.
Speed Optimization Strategies in 3D Printing
Balancing Speed and Quality
Getting a 3D print done at the right speed without sacrificing quality is a difficult task for amateurs and professionals alike. You must adjust settings and familiarize yourself with all the available techniques to achieve the best prints, but remember not to compromise on quality.
Adjusting Layer Height and Infill Density
By changing the layers from 0.1mm to 0.3mm, the time consumed here can be improved. However, the surface can become rougher due to the increased layer height.
A 20% infill reduces time and material used up, especially on parts that don’t bear load. This setting is also common when testing prints for the best 3d printer for small business setups, where speed and cost matter. You can limit infill even more by using scant lines or low-density patterns.
Advanced Speed Optimization Techniques
Boost the print speed to 80-100 mm/s. Monitor quality deterioration.
Increase print speed by using a larger nozzle, such as 0.8mm. This may require additional detail.
With high-flow, easy-to-use hotends, prints are quick and silky.
It is possible to print quickly without compromising quality by following these suggestions.
Unique Aspects of 3D Printing Optimization
With new materials being created, 3D printing is gaining a new status. Production is changing with the development of composite and plastic materials. These materials are stronger, tougher, and more durable. They are ideal for automotive and aerospace applications. By adding ceramics and silicone, these materials can be used at high temperatures.
A 4D printer must also take into account time. Smart materials can change shape and function in response to heat and moisture. They can change their structure over some time. Among the uses of 4D printing in medicine will be the creation of smart implants that change shape on their own, improving patient outcomes.
These technologies open new design opportunities and offer flexibility and creativity for the various industries, such as aerospace, in which some 4D parts can help optimize fuel economy and self-repair, saving time and money.
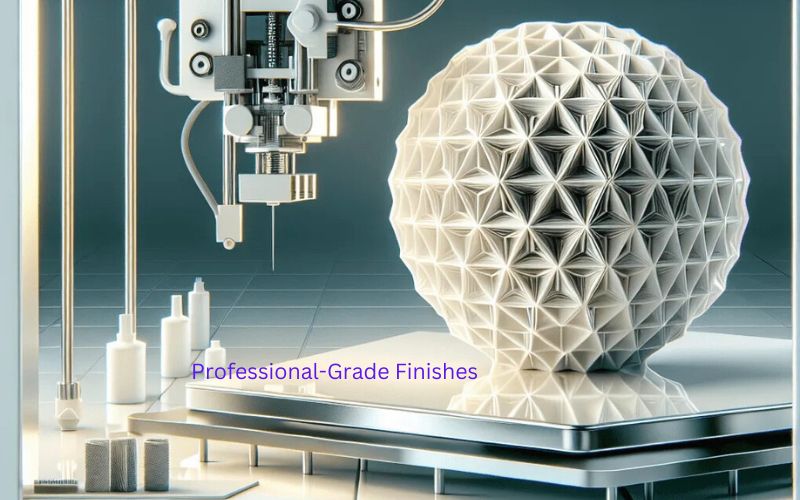
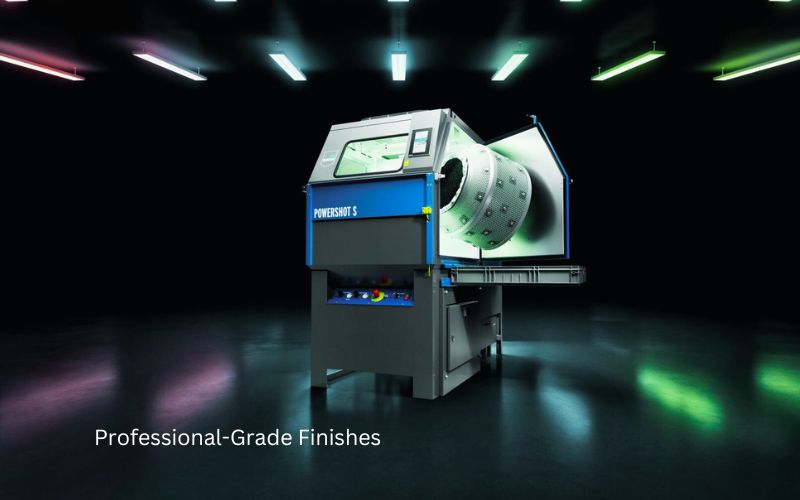
Post-Processing for Professional-Grade Finishes
Techniques for Smoothing and Polishing Prints
You can improve the overall aesthetics and functionality of 3D prints by smoothing and polishing them. Here are some easy methods you can use:
Sanding
To achieve a better finish, start with sandpaper of 200 grit. Proceed to finer grits until 3000, but be cautious that it may not get very small details.
Chemical Smoothing
Prints that have been smoothed with chemical morphology such as ethyl acetate. This should be done with a cloth and in a controlled manner. It is less physically strenuous than sanding, but it must still be done with care. It is best to wear protective equipment and work in a ventilated environment.
Polishing
A piece of soft cloth and a plastic polish will suffice for polishing after sanding. Constrain the areas with some surface and rub in circles until industrious blushing is visible. Remember, polishing is the last stage, not the first stage of smoothing.
Epoxy Resin Coating
First, thoroughly mix the epoxy resin. Then, apply it with a brush for a glossy finish. While epoxy resin provides strength and shine, it also increases weight. Therefore, avoid dips.
Vapor Smoothing
Moreover, prints can be smoothed using solvent vapors. This is particularly effective with ABS and acetone. While it is efficient and easy, it must be handled carefully.
Heat Gun Smoothing
Furthermore, if a heat gun is used effectively, the print surface can be improved by melting a small portion of it. However, when moving the gun, the direction of movement must remain constant.
Surface finishing methods discussed in this section will improve the aesthetics and strength of the 3D print. Use great care when working with chemically active substances and heat.
Applying Finishing Touches with Paints and Coatings
A 3D-printed part can be dramatically improved in appearance with paint and coatings, as demonstrated by the attached photo. Preparing a surface is the first step. The plastic primer helps level out the structure and improves paint adhesion.
After selecting the paint, you will need to work with thin layers of paint to prevent dripping. Epoxy or acrylic paints work well with 3D prints. Spray paints are perfect for applying an even coat over details. Always wear masks or protective gear when executing the procedure outdoors.
Follow up with a clear coat. This assists in protecting the paint and enhances it accorded a glossy or matte finish. Rub the surface lightly between coats for a sheen. These processes not only enhance your prints’ appearance but also increase their longevity. It is the extra attention to detail that makes ordinary prints stand out.
Future Trends in 3D Printing Optimization
As 3D printing advances, AI will be of great assistance in selecting materials and correctly printing them. That will be very helpful for beginners.
Bio-based, metal powders and even concrete filament are among the new materials being developed. These types enable the users to choose the materials that best suit their creations and the environment.
By using 3D printing, items are manufactured on-site, eliminating the need for transportation and its associated environmental impacts. This decrease helps reduce carbon emissions.
In the aerospace and automotive industries, advancements in materials and injection technologies enable the installation of lighter and more bespoke parts.
3D printing technology is set for great things in the future. Definitely, both newcomers and experts will find it stimulating.
Understanding the Basics of 3D Printing
Before optimizing your 3D printer settings, it’s essential to understand the basics of 3D printing first. In fact, also known as additive manufacturing, 3D printing builds three-dimensional objects layer by layer based on a computer-generated design. Achieving high-quality results largely depends on fine-tuning your printer settings, which this guide will help you master.
3D Printing Optimization: Key Printer Settings
Each 3D printing project is unique, requiring adjustments to specific settings to achieve the best results. Below is a table summarizing the most important settings and their effects:
| Improves first-layer adhesion and prevents warping. | Description | Impact on Print |
| Layer Height | Improves first-layer adhesion and prevents warping. | Affects surface finish and print time. |
| Print Speed | The speed at which the print head lays down filament. | Influences print quality and print duration. |
| Extruder Temperature | Nozzle temperature is used to melt the filament. | Critical for print adhesion and smooth filament flow. |
| Bed Temperature | Temperature of the build platform. | Improves first layer adhesion and prevents warping. |
| Retraction | Pulls filament back during travel to prevent oozing. | Reduces stringing and ensures a cleaner final print. |
By understanding and fine-tuning these settings, you can enhance the quality and reliability of your 3D printing projects.
Wrapping Up
There are many advantages to optimizing 3D printing. It is cost-effective, offering a variety of designs that reduce production costs and minimize waste. 3D printing will transform numerous industries as it continues to develop.
Consequently, users become more efficient and creative, whether they are DIYers or businesses. Moreover, manufacturing processes become more environmentally friendly.
Frequently Asked Questions
What are the three main types of 3D printing technologies mentioned?
The article discusses three core technologies:
Selective Laser Sintering (SLS): Uses a laser to sinter nylon powder materials layer by layer, eliminating the need for support structures.
Fused Deposition Modeling (FDM): Uses hot plastic threads and is known for being inexpensive and straightforward.
Stereolithography (SLA): Uses a laser to cure liquid resin, producing a smooth and fine print.
Which two printer settings are most critical for first layer adhesion and preventing warping?
Temperature (controlling the heat of the nozzle and bed) and Bed Leveling are most critical. Proper bed leveling ensures even layers and prevents detachment, which is crucial for the first layer to adhere correctly.
What is the recommended method for ensuring proper bed leveling?
Bed leveling should be done by checking the gap between the nozzle and the bed—often using a piece of paper to verify the distance—and adjusting the corners and center of the bed until it is even.
What are two methods for smoothing a 3D print using chemicals?
The two chemical methods mentioned are:
- Chemical Smoothing: Using substances like ethyl acetate (applied with a cloth) for smoothing the surface.
- Vapor Smoothing: Using solvent vapors, such as acetone with ABS prints, which is efficient but requires careful handling in a ventilated environment.
What is the first step when painting a 3D-printed part?
The first step is surface preparation by applying a plastic primer. This helps to level out the surface structure and significantly improves the paint’s adhesion.