
Turning a flat photo into a 3D-printed model is easier than most beginners think.
After working with 3D printers for over a decade, I’ve helped hobbyists and small businesses create stunning 3D prints from simple pictures. With the ability to Convert Image 2D to 3D, modern tools make the process straightforward, whether it’s a family portrait or a favorite pet photo. You don’t need expensive software or expert skills to get started.
This guide will walk you through each step, from choosing the right image to printing your first 3D model. We’ll use easy words, free or low-cost tools, and beginner-friendly tips. This is the perfect starting point if you live in the U.S. and love DIY or run a small shop, especially if you’re looking for the best 3d printer for small business to get started.
Let’s bring your favorite 2D pictures to life with a 3D printer from home.
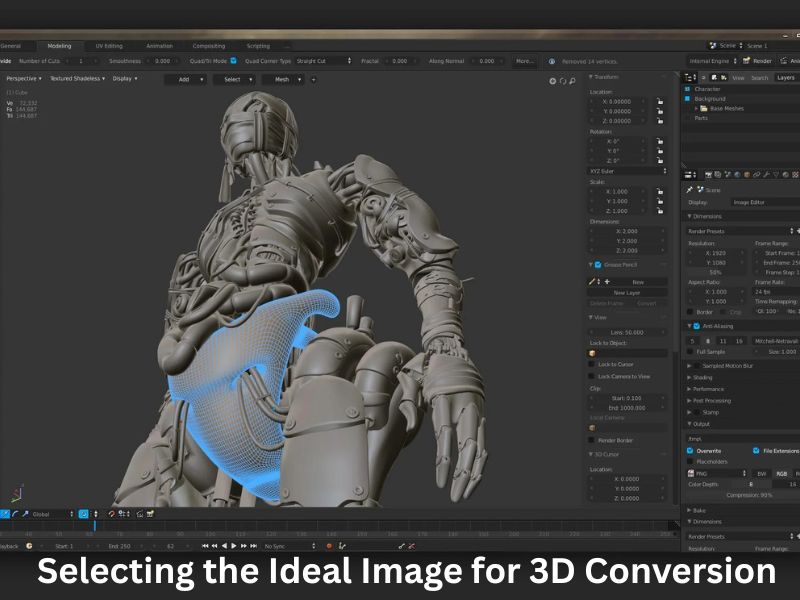
Step 1: Selecting the Ideal Image for 3D Conversion
Choosing the right image is foundational to the success of your 3D model. High-resolution images with clear, distinct edges and minimal background noise are optimal. Such images ensure that the software can accurately interpret the contours and details necessary for a precise 3D representation. Images with strong contrast between the subject and the background facilitate better depth mapping, which is crucial for generating a realistic 3D model. Front-facing or side-profile images are particularly effective, providing clear perspectives that aid in depth perception during the Convert Image 2D to 3D process.
Step 2: Choosing the Appropriate Conversion Method
Several methods are available to transform a 2D image into a 3D model, each catering to different skill levels and requirements. For beginners, free online tools offer a user-friendly interface that allows for quick conversions without the need for extensive technical knowledge. These platforms often provide basic customization options, enabling users to adjust depth, detail, and lighting to suit their preferences. Mobile applications have also emerged as convenient solutions, leveraging smartphone cameras and image libraries to generate 3D models on the go. For those seeking more control and advanced features, desktop software like Blender or Tinkercad offers robust tools for detailed modeling, albeit with a steeper learning curve.

Step 3: Preparing the Image for Conversion
Before initiating the conversion, it’s essential to optimize the image to ensure the best possible outcome. This involves cropping out unnecessary elements to focus on the primary subject, enhancing brightness and contrast to highlight key features, and removing complex backgrounds that might confuse the software. Saving the image in widely supported formats like JPG or PNG ensures compatibility with most conversion tools. A well-prepared image serves as a solid foundation, facilitating a smoother and more accurate process when you Convert Image 2D to 3D.
Step 4: Executing the Conversion Process
With the image ready, upload it to your chosen tool or software to begin the conversion. The software will analyze the image, interpreting various elements to construct a 3D model. During this process, you can adjust settings such as depth to control the protrusion of features, angle to set the orientation, and texture to define the surface details. It’s a small example of the power of 3D printing, where even a flat image can become a lifelike object. It’s advisable to preview the model before finalizing, allowing you to identify and rectify any anomalies or imperfections that may have arisen during the conversion.
Step 5: Refining the 3D Model
Post-conversion, refining the 3D model enhances its quality and ensures it’s ready for printing. This step involves smoothing out rough edges, filling in any holes or gaps, and adjusting the scale and orientation to match your printing requirements. Utilizing editing tools within your software, you can make these modifications to achieve a polished and structurally sound model. This refinement is crucial for preventing issues during the printing process and achieving a professional finish.
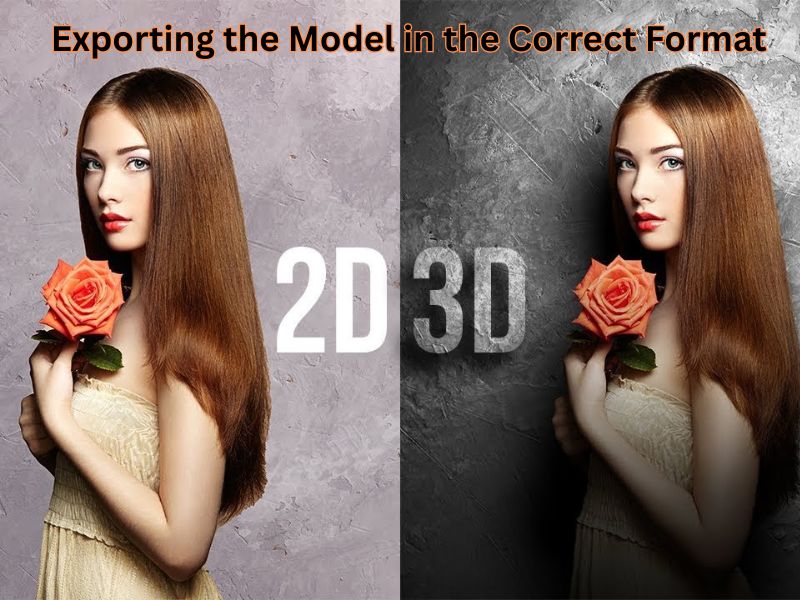
Step 6: Exporting the Model in the Correct Format
Once satisfied with the 3D model, export it in a file format compatible with your 3D printer. Common formats include STL, OBJ, and 3MF, each offering different benefits. STL is widely used for its simplicity, OBJ supports color and texture details, and 3MF provides advanced features for modern printers. Properly naming and organizing your files helps maintain an efficient workflow, especially when managing multiple projects. Ensuring compatibility with your printer’s software is essential to avoid errors during the printing process. Once you’ve completed the preparation, you’re ready to Convert Image 2D to 3D and bring your creation to life!
Step 7: Preparing the Model for Printing
Before printing, the model must be sliced into layers using slicing software, which translates the 3D model into instructions your printer can understand. Adjust settings such as layer height, print speed, and support structures to optimize the print quality. Previewing the sliced model allows you to detect potential issues and make necessary adjustments before commencing the print. This preparation is vital for achieving a successful print and minimizing material waste.
Step 8: Printing and Post-Processing
With the model sliced and ready, initiate the printing process, ensuring your printer is calibrated correctly for optimal results. Choose the appropriate material, such as PLA or ABS, based on the desired strength and finish of the final product. After printing, post-processing steps like sanding and painting can enhance the appearance and feel of the model. For multi-part prints, assembling the components using glue or connectors completes the process, bringing your Convert Image 2D to 3D model to life.
Here’s a table summarizing the steps for converting a 2D image into a 3D model for printing:
| Step | Description |
| Step 1: Selecting the Ideal Image for 3D Conversion | Choose high-resolution images with clear, distinct edges and minimal background noise. Opt for images with strong contrast between subject and background. Front-facing or side-profile images work best for depth perception. |
| Step 2: Choosing the Appropriate Conversion Method | Select from beginner-friendly online tools for quick conversions, mobile apps for on-the-go 3D model generation, or desktop software like Blender or Tinkercad for advanced control. |
| Step 3: Preparing the Image for Conversion | Optimize the image by cropping unnecessary elements, enhancing brightness/contrast, and removing complex backgrounds. Save the image in JPG or PNG format for compatibility with most tools. |
| Step 4: Executing the Conversion Process | Upload the image to your tool/software and adjust settings like depth, angle, and texture. Preview the model to check for errors before finalizing. |
| Step 5: Refining the 3D Model | After conversion, smooth rough edges, fill holes, adjust scale and orientation, and refine the model to ensure it’s print-ready. |
| Step 6: Exporting the Model in the Correct Format | Export the model in an appropriate format like STL, OBJ, or 3MF. Ensure compatibility with your printer’s software and organize files for easy management. |
| Step 7: Preparing the Model for Printing | Slice the model into layers using slicing software, adjusting settings such as layer height, print speed, and support structures. Preview the sliced model for potential issues. |
| Step 8: Printing and Post-Processing | Print the model with the correct material (e.g., PLA or ABS). After printing, apply post-processing techniques like sanding, painting, and assembling multi-part prints. |
This table gives a clear, step-by-step guide for converting a 2D image into a 3D model and preparing it for printing.
Bonus Tips for Enhanced Results
To add realistic textures and depth to your 3D model, consider using depth maps, which assign varying levels of depth to different areas of the image, creating a more lifelike representation. Additionally, combining multiple images from different angles can help construct a comprehensive 360-degree model, providing a more accurate and detailed 3D print. These advanced techniques can significantly improve the quality and realism of your 3D models when you Convert Image 2D to 3D.
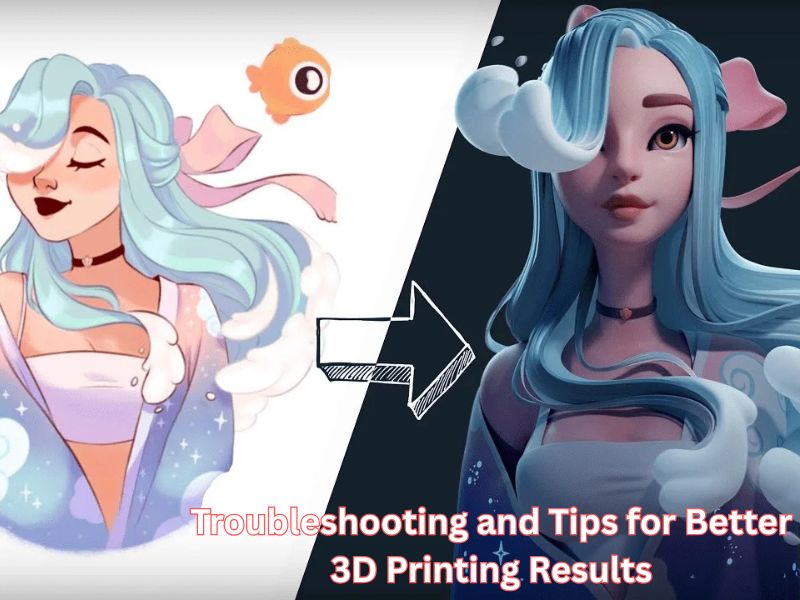
Additional Feature: Troubleshooting and Tips for Better 3D Printing Results
Sometimes, despite following the steps, you might encounter challenges like failed prints or unexpected results. Here are some helpful tips:
- Check Printer Calibration: Before starting the print, ensure that your 3D printer is calibrated correctly. Incorrect bed leveling can cause warping or poor adhesion.
- Test with Small Models: If you’re unsure of the settings, try printing a smaller version of your model first. This allows you to test the settings and tweak them for the final print.
- Monitor Print Progress: Watch the first few layers of the print to ensure that the material is sticking to the build plate. If not, the print will fail, wasting time and material.
This extra section will guide users through troubleshooting common issues that may arise in the 3D printing process, ensuring a more efficient and successful project outcome.

Analysis for Convert Image 2D to 3D
The provided content outlines several methods for turning 2D images or objects into 3D models, focusing primarily on photogrammetry software and 3D scanning techniques. It highlights different software solutions for converting images into 3D models, such as Agisoft Photoscan, Context Capture, and Reality Capture, with detailed descriptions of their features, pricing, and intended user base. The text also mentions alternatives to traditional 3D scanning, such as using smartphones for 3D scanning and CT scanning for more advanced applications. The final section discusses the process of refining the 3D file for printing and offers advice on file formats and the printing process, along with suggestions for materials and methods.
Photogrammetry Software for Creating 3D Models
Once you have captured a series of photos, you can use specialized photogrammetry software to transform them into a 3D model. Several software options are available to cater to various needs and expertise levels.
- Agisoft Photoscan: This software provides an effective way to create 3D models from multiple photos. It offers a free version for individual use and a professional version priced at $179. While it requires a computer with specific hardware capabilities (e.g., RAM over 256 GB), it can produce impressive results, particularly when processing large amounts of data, like a set of 5000 photos. However, it is more suited for experienced users and might not be as accessible as other alternatives.
- Context Capture (formerly Acute 3D): Like Agisoft Photoscan, Context Capture is a more advanced tool for professionals. Acquired by Bentley Systems, this software pushes the boundaries of photogrammetry technology, offering remarkable results. It is particularly aimed at professionals in need of high-precision outputs.
- Reality Capture: Known for its user-friendly interface, Reality Capture is another powerful photogrammetry software. While it doesn’t incorporate laser scanning, it excels in speed and quality. Reality Capture supports various file formats and is well-suited for small objects, making it a versatile tool for a range of users.
Alternative Methods for Creating 3D Models
For those who lack access to dedicated 3D scanners, there are alternative methods to create 3D models. One of the most accessible solutions is using a smartphone for 3D scanning. With the right apps, you can turn ordinary objects into 3D models without the need for specialized equipment.
Another fascinating method involves CT scanning, which enables the creation of highly detailed 3D models of objects, such as the human brain, which can even be 3D printed.
Optimizing and Preparing 3D Files
Once you have generated a 3D model, it is often necessary to refine the file before it is ready for printing. Many photogrammetry programs may not produce a completely solid mesh, which is vital for successful 3D printing. To correct this, you can use software like MeshLab, which allows for editing the resolution, size, and overall mesh quality of the model.
After refining the file, you’ll need to select the appropriate format for your 3D model. Common formats for 3D printing include 3DS, OBJ, C4D, DAE, and STL, with STL being the most widely used format due to its compatibility with most 3D printers.
3D Printing and Material Selection
The final step is to 3D print your model. Once the 3D file is ready, you can upload it to an online 3D printing service. Choosing the right material for printing is crucial, as it affects both the final appearance and durability of the model. For colorful and detailed results, full-color sandstone is often recommended.
3D printing is a versatile technology that allows you to create anything from rapid prototypes to intricate models for industries such as medicine, architecture, and consumer products. Advanced technologies like Digital Light Processing (DLP), Multi Jet Fusion, and Selective Laser Sintering offer even more possibilities for detailed and varied 3D printing projects.
Frequently Asked Questions (FAQs) for Convert Image 2D to 3D
1. How do I convert a 2D image into a 3D model?
Upload images into photogrammetry software like Agisoft Photoscan or Reality Capture. The software creates a 3D model that can be refined and exported.
2. Can I convert just one 2D image to 3D?
Yes, AI tools can generate a basic 3D model from a single image, though it may lack detail.
3. What software can I use?
Popular options include Agisoft Photoscan, Context Capture, Reality Capture, and Meshy.ai, catering to different skill levels.
4. How do I refine the 3D model?
Use software like MeshLab to smooth edges, fill holes, and adjust scale.
5. Which file formats are best for 3D printing?
STL, OBJ, and 3MF are commonly used, with STL being the most popular.
6. Can I 3D print from a single 2D image?
The result may be less detailed than one made from multiple images.
Wrapping Up
Converting a 2D image into a 3D model has become easier with advances in photogrammetry software and AI tools. Programs like Agisoft Metashape, RealityCapture, and Meshy allow users, from beginners to professionals, to create detailed 3D models with just a series of overlapping images.
These models can be used for applications such as 3D printing and digital design. Additionally, AI platforms like Meshy simplify the process, allowing quick Convert Image 2D to 3D model from a single image. Once created, tools like MeshLab help refine and optimize the model for 3D printing, making 3D modeling more accessible than ever.