
Supercharging your Anycubic Kobra Max is the key to unlocking its full potential. With the right upgrades, you can achieve faster, more reliable, and higher-quality prints.
As a 3D printing expert with years of hands-on experience, I’ve seen how strategic Anycubic Kobra Max upgrades can transform the Kobra Max into a powerhouse. From optimizing extrusion systems to fine-tuning slicer settings, each upgrade contributes to superior performance.
This guide will walk you through the most effective modifications, including some lesser-known tweaks that can make a significant difference. Whether you’re a hobbyist or running a best 3d printer for small business, these insights will help you elevate your 3D printing game.
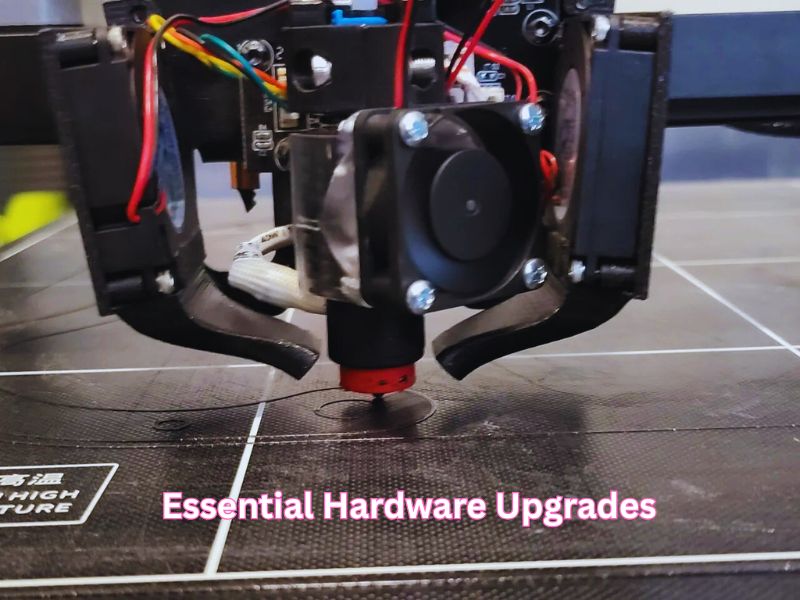
Essential Hardware Upgrades to Enhance Your Anycubic Kobra Max’s Performance
Upgrading the Build Plate for Better Adhesion and Easier Print Removal
One of the simplest but most effective anycubic kobra max upgrades is switching to a magnetic PEI (Polyetherimide) build plate. This upgrade offers superior print adhesion while hot and allows easy print removal once the plate cools down. The flexible steel surface can be bent slightly, causing the print to pop off without the need for sharp tools.
This is especially helpful for large-format prints where adhesion and warping can be issues. PEI sheets are compatible with many filament types, including PLA, ABS, PETG, and TPU. Cleanup is also much faster, as most residues wipe off with isopropyl alcohol.
Improving the Extruder for Stronger and More Reliable Filament Feeding
Upgrading the stock extruder to a dual-gear extruder can dramatically improve filament grip and feeding precision. Dual-gear systems reduce the chance of filament slipping, which is especially important for flexible or brittle materials.
For users printing at high temperatures or with abrasive filaments like carbon fiber-reinforced PLA, an all-metal hot end is also a must. It supports higher temperatures without degradation, making it compatible with a wider range of materials and reducing clogging issues. Combined, these anycubic kobra max upgrades deliver smoother extrusion and minimize print failures.
Adding a Dual Z-Axis Rod for Greater Print Stability on Tall Models
The Kobra Max’s large print volume makes it ideal for tall prints, but that also means the Z-axis can wobble. One of the most effective anycubic kobra max upgrades is adding a second Z-axis rod. This creates better mechanical stability and keeps both sides of the gantry aligned.
This upgrade reduces vertical layer inconsistencies, especially on taller objects. You’ll notice sharper edges, fewer artifacts, and improved overall dimensional accuracy.
Anycubic Kobra Max – Technical Specifications
| Feature | Specification |
| Machine Dimensions | 715 x 665 x 720 mm (28.1 x 26.2 x 28.3 inches) |
| Build Volume | 400 x 400 x 450 mm (15.7 x 15.7 x 17.7 inches) |
| Printing Technology | FDM (Fused Deposition Modeling) |
| Supported Materials | PLA, ABS, PETG, TPU |
| Extruder Type | Bowden |
| Nozzle Size | 0.4 mm (Interchangeable) |
| Max Hotend Temperature | 260°C (500°F) |
| Max Heated Bed Temperature | 90°C (194°F) |
| Bed Leveling | Automatic (LeviQ Smart Auto-Leveling) |
| Filament Runout Sensor | Yes |
| Connectivity | MicroSD, Micro USB |
| Control Interface | 4.3″ Full-Color LCD Touchscreen |
| Average Print Speed | 80–100 mm/s (up to 180 mm/s max) |
| Z-Axis System | Dual-threaded rods for enhanced stability |
| Assembly Time | Approximately 30 minutes |
| Machine Weight | 16 kg (35.2 lbs) |
| Power Consumption | Peak power draw of 500W |
| Included Accessories | Tools for assembly and maintenance, grease, USB stick, spare nozzle, sample PLA filament |
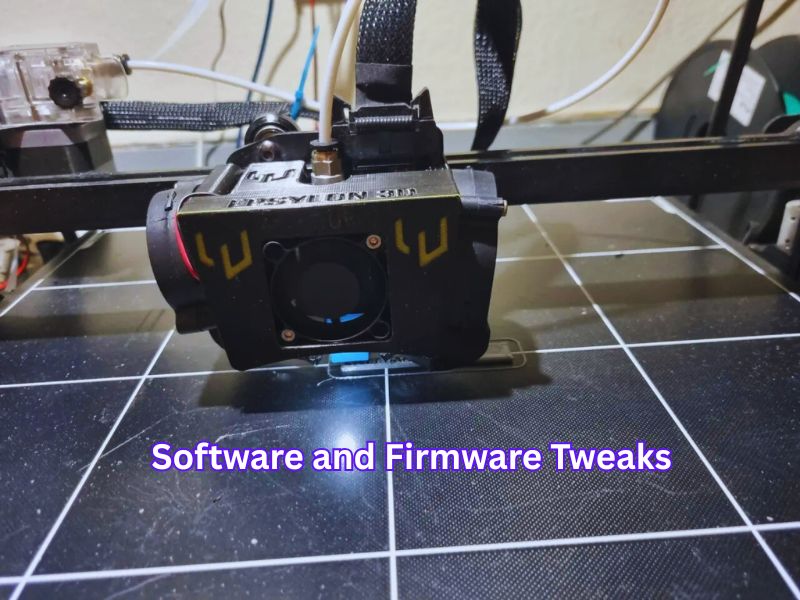
Software and Firmware Tweaks to Optimize Your Anycubic Kobra Max
Upgrading the Firmware to Unlock New Features and Bug Fixes
Firmware updates can significantly enhance your printer’s functionality. New versions often fix bugs, improve print recovery after power loss, optimize temperature control, and unlock advanced features like Linear Advance and input shaping. If you’re exploring anycubic kobra max upgrades, updating the firmware is a smart place to start for better performance and reliability.
To safely update, download the latest firmware, place the file on a properly formatted microSD card, and insert it into the printer. If you’re using a 3D Picture Printer for Stunning Visual, always follow update instructions from a trusted source and never interrupt the process.
Calibrating the E-Steps to Ensure Precise Filament Flow
Extrusion calibration, or setting your E-steps, is crucial for dimensional accuracy and proper filament flow. An incorrect E-step value can cause under or over-extrusion, affecting surface quality and strength.
To calibrate, mark 100mm on the filament, extrude using your printer’s menu or a control software, and measure how much was actually fed. Adjust the E-step setting accordingly using your printer’s menu or a terminal command. This quick task ensures every print has cleaner lines and more accurate dimensions—one of the simplest yet most effective anycubic kobra max upgrades you can make.
Fine-Tuning Your Slicer Settings for Smoother Prints
Optimizing slicer settings tailored for the Kobra Max can greatly affect print results. Adjusting layer height, print speed, infill patterns, and temperature based on your filament and print size will improve quality.
For detailed models, use a layer height around 0.12mm. For quicker prints, 0.2mm works well. Lower speeds can reduce ringing or ghosting. You can also use slicer profiles built for the Kobra Max to save time and effort.

Environmental and Maintenance Tips to Prolong Your Printer’s Lifespan
Performing Regular Maintenance to Keep Your Printer Running Smoothly
Routine maintenance helps catch small issues before they turn into big problems. Clean the nozzle regularly to prevent clogs. Check and tighten belts and screws, inspect fans, and look for wear on the PTFE tube or gears.
Lubricate the linear rods, especially if you hear squeaking or notice rough movement. A monthly checkup keeps your Kobra Max running like new and reduces downtime.
Managing Room Temperature and Humidity for Better Print Results
Ambient temperature and humidity have a direct effect on print quality. PLA prefers cooler, stable conditions, while ABS benefits from an enclosure to prevent warping.
Humidity over 40% can ruin filaments like TPU or PETG by absorbing moisture, which leads to bubbling, stringing, and weak prints. A simple dry box or desiccant container can protect your spools. If you’re planning anycubic kobra max upgrades, keeping your printer in a climate-controlled space will help you get more consistent and reliable results.
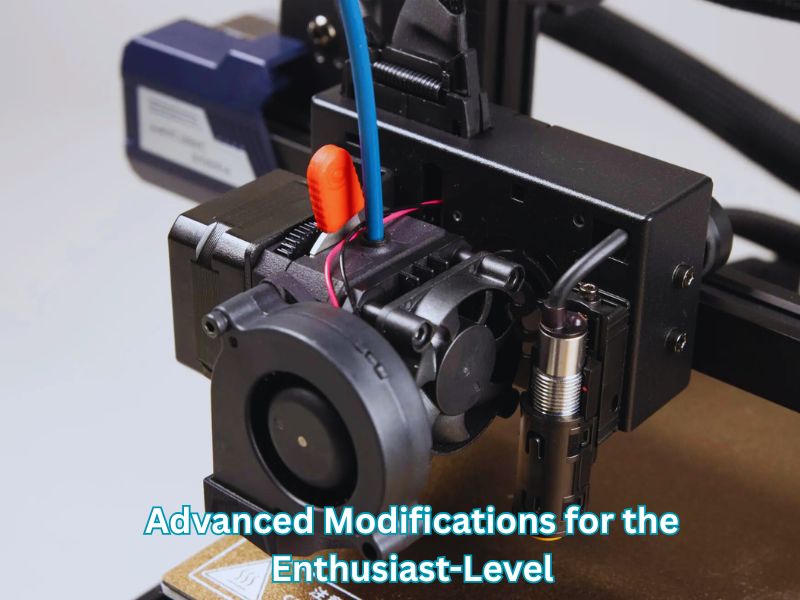
Advanced Modifications for the Enthusiast-Level Kobra Max User
Installing Linear Rails for Smoother, Quieter Movement
Linear rails provide better motion precision and less friction compared to the stock V-wheels. They reduce wear over time and are nearly maintenance-free.
This upgrade is especially beneficial for users who demand the highest print quality or run the printer for long hours. It offers quieter movement and better layer consistency, especially at higher speeds—making it a smart choice among Anycubic Kobra Max upgrades.
Upgrading to a Touchscreen Display for Easier Navigation
The default screen on the Kobra Max is functional, but a more responsive touchscreen interface offers a much better user experience. It allows for easier navigation, quicker adjustments during prints, and clearer preview of models—making it one of the most practical anycubic kobra max upgrades you can invest in.
Aftermarket screens often come with customizable firmware, letting you control more features directly from the UI. This is a great usability upgrade for anyone who prints often or manages multiple files.
What’s Included with the Anycubic Kobra Max
When you get the Anycubic Kobra Max, you’ll find everything you need to get started. The box includes:
- Tools for assembly and maintenance
- Side cutters
- A plastic scraper
- Nozzle cleaner
- Grease
- A microSD card with a USB adapter
- A spare nozzle
- A small sample of PLA filament
You’ll also get a printed quick start guide to help you build the printer. The microSD card contains sample models, a PDF of the manual, Cura 4.2.1 software, and profiles for PLA and TPU filaments to help you get started right away.
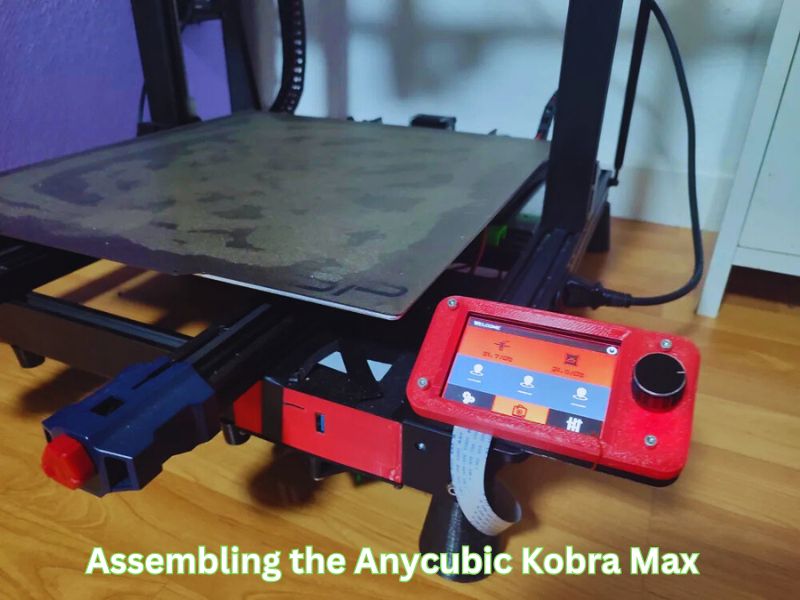
Assembling the Anycubic Kobra Max
Even though it’s a large printer, the Anycubic Kobra Max is fairly easy to assemble, just like its smaller sibling, the Anycubic Kobra. It comes mostly pre-assembled in two large sections, so you only need to attach a few parts.
Here’s how you assemble it:
- Attach the gantry using four bolts.
- Secure a brace from the top of the machine to the back.
- Add the touch screen with a few screws.
- Snap the spool holder onto the base.
- Cut the zip ties that kept the printer secure during shipping and plug in the wires. Everything is clearly labeled.
- Finally, secure the Bowden tube to the print head cable using cable clips and zip ties.
Once assembled, check the printer for any loose or over-tight parts. Ensure the wheels are snug but roll smoothly, the print carriage doesn’t wiggle, and the belts are tight. The Kobra Max has adjustable eccentric nuts that you can tighten with the provided wrench, and easy-to-use belt tension knobs for the X and Y axes. These simple checks are essential for stability and print quality, especially if you’re planning anycubic kobra max upgrades for improved performance.
Remember, the Kobra Max has two Y-axis belts, so make sure both have the same tension for smooth printing. The whole assembly process takes about 30 minutes if done carefully.
Automatic Bed Leveling and Filament Loading
The Anycubic Kobra Max comes with an automatic bed leveling system. The machine taps 25 points on the bed to level it. There are no manual knobs for leveling, just an auto-leveling sensor that does the job for you.
To start leveling, go to Prepare → Leveling → Auto-leveling on the menu. It will home itself, preheat, and tap 25 spots across the bed. If you find the Z-height isn’t perfect, you can adjust it while printing or directly in the leveling menu.
To load filament, select Prepare → Filament from the main menu. Choose Filament In or Filament Remove. The machine will heat up to 230°C in about 60 seconds. Place the filament spool on the holder, insert the filament into the sensor, and select Filament In. Wait for the filament to be pulled into the extruder, or you can manually push it through.
Removing filament is simple. Select Filament Remove, wait for the hotend to heat, and then let the machine back out the filament. You can manually pull the filament from the Bowden tube once it leaves the hotend.
Software Setup and Custom Printer Profiles
The Kobra Max comes with Cura 4.2.1, along with a printer profile for PLA and TPU. These profiles are designed for this specific printer but won’t work with newer versions of Cura. You might want to use Cura 4.2.1 to take full advantage of these profiles.
To import a custom profile, go to Preferences → Configure Cura → Profiles and select Import. Alternatively, you can use a Creality CR10 profile and adjust the build volume to 402 x 402 x 452mm.
If you want to save time, you can print at a .28mm layer height and increase your line width to .64mm. This will have the same effect as using a .6mm nozzle, reducing print time significantly without losing quality. This simple tweak is one of the easiest anycubic kobra max upgrades that delivers faster prints without compromising results.
Printing Large Objects and Filament Usage
The Kobra Max has a huge build volume, measuring 400x400x450mm. This means you can print large objects, but it also uses a lot of filament. For instance, large prints can quickly consume an entire spool of filament.
That said, you don’t have to print only big items. You can still use it for regular-sized prints, and it works just like any standard 3D printer. For example, the test owl print (3.5 inches tall) used only half of the sample filament provided. You can also apply anycubic kobra max upgrades to improve quality and performance even on smaller prints.
Why Choose the Anycubic Kobra Max?
The Anycubic Kobra Max is an impressive 3D printer with a large build volume, great for prop makers, cosplayers, and anyone who needs to print big items. It’s easy to assemble, comes with useful features like auto bed leveling, and offers great print quality.
Unique Enhancements Not Commonly Covered by Other Guides
Using a Filament Dry Box to Prevent Print Quality Problems
Moisture is the hidden enemy of high-quality prints. Short-term exposure can cause popping sounds, weak layers, and fuzzy prints. A filament dry box protects your materials from ambient humidity.
Options range from simple sealed containers with desiccant packs to active dry boxes with built-in heaters. If you’re printing with nylon, PETG, or TPU, keeping them dry is non-negotiable for good results. Incorporating Anycubic Kobra Max upgrades, such as a filament dry box, ensures better quality prints by preventing moisture absorption in your filaments.
Adding a Remote Monitoring Setup to Watch and Control Prints
Installing a camera and using a remote interface (like OctoPrint or similar platforms) lets you monitor prints from anywhere. This is especially useful for large-format printers like the Kobra Max, where jobs can run for days. Anycubic Kobra Max upgrades like this one enhance convenience and provide peace of mind, allowing you to track progress remotely.
Remote monitoring enables early issue detection, cancellation of failed prints, and management of multiple printers. It’s a productivity booster and a safeguard against wasted time and filament.
Wrapping Up
Upgrading your Anycubic Kobra Max is more than just a hobby—it invests in quality, speed, and reliability. From essential hardware tweaks like a PEI build plate and dual-gear extruder, to advanced modifications like linear rails and remote monitoring, each improvement brings you closer to a premium 3D printing experience.
Start small, experiment, and build up as your needs grow. Every upgrade you make helps push the boundaries of what your Kobra Max can achieve.
Frequently Asked Questions
What is the most recommended first upgrade for print quality?
The most highly recommended first upgrade is replacing the stock glass build plate with a Flexible Magnetic PEI Sheet (or a G10 sheet).
Why? The PEI sheet offers superior adhesion when hot and allows for exceptionally easy print removal (by simply flexing the plate) once it cools down. This is critical for preventing warping, especially on the Kobra Max’s large build volume.
How can I improve extrusion reliability and print with flexible filaments?
Upgrade the Bowden extruder system to a Direct Drive Extruder setup, possibly combined with a Dual-Gear Extruder assembly.
Why? A direct drive system shortens the path the filament must travel, providing better control, significantly reducing the chance of clogging, and enabling smooth, reliable printing of flexible materials like TPU. Dual-gear extruders offer superior grip on the filament compared to the stock single-gear system.
Should I upgrade the hotend?
Yes, especially if you plan to print high-temperature filaments (like Nylon or PC) or abrasive materials (like Carbon Fiber or Glow-in-the-Dark).
Hardened Steel or CHT Nozzles: Hardened steel nozzles are necessary for abrasive filaments, while CHT (Core Heating Technology) style nozzles can significantly increase the volumetric flow rate, enabling faster printing speeds.
Recommended Upgrades:
All-Metal Hotend / Bi-Metal Heat Break: This upgrade eliminates the PTFE tube in the melt zone, allowing for higher printing temperatures (above 260°C) without the risk of PTFE degradation and preventing heat creep-related clogs.
What about quality-of-life upgrades?
Popular quality-of-life mods include:
- Filament Dry Box: Essential for storing moisture-sensitive filaments (like PETG, Nylon, TPU) to prevent printing defects like stringing, bubbles, and weakness.
- Remote Monitoring/Camera Setup (e.g., OctoPrint): Enables you to monitor long prints from anywhere, remotely halt failed prints, and capture satisfying time-lapses.
- Spool Holder Relocation: Many users print a new spool holder or relocate the stock one to a different position (e.g., on top of the frame or an external stand) to reduce drag and cable movement.
Why do I get an “Auto Leveling Sensor Abnormal” error?
This error often points to an issue with the strain gauge sensor located in the print head, which the Kobra Max uses for auto-leveling (LeviQ).
- Solution:
- Check Wiring: The ribbon cable connections to the print head and mainboard may be loose. Disconnecting and securely reconnecting them can resolve the issue.
- Sensor Check: During a pre-leveling sequence, gently tap the nozzle. If the light inside the print head does not flash, the sensor or its wiring is likely faulty and may need replacement.
- Firmware: Ensure you are running the latest official firmware, as some errors are corrected with updates.
Comments are closed.