
3D printing brings your digital ideas to life by building objects layer by layer. If you’re wondering how to print using 3d printer, this beginner-friendly guide is for you. With years of experience, I’ll walk you through every step — from choosing the right printer to preparing files, loading materials, and finishing your print. You’ll also learn simple tips to avoid common mistakes and save time. Let’s make your first 3D print easy and enjoyable.
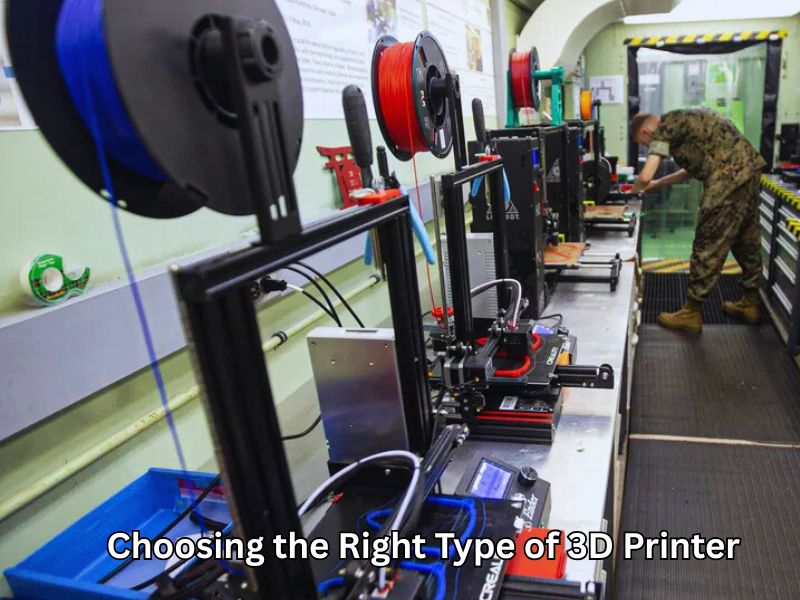
Choosing the Right Type of 3D Printer for Your Needs
FDM (Fused Deposition Modeling) vs. Resin (SLA/DLP): Which Should You Pick?
If you’re learning how to print using 3d printer, choosing between FDM and resin printers is key. FDM printers melt plastic filament to build layers. They’re easy to use, affordable, and great for bigger prints, but may have rougher finishes. Resin printers cure liquid resin with light, producing smooth, detailed prints. They’re perfect for miniatures but require more care and are more expensive. For beginners, FDM usually offers the easiest and cheapest start.
Common Entry-Level Printer Models Worth Considering
For beginners on a budget, some reliable printers cost under $500. The Creality Ender 3 is popular for its ease and firm support. The Elegoo Neptune 3 Plus offers quiet, fast printing. If you want resin printing, the Phrozen Sonic Mighty 8K delivers sharp details without a big price tag. These models are also great choices if you’re looking for the best 3d printer for small business setups that balance cost and performance. They’re perfect for starting your 3D printing journey.
Essential Features That Beginners Often Miss
Look for a heated bed to keep prints from warping. Choose printers with open filament compatibility so you can try different brands easily. Wi-Fi or cloud access lets you monitor prints remotely. Also, pick a printer that supports nozzle upgrades to improve print speed and detail as you get better.
Step 1 – Setting Up Your New 3D Printer Carefully
Unboxing and Assembling Without Mistakes
Start by placing your 3D printer on a sturdy, flat surface. This helps keep it stable during printing. When you unpack, be sure to remove any shipping bolts or clips. These protective parts are used during shipping but must be removed before use. Check all parts carefully for any damage. Follow the assembly instructions slowly and double-check every connection. If you want to learn how to print using 3d printer the right way, keeping your workspace tidy and organized will make the process smoother.
Lubrication, Calibration, and First-Level Checks
Before turning on your printer, apply lubricant to the rails and moving parts. This keeps the printer running smoothly and quietly. Next, check the belt tension—tighten it if it feels loose to avoid print errors. Make sure all screws and bolts are snug. Finally, adjust the nozzle height so the first layer sticks well to the print bed. A good first layer is key to successful 3D printing. If you’re learning how to print using 3d printer, running a small test print at this stage helps confirm everything works perfectly.
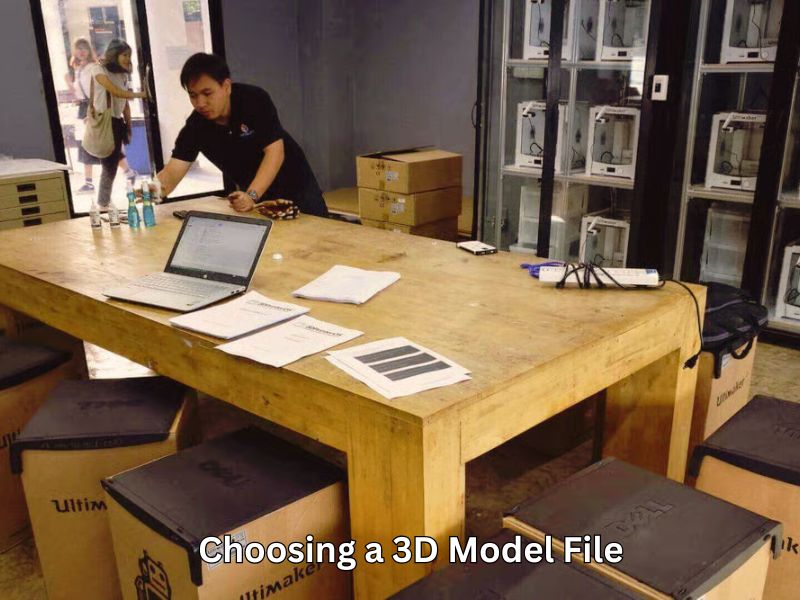
Step 2 – Preparing or Choosing a 3D Model File (STL, OBJ, AMF)
To start printing, you first need a 3D model file. This file acts as a blueprint for your printer. The most common file types you’ll hear about are STL, OBJ, and AMF.
STL files are the easiest to use and the most popular. They describe the shape of your object but don’t include colors or textures. That’s why many beginners stick with STL files—they work with nearly all printers and slicer programs.
If you want to print models with colors or more details, OBJ files are a better choice. They can hold color and texture information, which is excellent for more complex or artistic prints.
AMF files are newer and can store even more info, like different materials or multiple objects in one file. While it’s powerful, AMF isn’t as common for beginners just yet.
Don’t worry if you’re not ready to create your designs. There are plenty of websites where you can find free or affordable 3D models to print. Here are some beginner-friendly places to explore:
- Thingiverse has a massive collection of free models, perfect for testing your printer and trying out fun projects.
- Cults 3D offers both free and paid models, focusing on creative and unique designs if you want something different.
- GrabCAD is an excellent option if you’re interested in more technical or professional models, ideal for small businesses or engineering projects.
Using these resources, you can find the perfect model to start your 3D printing journey. As you grow more confident, you can design your files.
Step 3 – Using Slicer Software to Convert Models into G-Code
What is a Slicer and How It Works
Why It’s Great:
- It cuts your 3D model into thin layers, so the printer knows exactly how to build it.
- Creates a file (called G-code) that tells your printer what to do, step by step.
- Provides helpful support and controls the inside filling to ensure your print is strong and neat.
- Make sure your model is ready to print without errors.
What Can Be Tricky:
- The many settings can feel overwhelming when you’re just starting out.
- If slicing isn’t done right, your print might fail or waste materials.
Popular Free Slicers (Cura, PrusaSlicer, BambuStudio)
What’s Awesome:
- Cura is super beginner-friendly with simple settings but also lets you get fancy later.
- PrusaSlicer works great with lots of printers and has lots of powerful features.
- BambuStudio is easy to use and smart—it helps you get good results fast.
- They’re all free and allow you to add plugins to improve your prints.
What You Should Know:
- Some slicers take time to learn if you want to use all their features.
- Not every slicer supports every printer perfectly, so check compatibility.
How to Snooze Common Slicer Errors
Easy Fixes:
- Supports help with steep parts so they don’t sag or fail.
- Adjusting infill controls how strong and fast your print is.
- Most slicers have tools to fix common problems in your model before printing.
- They’ll warn you about mistakes, saving you time and frustration.
Things to Watch Out For:
- Missing errors in slicing can cause your print to mess up.
- Finding the right support and infill settings might take some practice.
Step 4 – Loading Filament or Resin and Starting the Print
Filament Loading for FDM Printers
To start printing with an FDM printer, first preheat the nozzle to the right temperature for your filament—around 200°C works well for PLA. Gently feed the filament into the extruder until you see melted plastic coming out. This shows the filament is flowing correctly. Avoid forcing the filament to prevent jams or clogs. Before you begin, make sure to level a 3D Printer properly so the first layer sticks well. Also, keep your filament dry by storing it in airtight containers. Moisture in the filament can cause print problems, so a dry spool means smoother prints.
Pouring Resin for SLA Printers
When using an SLA resin printer, carefully pour the resin into the vat, keeping the level below the fill line to avoid spills. Pour slowly to stop air bubbles from forming, as they can ruin your print. Always wear gloves and work in a ventilated space to stay safe from resin fumes and skin contact. If your resin needs mixing, do it gently to keep bubbles at bay. If you’re learning how to print using 3d printer, taking these steps helps you start printing with confidence and get cleaner, better results.
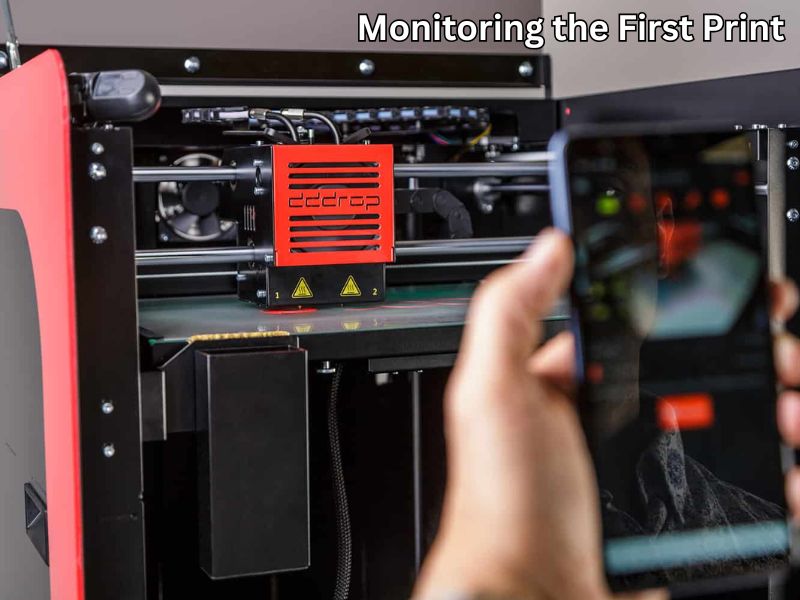
Step 5 – Monitoring the First Print and Troubleshooting Common Issues
What to Watch in the First 10 Minutes
The first 10 minutes are key when learning how to print using 3d printer. Pay close attention to how well the print sticks to the bed — poor adhesion is the top reason prints fail. Make sure the nozzle moves smoothly and lays down the first layer evenly. Watch for warping, especially at the edges, where the print can start to lift. Also, check if your printer’s bed is level. If the nozzle is too close or too far from the bed, the print can get ruined quickly.
Simple Fixes for Common Print Problems
If your print starts lifting or warping, adding a brim or raft can help. These features give your print a wider base to stick better. For clogged nozzles, clean or replace them carefully, and make sure the filament feeds without trouble. Loose belts can cause layer shifts or wobbling — tightening them helps keep everything aligned. These small adjustments are essential when learning how to print using 3d printer and can make a big difference in your print quality.
When to Use OctoPrint or Webcam Monitoring
When printing bigger or longer projects, setting up OctoPrint or a webcam can save you headaches. They let you watch your print remotely on your phone or computer. You can catch problems early, like a failed layer, or if the filament runs out. Getting alerts means you can stop the print before wasting time and materials. It’s a smart way to keep an eye on things, especially if you can’t be near your printer the whole time.
Step 6 – Post-Processing: From Finished Print to Polished Object
Once your 3D print finishes, post-processing helps turn it from a rough piece into a smooth, usable object. This step is crucial for improving appearance, strength, and fit.
Removing Supports and Smoothing Rough Edges
Most prints, especially FDM prints, need supports to hold overhanging parts. Carefully remove these supports using flush cutters or small pliers. Take your time to avoid damaging the print. After removal, rough edges or tiny scars often remain. Sand these areas gently using fine-grit sandpaper or small files. Start with coarser grit (around 100-200) to smooth big bumps, then move to finer grits (400-600) for a polished finish. This simple process cleans up your model and prepares it for painting or assembly.
Resin-Print Post-Processing Workflow
Resin prints need a slightly different approach after printing. First, rinse your print in isopropyl alcohol (IPA) to wash away sticky, uncured resin. Soaking for 5-10 minutes works well. After rinsing, dry your print thoroughly. Then, cure it under a UV light or sunlight to harden the surface thoroughly. This curing step improves durability and stability. Don’t forget to strain and reuse leftover resin to reduce waste and save costs. Following these steps ensures your resin prints look sharp and last longer.
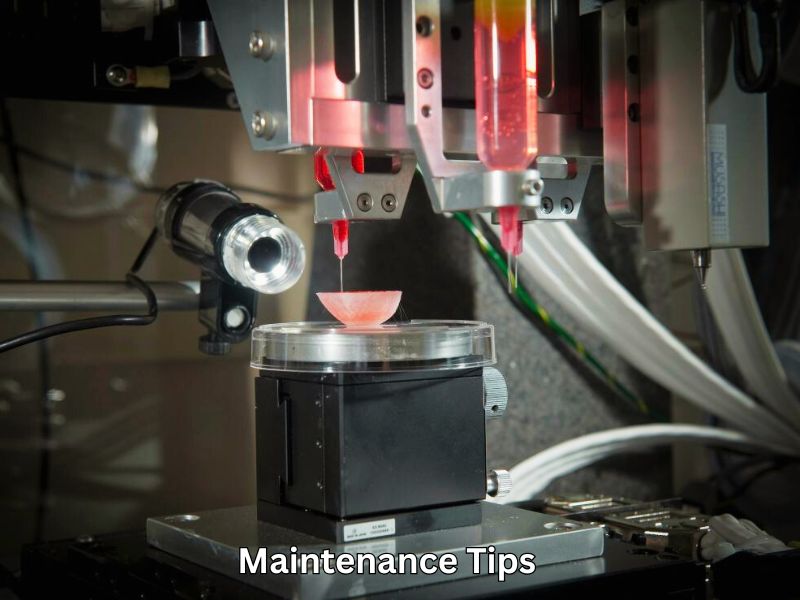
Step 7 – Maintenance Tips to Keep Your Printer Happy
Regular maintenance is key to getting the best results from your 3D printer. Start by cleaning the nozzle often. Dust and leftover filament can clog it, causing poor print quality. A simple needle or special cleaning filament works well to clear blockages. Also, wipe your print bed after every use with isopropyl alcohol. This helps your prints stick better and prevents peeling.
Don’t forget to lubricate moving parts like rods and bearings every few weeks. This keeps your printer running quietly and smoothly. Check the belts regularly — if they’re loose, your prints might shift or become inaccurate. Tighten them gently to keep things precise.
Lastly, update your printer’s firmware when new versions come out. These updates improve performance and add helpful features. Taking care of these simple maintenance steps will keep your 3D printer happy and deliver reliable, high-quality prints every time.
Unique Value Sections (Rarely Covered by Competitors)
Eco-Friendly 3D Printing: Filament Recycling and Energy Use
If you want to make your 3D printing hobby or business greener, recycling filament is a great start. Instead of tossing failed prints or leftover scraps, you can reuse or recycle them to reduce waste. Choosing PLA filament helps, too, since it’s biodegradable and made from renewable materials. Running your printer efficiently by using the lowest needed temperature and printing several parts at once can save energy and reduce waste. These simple steps help you print responsibly while still making cool projects.
Multi-Material Printing on a Budget
Using multiple materials or colors in one print can make your creations stand out, but many think it’s expensive. The good news? You don’t have to buy a high-end printer to get started. Affordable add-ons like the Mosaic Palette let you feed different filaments into a single nozzle and switch between them automatically. Some printers also allow simple upgrades to handle more than one filament. If you’re exploring how to print using 3d printer for creative projects, these budget-friendly options give you more freedom without spending a fortune.
FAQ Section – how to print using 3d printer
What’s better: PLA, ABS, or PETG?
PLA is the easiest to use and eco-friendly, but less heat-resistant. ABS is tougher but needs more care, like a heated bed and ventilation. PETG offers strength and flexibility, making it a popular choice for many beginners and small businesses.
How noisy are home 3D printers?
Home 3D printers usually produce gentle humming sounds, similar to a quiet room or soft conversation. Some models are more peaceful than others, and using an enclosure can help reduce noise.
What build volume is ideal for small businesses?
A build size of around 200 x 200 x 200 mm works well for most small projects. It’s big enough for many products without making the printer too large or expensive.
Which slicer is easiest to start with?
Cura is the go-to slicer for beginners. It’s free, simple, and works with many printers. PrusaSlicer is also user-friendly, especially for Prusa printers, and offers more advanced options as you grow.
When should I upgrade my nozzle or add an enclosure?
Upgrade your nozzle for finer prints or to use special filaments. Add an enclosure if you print ABS or need better temperature control to avoid warping. For most beginners printing with PLA, the basic setup is fine.
Closing Thought
Getting started with 3D printing might feel overwhelming, but it’s easier than you think. This simple guide showed you how to print using 3D printer step-by-step, from setup to finishing touches. With a bit of patience and practice, you’ll soon create your own amazing projects. Remember, every mistake is a chance to learn and improve. Keep experimenting, and you’ll discover just how powerful and fun 3D printing can be—whether for hobby or business. Now it’s your turn to start printing and bring your ideas to life!
Read more on this site
Anycubic Kobra 2 Max Enclosure
Anycubic Kobra 2 Max Dimensions
How to Use Blender for 3D Printing