
As a 3D printing expert with years of hands-on experience, I’ll walk you through how to use Ender 3D printer the right way. From unboxing to first layer success, you’ll learn safe assembly, perfect bed leveling, slicer tweaks, and key upgrades. I’ve seen beginner mistakes vanish by following these practical steps shared across trusted guides. Start strong, avoid frustration, and print with confidence.
Complete Beginner’s Guide to Ender 3 Setup for Flawless First Prints
Prepare a clean workspace and inspect parts. Assemble the frame, align axes, and set power to 110V. Connect wires, attach the LCD, and install the Z-limit switch. Proper setup ensures smooth prints.
Unboxing and Workspace Prep Before Assembling Your Ender 3
Start by finding a flat, sturdy table where your Ender 3 can sit comfortably. A clean, well-lit space makes a big difference. Open the box carefully and unpack all the parts. Lay them out so nothing goes missing during assembly. Take a moment to inspect each piece. Look for cracked plastic, bent metal, or loose screws.
Before plugging in anything, check the power supply on the side. For users in the USA, make sure the switch is set to 110V. This small step protects your printer from serious damage. Whether you’re printing for fun or using the best 3D printer for small business, a quick inspection now can save you from hours of trouble later.
Step-by-Step Frame Assembly Including X, Y, Z-Axis Alignment
Assembling the frame is easier when done in order. If you’re learning how to use Ender 3D printer, start by attaching the two vertical posts to the base. Use the screws provided, but don’t tighten them all the way yet. You might need to make small adjustments later.
Next, slide the X-axis bar across the top. This holds the hotend and moves side to side. Carefully mount it using the included wheels and brackets. To ensure a perfect setup, it’s important to level a 3D printer properly so everything slides smoothly without wobbles.
Now, take a square or use a level to check that everything lines up. If the frame is even slightly off, your prints may tilt or shift. Take your time here—it’s worth it.
Wiring the Power Supply, LCD Screen, and Z-Limit Switch
Mount the power supply onto the side of the printer’s frame. Use the correct screws and be sure it sits flush. Double-check that the voltage is still set to 110V.
Now, attach the LCD screen to the front of the frame. It should be easy to read and press during printing.
Lastly, install the Z-limit switch. This part tells your printer when the nozzle has reached the bed. Place it at the bottom of the left rail and leave it slightly loose for now. You’ll fine-tune it during calibration.
Connect the wires one by one, following the labels or the manual. Be sure each cable clicks in securely. A loose wire can stop your printer mid-job or damage components. This is a key part of how to use Ender 3D printer correctly, especially during setup.
Calibration Essentials: Bed Leveling, Z-Offset, and Test Prints
Getting your Ender 3 properly calibrated is one of the most important steps to successful printing. When the bed is level and the nozzle height is just right, your prints stick better and look sharper. If you’re wondering how to use Ender 3D printer the right way, mastering these setup basics is the perfect place to start.
How to Level the Bed Manually with Paper or Feeler Gauges
A simple paper test is the easiest way to level your printer’s bed. If you’re learning how to use Ender 3D printer, this is one of the first steps to get right. Slide a thin piece of paper between the nozzle and the bed, and gently lower the nozzle until you feel light resistance. The paper should move with a slight drag, not too tight or too loose. Repeat this on all four corners and the center to make sure the bed is evenly leveled. For more precision, a feeler gauge works well, but paper is a reliable starting point.
Setting Z-Offset Right for Best Bed Adhesion
After leveling the bed, the next step is setting the Z-offset. This controls how close the nozzle starts to the bed when printing the first layer. If it’s too high, the filament won’t stick. If it’s too low, you risk damaging the bed or clogging the nozzle. Use your printer’s controls to fine-tune this gap, then print a simple first-layer test. Watch how the filament lays down, and adjust the Z-offset as needed. It’s good practice to check this every few prints or after moving the printer.
Running Calibration Prints: Overhang, Bridging, Temperature Towers
Calibration prints are small test models designed to help you fine-tune your settings. An overhang test shows how well your printer handles steep angles without drooping. Bridging tests check if the filament can span gaps cleanly. Temperature towers print at different heat levels to find the perfect extrusion temperature. Running these tests early on is a smart step when learning how to use ender 3d printer effectively. It helps you adjust speed, cooling, and temperature settings so your Ender 3 delivers smoother and more precise prints every time.
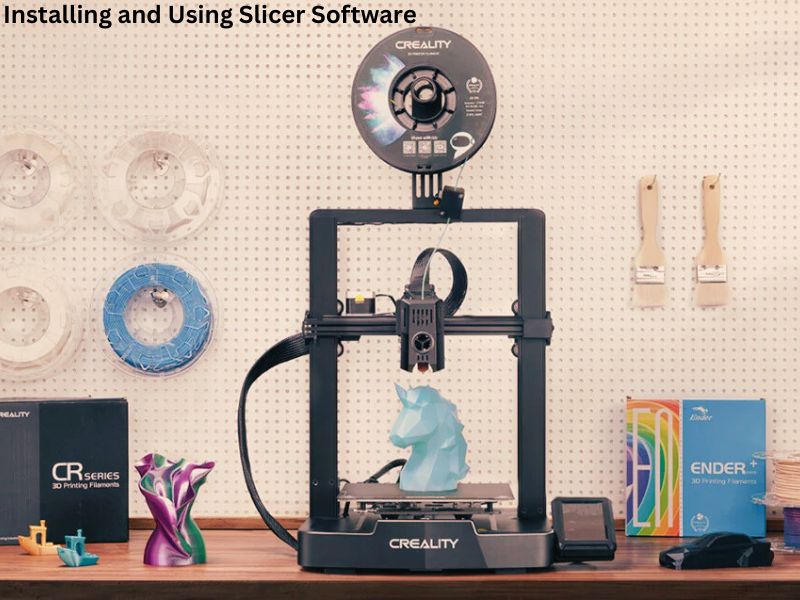
Installing and Using Slicer Software with Optimal Ender 3 Settings
Ender 3D Printer Setup and Upgrade Overview
| Category | What to Use/Do | Why It Matters | Tips for Success |
| Slicer Software | Cura (Beginner) | Comes with pre-set Ender 3 profile; easy to use | Great for quick setup and learning basic settings |
| PrusaSlicer (Intermediate) | Offers more control over supports and print paths | Ideal for complex prints and fine-tuning | |
| Simplify3D (Advanced) | Paid slicer with high-end control and preview tools | Helps reduce errors and improve overall print quality | |
| Start-Up G-code | Add a skirt or prime line | Prepares nozzle, prevents blobs | Improves first-layer adhesion |
| Retraction Settings | 5 mm distance, 40–60 mm/s speed | Prevents stringing and messy prints | Adjust based on filament type (e.g., PLA, PETG) |
| Print Speed | 50–60 mm/s for PLA | Balances speed and detail | Slow down for fine details; increase for faster prints |
| Firmware | Stock (Default) | Good for beginners, basic features | Safe to use out of the box |
| Marlin or TH3D (Upgrade) | Adds quiet mode, safety checks, and sensor support | Back up the original firmware before updating | |
| Auto-Leveling | CR-Touch or BLTouch | Automatically adjusts for uneven bed surfaces | Run mesh leveling after installation |
| Safety Tips | Unplug before hardware changes | Prevents shock or short circuits | Always double-check wires before turning them on |
| Backup firmware/settings | Protects custom configurations | Store a copy before making any firmware changes |
Leveling Up Quality: Must-Have Upgrades for Ender 3 Performance
Simple Start-Up Upgrades You Should Do Immediately
If you want your Ender 3 to print better and last longer, start with a couple of easy upgrades. First, replace the plastic parts on the extruder with metal ones. Metal extruders are tougher and help feed filament more smoothly, reducing the chance of jams or inconsistent prints.
Next, swap out the soft, original bed springs for stronger ones. The stock springs often get loose over time, making your bed unlevel and ruining prints. If you’re learning how to use Ender 3D printer effectively, upgrading the springs is a smart move. Stronger springs keep the bed steady and save you from constantly fixing the level.
Mid-Term Upgrades: Glass Bed, PEI Sheet, Fan Duct, and Cable Management
To improve print adhesion and removal, consider upgrading your build surface. Adding a glass bed gives you a flatter, more durable base for your prints. You can also use a magnetic PEI sheet that helps prints stick during printing but peel off easily afterward.
Better cooling can make a big difference, too. Upgrading to a more efficient fan and fan duct helps cool your prints evenly. This reduces warping and improves detail on small parts. If you’re learning how to use Ender 3D printer, optimizing airflow is a smart move. Also, organizing cables neatly isn’t just for looks—it prevents tangles and stops wires from getting in the way, which keeps your printer running smoothly and safely.
Filament Handling and Maintenance Habits for Reliable Printing
Dryer Box for Filament and Moisture Control Before Use
One of the biggest hidden causes of print failures is moisture in your filament. When filament absorbs humidity from the air, it can create bubbles and cause weak, brittle prints. Using a filament dryer box keeps your spool dry and ready for consistent extrusion. Materials like PLA, ABS, and TPU all benefit from being stored in low-humidity environments. If you don’t have a dryer box, sealing filament with desiccant packs in airtight containers also helps prevent moisture buildup. If you’re learning how to use Ender 3D printer effectively, keeping your filament dry is one of the easiest ways to ensure smoother prints and longer-lasting material.
Regular Printer Cleaning and Lubricating Tips
Maintaining your Ender 3 with regular cleaning keeps it running smoothly. Wipe the print bed after every few prints to remove dust, leftover glue, or filament residue. A clean bed improves adhesion and print quality. The nozzle also needs occasional cleaning to prevent clogs—this might include cold pulls or using cleaning filament. Don’t forget to lubricate the rods, lead screws, and bearings. Proper lubrication reduces friction and wear, which improves print accuracy and extends your printer’s life. A well-maintained printer saves time and headaches in the long run.
Troubleshooting Common Print Problems on Ender 3 Like a Pro
Fixing First Layer Issues: Elephant Foot, Layer Gaps, and Warping
The first layer is the foundation of every great 3D print. If you see the base of your print spreading out wider than it should, known as elephant foot, it usually means your bed is too close to the nozzle. The best fix is to relevel your bed carefully. Use a thin piece of paper and adjust the distance until the nozzle just barely touches the paper at all corners. Also, check your printer’s initial layer height settings in the slicer—raising it a bit can prevent the base from getting squished.
If you notice gaps between layers, it could be due to inconsistent filament flow. Learning how to use Ender 3D printer properly helps reduce common print issues. For prints that warp or lift from the bed—especially with materials like ABS or PETG—increase the bed temperature. Most PLA prints stick well around 60°C. Adding a brim or raft can also improve adhesion and reduce warping.
Solving Stringing, Under-Extrusion, and Clogs
Have you noticed thin, unwanted strands of filament between parts? That’s called stringing, and it often happens when the printer doesn’t retract the filament properly. Adjusting the retraction settings—like increasing the pull-back distance or speed—usually helps. Also, make sure your filament spool unwinds smoothly without any tangles.
When your printer isn’t pushing out enough filament, or the layers look thin, it’s called under-extrusion. This can happen if your nozzle is partially clogged. Regular cleaning—like performing a cold pull or gently clearing the nozzle with a thin wire—keeps things flowing smoothly. Also, check the tension on your extruder: it should grip the filament firmly but not squeeze it too much.
Motors Clicking, Thermal Runaway, and Homing Errors
A clicking noise from your motors often means the stepper motors are skipping steps, usually caused by tight belts or friction. Check that all belts are snug but not too tight, and lubricate the rods to keep movement smooth.
Thermal runaway is a safety error triggered when your printer’s temperature sensors lose connection or give false readings. Always double-check that your thermistor wires are secure, especially if you recently moved or upgraded parts.
If your printer can’t find its home position, this is a homing error. Make sure the limit switches or sensors are properly connected and clean. Also, after any firmware update or hardware upgrade, double-check your settings to keep everything working smoothly.
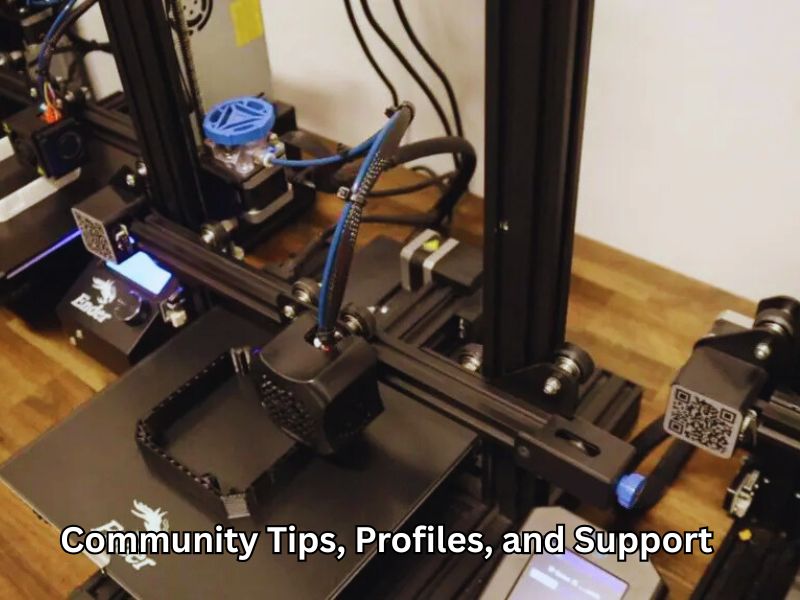
Getting Community Tips, Profiles, and Support for Your Ender 3
When you start using your Ender 3, joining a community can make a huge difference. Other users share useful tips, troubleshooting help, and print settings that can save you time and headaches. Whether you’re just beginning or have some experience, these groups offer friendly advice and inspiration.
Best Online Forums, Subreddits, and YouTube Channels for Ender 3 Users
One of the best places to get help is the r/Ender3 subreddit on Reddit. It’s full of helpful people sharing ideas, fixes, and upgrade advice. If you prefer videos, channels like Teaching Tech and Thomas Sanladerer have easy-to-follow tutorials made just for Ender 3 users. They cover everything from basic setup to advanced mods, so you can learn at your own pace.
Sharing Prints, CAD Models, and Advanced Techniques with Groups
You can also find tons of free STL files and custom print profiles online through sites like Thingiverse and MyMiniFactory. Sharing your own designs and downloads lets you explore new projects and improve your prints. Many users also share tips on firmware upgrades and slicing tricks to get better results from their Ender 3 printers.
Frequently Asked Questions on How to Use Ender 3D Printer
1. How do I level the bed on my Ender 3?
Use a sheet of paper under the nozzle. Adjust the bed until you feel light resistance as the paper moves. Repeat for all corners.
2. How do I load or change filament on the Ender 3?
Heat the nozzle, cut the filament at an angle, and push it into the extruder until it flows. To change it, unload, then load the new one the same way.
3. Where can I find free print files and custom settings?
You can download STL files and slicer profiles from popular 3D model sites. These help improve print quality and reduce setup time.
4. What are the best communities for Ender 3 support?
Join forums, subreddits, and YouTube channels focused on the Ender 3. They offer setup help, upgrades, and real-time advice from experienced users.
5. How do I prevent moisture from ruining my filament?
Store filament in airtight containers with moisture absorbers. Dry it before use if it’s been exposed to humidity.
Closing Thought
Setting up your Ender 3 correctly makes all the difference in print quality and ease of use. By following simple steps—careful assembly, precise bed leveling, and proper slicer settings—you’ll avoid common pitfalls. Don’t forget to tap into the strong Ender 3 community for tips and support. With patience and practice, this affordable 3D printer can deliver impressive results for both beginners and pros. Keep your printer maintained, upgrade smartly, and enjoy turning your ideas into real, high-quality prints every time.
Read more on this site
Flashforge Guider II 3D Printer Review – Is It Worth It?
Flashforge Adventurer 4 3D Printer Review – Features & Performance
Complete Flashforge 3D Printer Review – Models & Specs
Flashforge Adventurer 4 Pro 3D Printer Review – Pros & Cons
Flashforge Adventurer 5M Pro 3D Printer Review – Is It the Best?
Sunlu S9 Plus 3D Printer Review – Features & User Guide
Sunlu S8 Pro 3D Printer Review – Should You Buy It?
Sunlu T3 3D Printer Review – A Detailed Look
JGMAKER A9 Pro 3D Printer Review – What You Need to Know
JG Maker R1 3D Printer Review – Features & Verdict
JGMAKER Artist D Pro 3D Printer Review – Full Breakdown
JGMAKER A5S 3D Printer Review – Pros & Cons Explained
JGMAKER Artist D 3D Printer Review – User Experience
Phrozen Sonic Mighty 8K vs Mini 8K 3D Printer Review – Which Wins?
Elegoo Mars 4 Ultra 9K 3D Printer Review – Ultimate Guide
Phrozen Sonic Mighty 8K Resin 3D Printer Review – Is It Worth It?
Phrozen Sonic Mini 8K 3D Printer Review – Key Features
Phrozen Sonic Mini 8K S 3D Printer Review – Detailed Analysis
Phrozen Sonic Mega 8K S 3D Printer Review – Pros & Cons
Entina X40 V3 IDEX 3D Printer Review – Full Breakdown
Entina X40 Basic IDEX 3D Printer Review – User Insights
Entina Tina2S 3D Printer Review – Should You Buy It?
Entina Tina 2 Mini 3D Printer Review – What to Expect