
Introduction: Why Glass Beds Are a Game-Changer for 3D Printing
Choosing the right build surface is key to successful 3D printing. Many makers and businesses prefer a 3d printer on glass setup because it delivers smooth, reliable results. A glass build plate provides a perfectly flat surface, helping your first layer stick well and reducing common issues like warping.
Besides excellent adhesion, glass is durable and long-lasting. Unlike some surfaces that wear out quickly, a glass bed stays consistent, saving you time and money on replacements. Its even heat distribution ensures your 3d printer maintains the right temperature, which boosts overall print quality.
Plus, prints often come off with a smooth, polished bottom layer when printed on glass. This makes your projects look cleaner and more professional without extra effort. If you’re looking to invest in the best 3d printer for small business, choosing one with a reliable glass bed can greatly improve your print quality and ease of use.
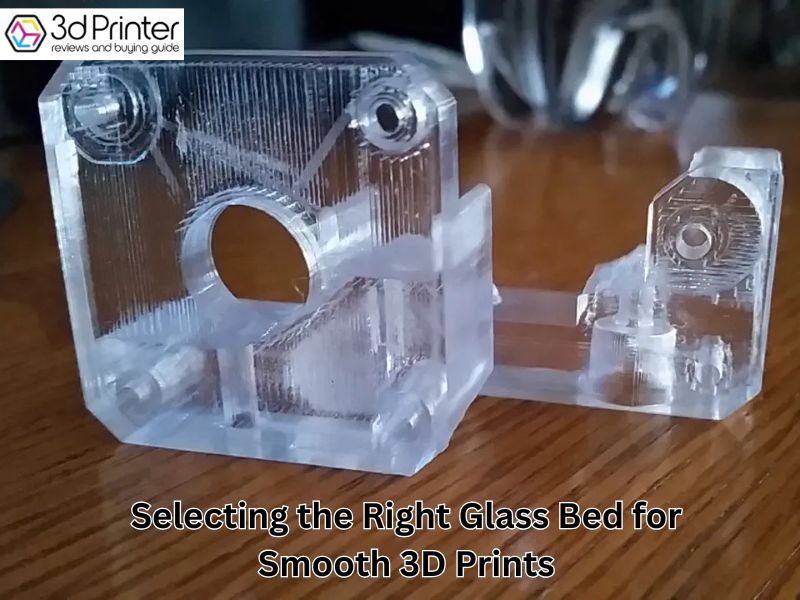
Selecting the Right Glass Bed for Smooth 3D Prints
Picking the right glass bed can make a big difference in your 3D printing results. A good glass bed helps your prints stick well, prevents warping, and makes removing prints easier.
Why Choose Borosilicate Glass? The Best Choice for 3D Printing
Borosilicate glass is a favorite among 3D printing enthusiasts. It handles heat changes well without cracking. This glass stays flat and lasts through many print sessions. While a bit pricier and heavier, its durability and heat resistance make it worth it.
Glass Thickness: Finding the Right Balance
The thickness of your glass bed matters. Thicker glass (around 4–6mm) is stronger and less likely to warp, but heats up more slowly. Thinner glass (3–4mm) heats faster but can warp more easily. A 4mm thickness often hits the sweet spot for most users.
Other Glass Options: Tempered and Ceramic
Tempered glass is tougher and safer if broken, but isn’t as good with sudden heat changes. Ceramic glass offers excellent heat resistance but can be expensive. For most people using a 3d printer on glass, borosilicate glass remains the best balance of price and performance.
Quick Tips for Best Results
- Keep the glass clean and dust-free.
- Level your printer bed regularly.
- Use light adhesives like glue sticks or hairspray for better print sticking.
Choosing the right glass bed and caring for it well will help you get smoother, more reliable 3D prints every time.
Preparing Your Glass Bed for Perfect Prints
A clean glass bed is key to smooth, successful 3D prints. Dirt, oils, or leftover filament can cause poor adhesion and messy results. Start by letting the bed cool down before cleaning it. This prevents fumes and keeps cleaning effective.
Use a plastic scraper to remove any leftover plastic gently. Avoid metal tools—they can scratch your glass and cause problems later.
Cleaning Techniques: Using Isopropyl Alcohol for a Spotless Surface
Isopropyl alcohol (IPA) is one of the best cleaners for glass beds. It removes oils and residue quickly and evaporates without leaving a trace.
Dampen a microfiber cloth or paper towel with 70-90% IPA. When cleaning your 3d printer on glass, wipe the bed carefully, moving in one direction. This helps avoid spreading dirt and streaks. Let the surface air dry fully before printing again.
Maintaining Cleanliness: Best Practices for Regular Upkeep
Keeping your glass bed clean is essential for consistent print quality. After every print, give it a quick wipe with IPA to clear oils and dust.
Once a week, remove the glass and wash it with warm water and mild soap. Use a soft cloth to avoid scratches. For stubborn residue, a monthly deep clean with higher concentration IPA works wonders.
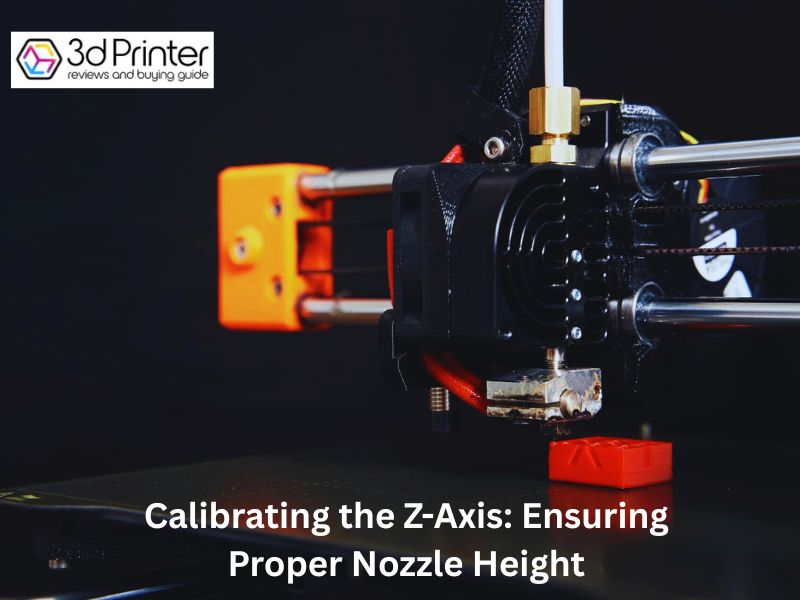
Calibrating the Z-Axis: Ensuring Proper Nozzle Height
Getting the perfect first layer when using a 3d printer on glass starts with setting the right nozzle height. When the nozzle sits too far from the glass bed, the filament won’t stick well, causing prints to fail. But if the nozzle is too close, it can block the flow of filament or even scratch the glass surface. A simple way to find the sweet spot is by using a piece of paper as a gauge. Slide the paper under the nozzle and adjust the height until you feel gentle resistance as you move the paper. This little trick helps make sure the nozzle is close enough to lay down the filament smoothly without pressing too hard.
Adjusting First Layer Settings: Speed and Width for Optimal Adhesion
Slowing down the speed of the first layer when using a 3d printer on glass can make a huge difference. Printing too fast can cause the filament to fail to bond properly with the glass, leading to warping or peeling. A slower pace—around 20 to 30 millimeters per second—is usually ideal for most materials. Besides speed, adjusting the extrusion width on the first layer helps improve the print’s adhesion. Making the line a bit wider spreads the filament out, creating a stronger connection to the glass bed. These small changes set up a solid base for the rest of the print.
Utilizing Brims and Rafts: Enhancing Adhesion for Challenging Prints
Some models, especially those with tiny footprints or delicate details, can be tricky to print using a 3d printer on glass. That’s where brims and rafts come in handy. A brim adds extra lines of filament around the edge of your print. This increases the surface area touching the glass, helping the model stay put during printing. It’s easy to remove once the print is done. Rafts take it a step further by printing a thicker, flat layer beneath the entire object. This works great for materials like ABS, which tend to warp and lift from the bed. Rafts provide a sturdy foundation, ensuring your print adheres well from start to finish.
Managing Bed Temperature for Different Filaments: Best Tips for Smooth Prints
Recommended Bed Temperatures for PLA, ABS, and PETG
One of the most important factors for a smooth 3D print is setting the right bed temperature. Different filaments need different heat settings to stick well and avoid problems like warping.
- PLA (Polylactic Acid)
PLA is one of the easiest filaments to print with. A bed temperature between 50°C and 60°C usually works well. Starting at around 60°C helps the print stick without making the material too soft. - ABS (Acrylonitrile Butadiene Styrene)
ABS needs a warmer bed to prevent warping. Aim for a temperature between 90°C and 110°C. Keeping the bed hot helps the print stay in place during cooling. - PETG (Polyethylene Terephthalate Glycol)
For PETG, a bed temperature of 80°C is a good starting point. Some users also find success printing at room temperature, but a warm bed generally improves adhesion.
Understanding Thermal Conductivity: Why Temperature Readings Matter
Thermal conductivity is how well a material passes heat. It affects how evenly your 3d printer on glass bed heats up and how the filament sticks. Some filaments conduct heat poorly, meaning you might need to raise the bed temperature slightly. Others transfer heat well and work fine with lower settings. Adjusting your bed temperature based on the filament’s thermal properties helps avoid uneven printing and adhesion problems.
Using Cooling Fans: How to Prevent Overheating and Warping
Cooling fans control how fast each printed layer cools. Proper cooling stops the print from overheating and reduces warping. But cooling needs vary between filaments:
- PLA
Use cooling fans at full power after the first few layers. This quick cooling helps solidify the print and keeps warping at bay. - ABS
Turn down or switch off fans. Cooling ABS too fast causes the material to shrink unevenly, leading to warps and cracks. - PETG
Moderate fan speed works best. Too much cooling can cause weak layer bonds, while too little might lead to stringing and blobs.
Mastering your printer’s bed temperature and cooling settings for each filament will help you get smooth, reliable prints every time. Adjust these settings carefully and watch your 3D printing quality improve!
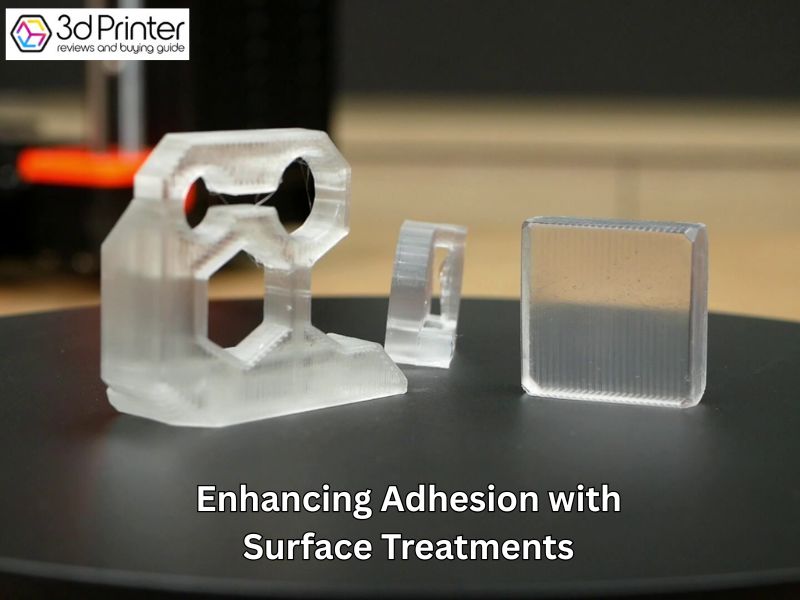
Enhancing Adhesion with Surface Treatments
Getting your 3d printer on glass prints to stick can be challenging. Start by cleaning the glass thoroughly using isopropyl alcohol or vinegar to remove oils and dust. A clean surface helps the first layer stick better. Next, level the bed carefully because an uneven surface can cause prints to fail. Using a heated bed also boosts adhesion, especially with materials like ABS or PETG. Warmth keeps the filament stuck and reduces warping.
Exploring Adhesive Options: Glue Sticks, Magigoo, and More
Applying adhesives is a simple way to improve print grip when using a 3d printer on glass. A basic glue stick works well for many filaments by creating a sticky layer on the glass. Magigoo is a popular 3D printing adhesive that holds prints firmly during the process but releases easily when cooled. Some users spray a light coat of hairspray for extra hold, but make sure to apply it evenly to avoid patchy adhesion.
Applying Sugar Solutions: A Natural Alternative for Improved Grip
For a natural option, try a sugar-water mix. Dissolve equal parts sugar and water, then apply it to the heated glass bed. When the water evaporates, the sugar leaves a tacky surface that helps prints stick, especially when using a 3d printer on glass. It’s an affordable and easy-to-clean alternative to synthetic adhesives.
Using Brims and Rafts: Enhancing Adhesion for Challenging Prints
Brims and rafts add extra support for tricky prints when using a 3d printer on glass. A brim adds lines around your model’s base, increasing contact with the bed and preventing warping. Rafts create a complete base layer under your print, offering strong adhesion and stability. Both features are available in most slicer programs and can save prints that might otherwise lift or fail.
Troubleshooting Common Glass Bed Issues in 3D Printing
Printing on a glass bed can produce smooth and professional results, but it comes with a few challenges. Knowing how to troubleshoot common problems can save you time and improve your prints. Let’s dive into some simple tips for dealing with glass bed issues.
Addressing Print Removal Challenges: Techniques for Easy Detachment
One common frustration with a 3d printer on glass is getting your prints off the bed without damage. A simple trick is to let the bed cool completely before removal; this helps the print contract slightly and loosens its grip. Using a thin spatula or scraper, carefully lift the print underneath without scratching the surface. Some users apply a light layer of glue stick or hairspray before printing. This acts as a release agent, making prints easier to remove while still sticking well during printing.
Preventing Warping: Adjusting Settings for Stable Prints
Warping happens when the edges of your print lift because the plastic cools unevenly. To reduce this, start by making sure your 3d printer on glass bed is perfectly level. Even small bumps can cause adhesion problems. Using a heated bed set to the right temperature for your filament keeps the plastic warm and stuck. Also, slow down the cooling fan during the first few layers to avoid sudden temperature changes that cause warping. Gradually increasing the fan speed after that helps maintain print quality.
Dealing with Uneven First Layers: Calibration and Settings Tweaks
A smooth first layer is crucial for a successful print. If your first layer is uneven, start by checking your nozzle height. It should be close enough to the bed to lay down filament smoothly, but not so close that it blocks the flow. If you face any blockage, you may need to unclog a 3D printer nozzle before continuing. Printing the first layer slower than the rest helps the filament stick better. You can also increase the extrusion width on the first layer. This spreads out the filament a bit more and helps cover any tiny irregularities on the glass.
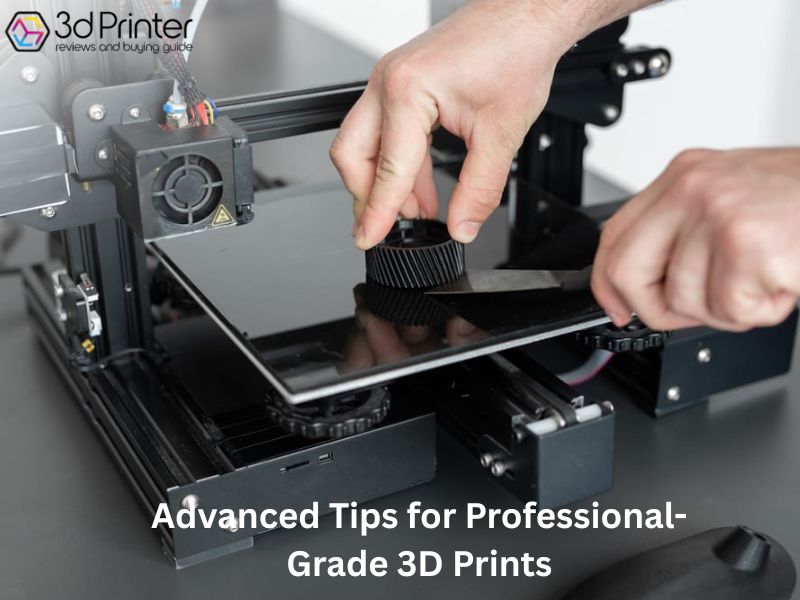
Advanced Tips for Professional-Grade 3D Prints
1. Use Ironing for a Smooth Top Layer
Ironing is a clever way to smooth out the top surface of your 3D prints. It works by having the nozzle glide over the print without adding extra filament. This “irons” the layer flat, reducing visible lines and bumps.
How to get the best results:
- Raise the ironing temperature slightly to help the filament melt and flow better.
- Slow down the ironing speed so the nozzle has enough time to smooth the surface.
- Choose high-quality filament to avoid clogs and blobs during ironing.
2. Add Thermal Pads to Improve Heat Distribution
Thermal pads go between your heated bed and the glass build plate. They help spread heat evenly, so your prints stick better and warp less.
Why use thermal pads:
- They improve heat transfer, making the bed temperature more consistent.
- Even heat helps prevent warping, especially with tricky materials like PLA.
- Installing them is simple and budget-friendly.
Pro tips:
Make sure both surfaces are clean before placing the pad. Avoid air bubbles for best heat conduction. After installation, check that your bed heats to the right temperature.
3. Try Magnetic PEI Sheets for Better Adhesion and Flexibility
Magnetic PEI sheets have a flexible surface that sticks well to many filaments. Plus, they snap on and off the heated bed with a magnetic base, making print removal easy.
Benefits include:
- Strong grip to keep prints from shifting.
- Flexible surface lets you pop prints off without tools.
- Durable and heat resistant, great for many filament types.
Tips for use:
Secure the magnetic base firmly to the bed. Keep the PEI surface clean for optimal grip. Adjust bed temperature depending on your filament to avoid over-adhesion.
FAQs: 3D Printer on Glass – Tips for Smooth Prints
1. Why use glass as a 3D printer bed?
Glass offers a flat and stable surface. It helps with even heat and reduces warping. Plus, it’s easy to clean.
2. What type of glass works best?
Borosilicate glass is the top choice. It handles heat well and stays flat over time.
3. Should I print on the smooth or textured side of the glass?
The smooth side gives a shiny finish but sticks strongly. The textured side is easier to remove prints from, but less smooth.
4. How do I prepare the glass bed?
Clean it with isopropyl alcohol. Use a thin layer of glue stick or hairspray to help prints stick. Make sure the bed is level.
5. What adhesives work well on glass?
Glue sticks work great for PLA and PETG. For ABS, hairspray or diluted wood glue can improve adhesion.
Final Thought
Using 3d printer on glass as a bed helps create smooth, flat prints with ease. To get the best results, keep the glass clean and level your bed carefully. Adding a bit of glue or hairspray can improve adhesion. For even better prints, try advanced tips like ironing, thermal pads, and magnetic PEI sheets. These simple steps can make a big difference in print quality and removal. Whether you’re printing for fun or business, glass beds offer a reliable and affordable way to get professional-looking results every time.
Relevant Articles
- Best Cheap 3D Printer
- Best 3D Printer for Home Business
- Best 3D Printer for Small Business
- Best 3D Printer for Beginners
- Creality Ender 5 S1 3D Printer
- Best 3D Printers Under 500
- 3D Printer Buying Guide
- Best Budget 3D Printer
- How to Start a 3D Printing Business
- How Does 3D Printing Work?
- What Is 3D Printing?