
Introduction
As someone who’s worked with 3D printers for years, I know the key to great prints lies in mastering how to use 3d printer software effectively. The right slicer settings and a smooth workflow can save you time and material.
In this guide, I’ll walk you through picking the best 3D printer software, setting it up correctly, and using pro tips to get the most from your prints. Whether you’re printing for fun or business, learning these easy steps will help you print like a true expert.
Learn how to use 3D printer software step by step. Simple guide for beginners to design, slice, and print with ease.
Related internal pages:
- how-to-create-3d-models-for-printing-free/
- anycubic-kobra-2-max-slicer/
- how-to-choose-a-3d-printer/
- how-to-make-3d-models-for-printing/
- best-3d-printer-for-beginners-2/
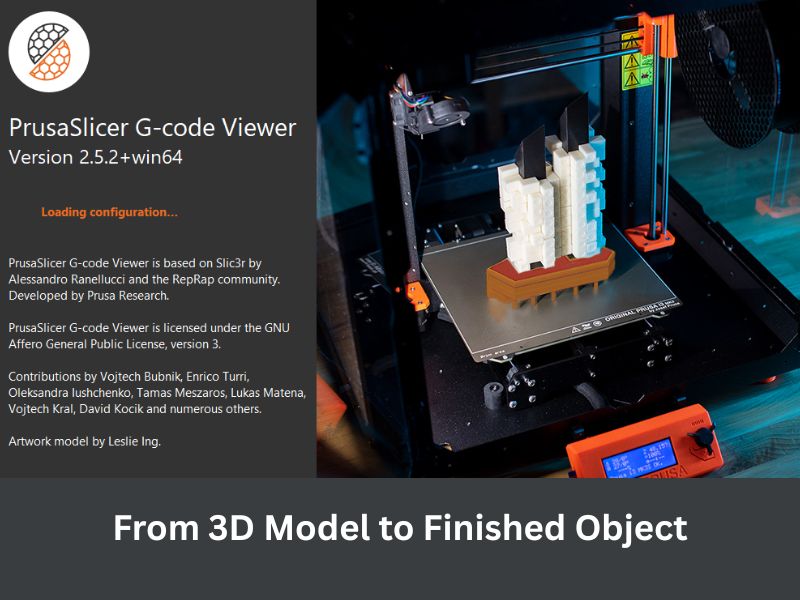
The Core Workflow: From 3D Model to Finished Object — Step-by-Step Overview
To use 3D printer software like a pro, you need to understand how to use 3d printer software in a clear, step-by-step way. First, start with a 3D design, either by creating your own or downloading one. Next, carefully check and fix any issues with the model to avoid printing problems. Then, slice the model using software that turns it into layers and instructions your printer understands.
Always preview the print to catch errors before exporting the G-code file. Load this file into your printer, start the print, and watch the first layers closely. Finally, clean up your printed piece by removing supports and finishing any rough spots. If you’re looking for reliable hardware, check out the best 3d printer for small business to match your professional printing needs.
Choose the Right Tools: Best Software Types and When to Use Each One
Picking the right software is key to getting great 3D prints. Here’s what you need to know:
3D Modeling Software: Simple Tools for Beginners and Powerful Options for Pros
- TinkerCAD
- Easy, browser-based tool
- Perfect for beginners and quick, simple parts
- Easy, browser-based tool
- Fusion 360
- Powerful parametric design software
- Best for engineers and makers who want precision
- Powerful parametric design software
- Blender
- Great for creating organic, artistic shapes
- Has a steep learning curve but offers tons of creative freedom
- Great for creating organic, artistic shapes
Slicer Software: The Most Important Step Before Printing
- Cura
- User-friendly and works with many printers
- Good for beginners and casual users
- User-friendly and works with many printers
- PrusaSlicer
- Offers detailed control over print settings
- Works with a wide range of printers
- Offers detailed control over print settings
- SuperSlicer
- Advanced fork of PrusaSlicer
- Adds extra customization features for pros
- Advanced fork of PrusaSlicer
- Simplify3D
- Premium slicer with extensive settings
- Favored by professionals for precision and reliability
- Premium slicer with extensive settings
- Bambu Studio
- Designed for Bambu Lab printers
- Combines slicing and printer management
- Designed for Bambu Lab printers
Printer Host & Control Tools: When You Need Remote Access and Print Farm Management
- OctoPrint
- Open-source tool for remote monitoring and control
- Compatible with most 3D printers
- Open-source tool for remote monitoring and control
- Bambu Farm Manager
- Manages multiple Bambu Lab printers
- Features job queuing and real-time monitoring
- Manages multiple Bambu Lab printers
- Cloud-Based Tools
- Offer remote access from anywhere
- Ideal for users managing prints away from their workspace
- Offer remote access from anywhere

First Steps: Installing and Setting Up Your Slicer Like a Pro
Getting your slicer set up right is the first step to printing success. The key? Input your printer’s exact details, calibrate your filament and temperatures, and choose layer height and speed based on your desired outcome. This saves time, cuts waste, and boosts print quality.
How to Add Your Printer Profile Correctly to Avoid Bad Prints
Start by selecting your exact printer model in the slicer. If it’s not listed, add the details yourself—like the firmware type, nozzle size, and build volume. These settings are essential when learning how to use 3d printer software because they tell the slicer how to slice your model properly. This ensures your printer follows the instructions without errors.
Calibrate Filament and Temperatures: Save Time and Filament
Next, dial in your filament settings. Print a temperature tower to find the best printing temperature for your material. Run first-layer tests to ensure good bed adhesion and level a 3D printer properly. Also, check your extrusion settings so your printer feeds just the right amount of filament. These simple steps help you avoid failed prints and wasted filament.
Choose Layer Height and Print Speed Based on Purpose (Quality vs. Speed)
Finally, when learning how to use 3d printer software, pick your layer height and print speed based on what you’re printing. Use lower layer heights for detailed models, and higher ones for quick prototypes. Slow speeds give better quality, while faster speeds save time. Finding the right balance means you get precisely the prints you want, without compromise.
Slicing Settings Explained in Plain English: What Really Matters
The slicing settings you choose make a big difference in how your 3D print looks and performs. Getting these right helps you print stronger, cleaner, and faster. Let’s break down the key settings you should know.
Layer Height, Wall Count, and Shell Thickness — How They Affect Strength and Finish
Layer height controls how thick each printed layer is. Smaller layers mean smoother prints, but take longer. Bigger layers speed things up, but can make surfaces rougher. When learning how to use 3d printer software, understanding wall count and shell thickness is important. These settings tell your printer how many outer layers to print. More walls make your print tougher and improve surface quality, but they also use more material.
Infill Patterns and Density — Which Options Boost Strength or Save Time
Infill is the inside structure of your print. Patterns like “Gyroid” give a good balance of strength and flexibility. Simpler patterns print faster but might not be as strong. The denser the infill, the stronger the part, but it also means longer prints and more filament.
Supports, Brim, Raft, and Tricks to Help Your Print Stick and Look Good
Supports hold up parts that hang in the air during printing. Brims add extra lines around the base to help your print stick better and prevent warping. Rafts create a full base layer for tricky prints but can leave marks underneath. Keeping your print bed clean and level is a simple way to avoid issues.
Retraction, Coasting, and Other Features That Stop Stringing and Blobs
Retraction pulls back filament during travel moves to avoid oozing and stringing. Coasting stops extrusion just before the end of a move to reduce blobs. When learning how to use 3d printer software, using features like wiping the nozzle while retracting can help keep your print clean and smooth.
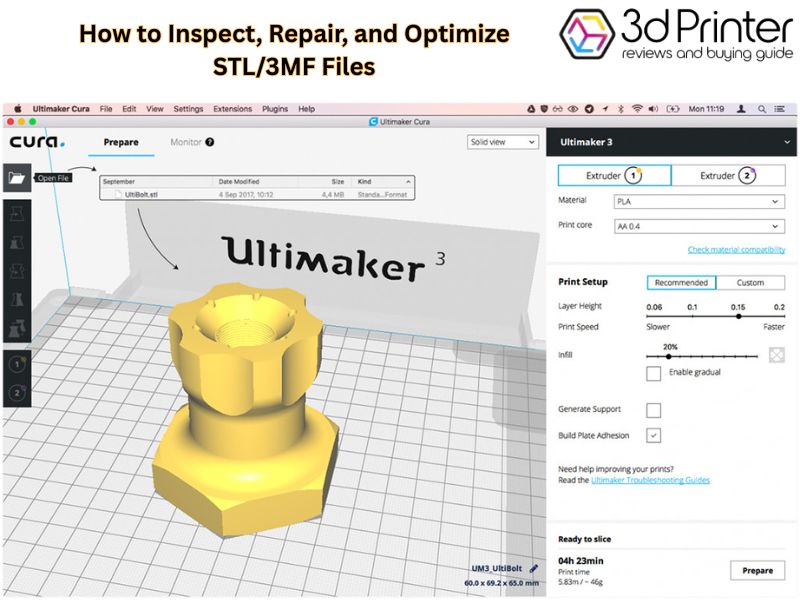
Model Prep and File Health: How to Inspect, Repair, and Optimize STL/3MF Files
Before hitting print, your 3D model needs a quick health check. Good file prep means catching issues like holes, thin walls, or tricky edges that can ruin a print. Fixing these early saves time, material, and frustration. This is a crucial step in how to use 3d printer software properly to ensure your STL or 3MF files are ready for slicing and printing.
How to Check for Non-Manifold Edges, Thin Walls, and Holes Before You Slice
Look out for these common model problems that cause printing headaches:
- Non-manifold Edges: These confusing spots happen when edges connect oddly, causing the printer to struggle to build layers.
- Thin Walls: Walls thinner than your nozzle can break or print poorly—stick to your printer’s minimum thickness.
- Holes and Gaps: Open holes in your model mean missing parts on the final print.
Always scrutinize your model before slicing to avoid failed prints.
Use Tools Like Meshmixer and Microsoft 3D Tools to Repair Models Quickly
Fixing model issues doesn’t have to be hard. These tools make repairs simple:
- Meshmixer: A powerful free tool that scans your model for errors and can auto-fix most problems fast.
- Microsoft 3D Builder: Great for beginners, it automatically repairs common mesh issues with just a few clicks.
- Netfabb: A professional option for deep repairs and fine-tuning complex models.
Using these tools will get your model in top shape for printing.
Use 3MF or STL? Pros and Cons for Color, Metadata, and Provenance
Choosing the right file format matters:
- STL: The classic choice, STL files are simple and work with almost all slicers. But they only save shape — no color or extra info.
- 3MF: This newer format can hold colors, materials, and printer settings. It’s great for detailed prints but not all slicers support it yet.
Pick the format that fits your project and printer software best.
Preview, Simulate, and Read G-code: How to Spot Problems Before Printing
Before starting a 3D print, carefully checking your slicer preview and G-code helps avoid wasted time and failed prints. Catching issues early means smoother, cleaner results.
How to Use Layer View to Find Overhangs, Missing Walls, and Excessive Travel Moves
The layer view shows your print layer by layer. It helps spot tricky overhangs that might need support, missing walls that could ruin your model, and long travel moves that increase stringing or print time. When learning how to use 3d printer software, paying close attention to this view lets you adjust support settings or tweak your model if you see problems.
Simulate Supports and Estimated Print Time; When to Trust the Slicer Estimate
Simulating supports ensures your model won’t droop or fail where it hangs in midair. Print time estimates are helpful but not perfect. Treat them as rough guides because printer speeds and settings vary. When unsure, try a small test print to get real timing.
Basic G-code Inspection: Look for Unexpected Retracts or Rapid Travel Moves
Reading the G-code can feel technical, but learning how to use 3d printer software helps you catch issues like too many retractions, which cause stringing, or fast travel moves that might shake your printer. Simple tools let you watch the G-code path and spot trouble before it prints.
Efficient Print Workflow: Templates, Profiles, and Presets That Save Time
Having a smooth print workflow saves you time and reduces mistakes. Using templates, profiles, and presets tailored to your needs lets you start printing quickly without constant tweaking.
How to Build a Profile Library for Different Materials and Use Cases
Create a set of print profiles for each material you use, like PLA, PETG, or flexible TPU. Adjust settings such as print speed, temperature, and retraction based on what works best for each filament. This way, you can pick the right profile fast and get consistent results every time.
Naming Conventions and Folder Structure for Fast Retrieval
Give your profiles clear, descriptive names—like “PLA_0.2mm_Quality” or “TPU_Fast_Flex”—so you know what they do at a glance. When learning how to use 3d printer software, organizing these profiles in folders by material or project type helps keep your files tidy and easy to find when you’re ready to print. This simple system saves time and avoids confusion.
Quick Troubleshooting Log: Record Settings, Observations, and Changes
Keep a short log of your print jobs. Note down what settings you used, what worked well, and what problems you had. Over time, this log becomes a helpful guide that lets you fix issues faster and improve print quality step by step.
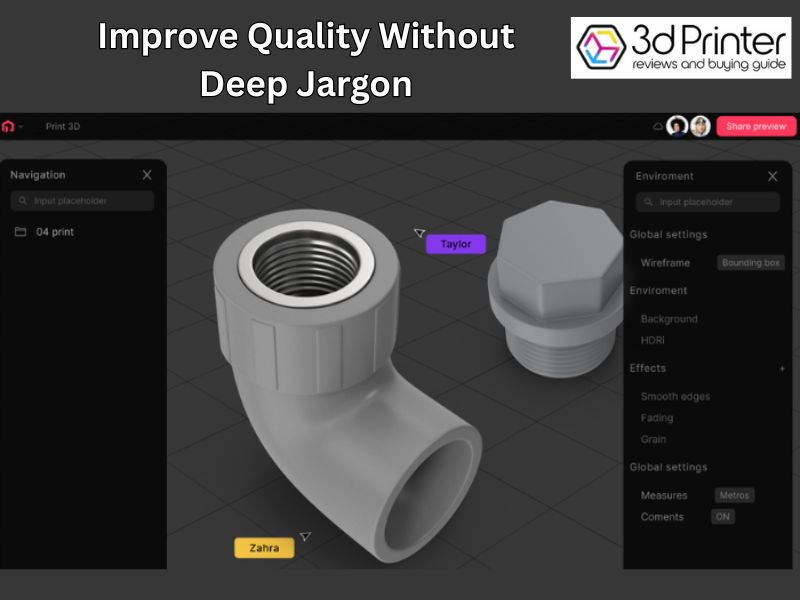
Advanced Tips: Improve Quality Without Deep Jargon
You don’t need to be a tech wizard to boost your print quality. Some innovative slicer features can make a big difference while staying easy to use.
Tunable Features in Slicers: Variable Layer Height, Adaptive Slicing, and Ironing
Try variable layer height to get fine details where it matters and print faster on simpler parts. When learning how to use 3d printer software, features like adaptive slicing automatically adjust layer thickness for efficiency. Ironing smooths top surfaces by gently passing the nozzle over them after printing. These tricks help your prints look cleaner without extra effort.
Using Modifiers and Mesh Zones for Variable Strength and Detail
Modifiers let you change settings for just parts of your model. For example, you can make some areas stronger by adding more infill or thicker walls without using extra material everywhere. This helps save filament and keeps prints lightweight but durable.
When to Tweak Acceleration and Jerk vs When to Leave Firmware Defaults
Acceleration and jerk control how fast your printer moves and changes direction. When learning how to use 3d printer software, adjusting these settings can help reduce print defects like ringing or ghosting. However, don’t change them unless you notice issues, because wrong values may cause wear or failures. Usually, the printer’s default firmware settings are safe and reliable.
Final Thought
Getting comfortable with how to use 3D printer software can transform your printing experience. When you set up profiles carefully, use slicer tools smartly, and keep track of what works, printing becomes easier and more reliable. Whether you’re just starting or printing for business, these simple habits help you avoid mistakes and get better results. With the right software know-how, you’ll save time, reduce waste, and enjoy every print, turning ideas into real, high-quality objects without stress.
Frequently Asked Questions
What are the three main types of software needed for 3D printing?
You need three main types: 1. 3D Modeling (CAD) to design or modify the object (e.g., TinkerCAD, Fusion 360), 2. Slicer to prepare the model for printing (e.g., Cura, PrusaSlicer), and 3. Printer Host/Control to manage the print process and monitor the machine (e.g., OctoPrint).
What is a “Slicer” and why is it the most important software step?
A slicer takes your 3D model file (like an STL) and “slices” it into hundreds of horizontal layers. It then generates the G-code, which is the precise set of instructions (movements, temperatures, speeds) that your 3D printer follows to build the object layer by layer.
Which file formats are most common for 3D printing models?
The most common format is STL (Stereolithography), which is supported by nearly every slicer. The newer 3MF format is gaining popularity because it can store additional data like colors, materials, and support structure information, which STL cannot.
How can I quickly check and repair a faulty 3D model?
Before slicing, use dedicated software like Meshmixer or Microsoft 3D Builder (free tools). These programs have automatic repair functions that can quickly identify and fix common issues like holes, gaps, and flipped normals to ensure your model is printable.
What is Retraction and how does it prevent stringing?
Retraction is a setting that temporarily pulls the filament back into the nozzle when the print head is moving over an empty space. This relieves pressure and prevents molten plastic from oozing out and creating unwanted fine strings or “hairs” on the print surface.