
Stringing is one of the most frustrating issues in 3D printing. Those thin, plastic threads that stretch between parts of your print can ruin an otherwise perfect project. Whether you’re a DIY enthusiast or a business owner using 3D printer for professional purposes, stringing can feel like a roadblock to achieving smooth, high-quality prints. This is why a clear 3D Printer Stringing Fix guide is essential for anyone who wants cleaner, more reliable results.
But don’t worry—fixing stringing is easier than you think! In this article, we’ll break down the causes of stringing and provide simple, actionable steps to eliminate it. We’ll also help you understand how choosing the best 3d printer for small business can reduce common issues like stringing. By the end, you’ll have the tools and knowledge to produce clean, professional-looking prints every time. Let’s dive in!

What is Stringing in 3D Printing?
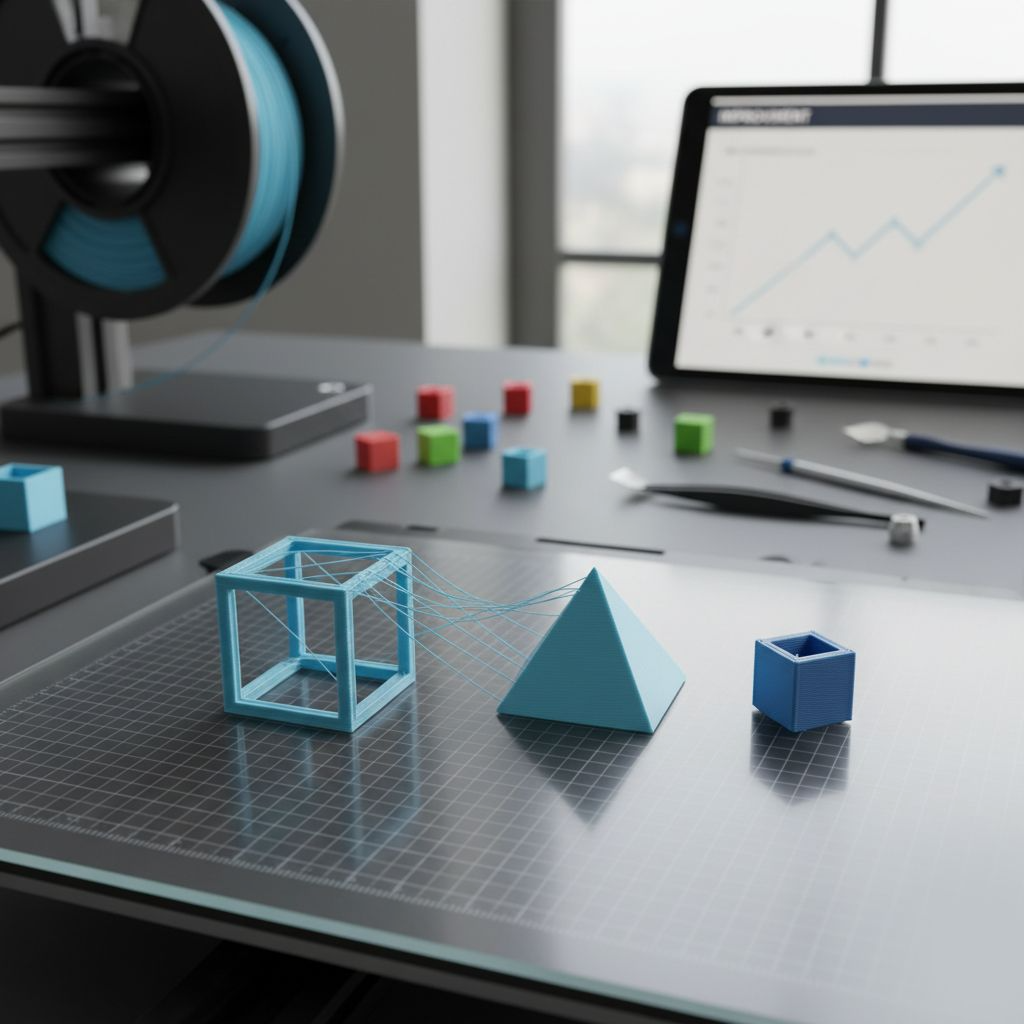
Stringing, also known as oozing or “hairy prints,” happens when thin plastic threads appear between parts of a 3D print. This occurs when the printer’s nozzle moves between different sections of the model, and filament leaks out during the travel. These unwanted strands can make your print look messy and unpolished.
Imagine spending hours on a print, only to find it covered in cobweb-like strings. It’s frustrating and can ruin the final appearance of your project. Stringing is especially common in models with large open spaces or intricate details.
The good news? Stringing doesn’t have to be a permanent problem. By understanding its causes and applying the right fixes, you can achieve smooth, professional-quality prints every time.
Common Causes of Stringing in 3D Printing
Stringing, also known as oozing, happens when thin plastic threads stretch between parts of a 3D print. It’s a common issue, but understanding its causes can help you fix it effectively. Here are the main culprits:
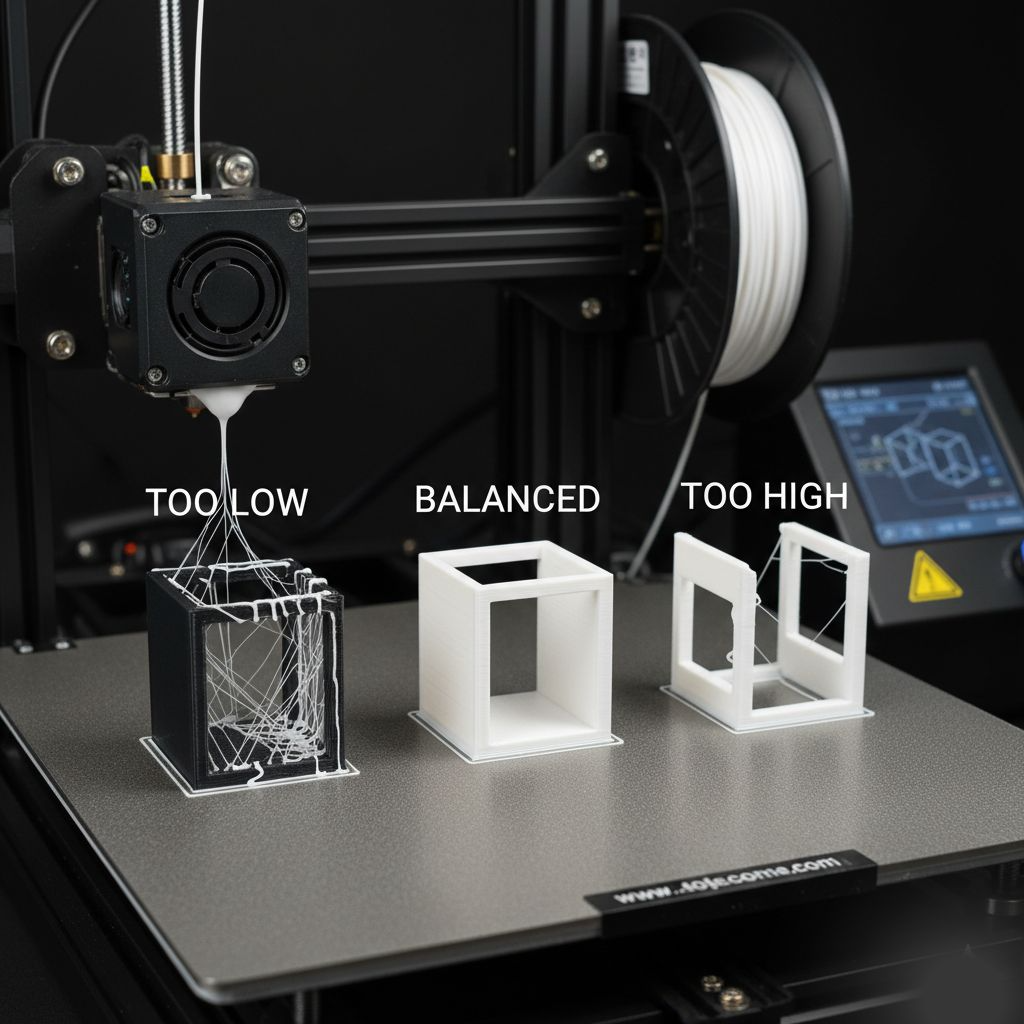
1. Incorrect Retraction Settings
Retraction is like your printer’s way of pulling back the filament to avoid a mess. If the retraction distance or speed is too low, the filament won’t retract enough, leading to oozing. On the other hand, too much retraction can cause gaps in your print. Finding the right balance is key.

2. High Nozzle Temperature
When the nozzle temperature is too high, the filament becomes overly liquid and drips out during non-print moves. Lowering the temperature by 5–10°F can make a big difference. However, please don’t go too low, as it might cause under-extrusion.
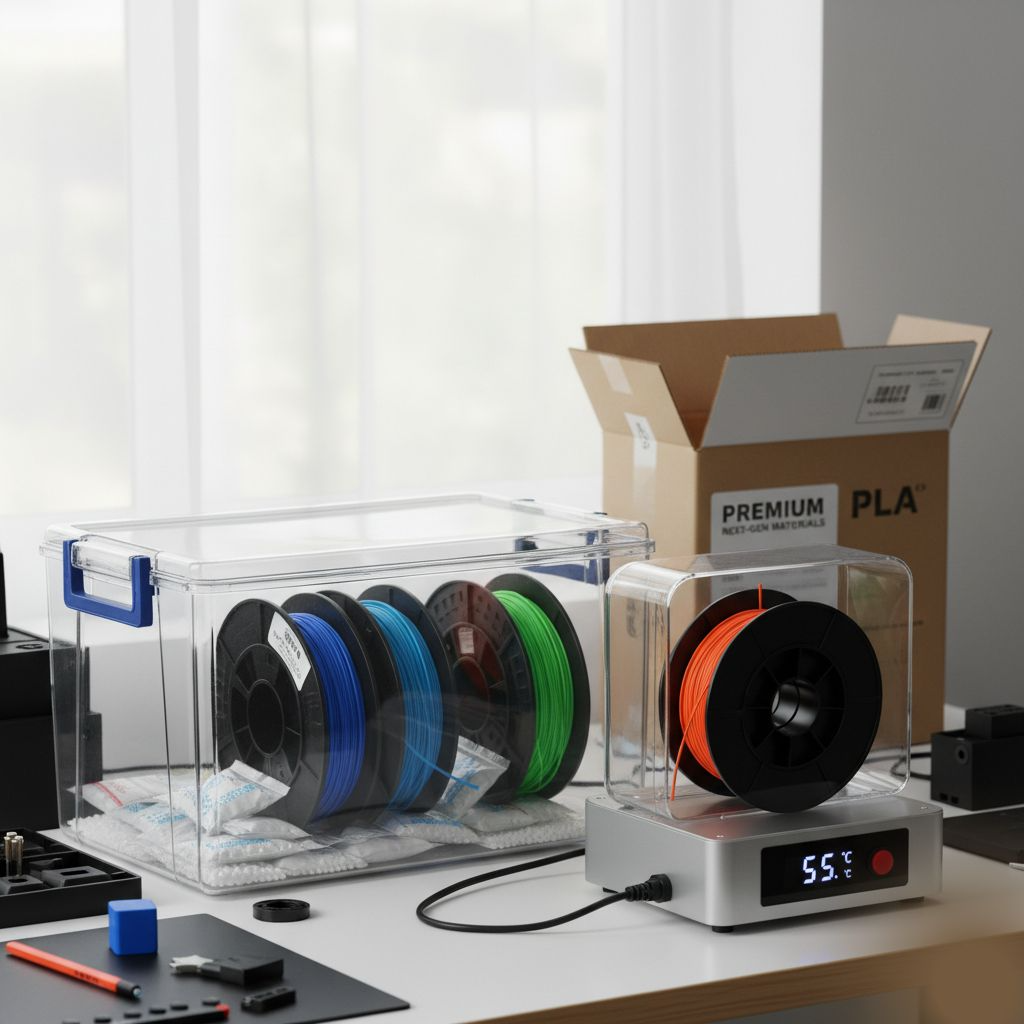
3. Low-Quality or Moist Filament
Cheap or moisture-laden filament can worsen stringing. Moisture in the filament turns into steam, pushing material out of the nozzle unnecessarily. Always store filament in airtight containers and dry it before use if needed.
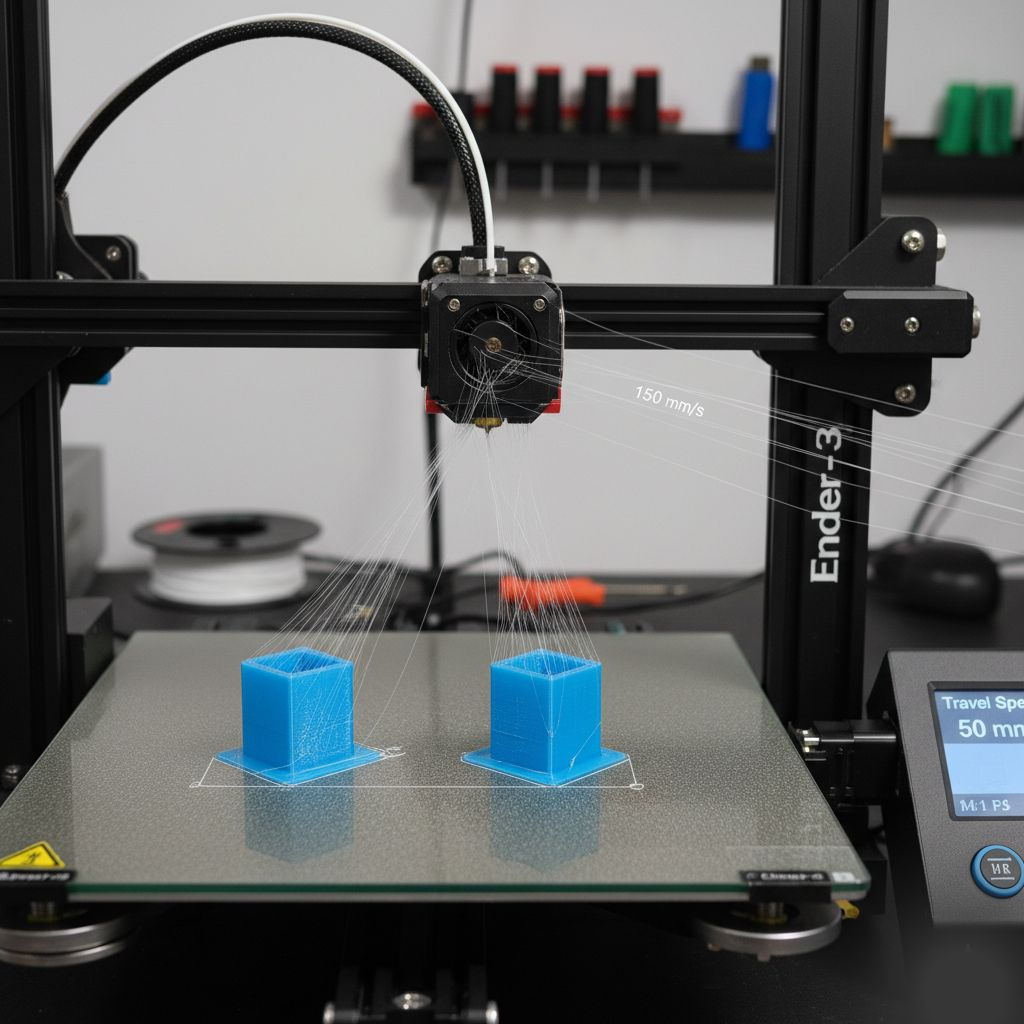
4. Improper Print Speed
Slow travel speeds give the filament more time to ooze out of the nozzle. Increasing the travel speed (e.g., to 150 mm/s) can reduce stringing. However, ensure your printer can handle higher speeds without losing accuracy.
By addressing these factors, you can significantly reduce stringing and achieve smoother, cleaner prints.
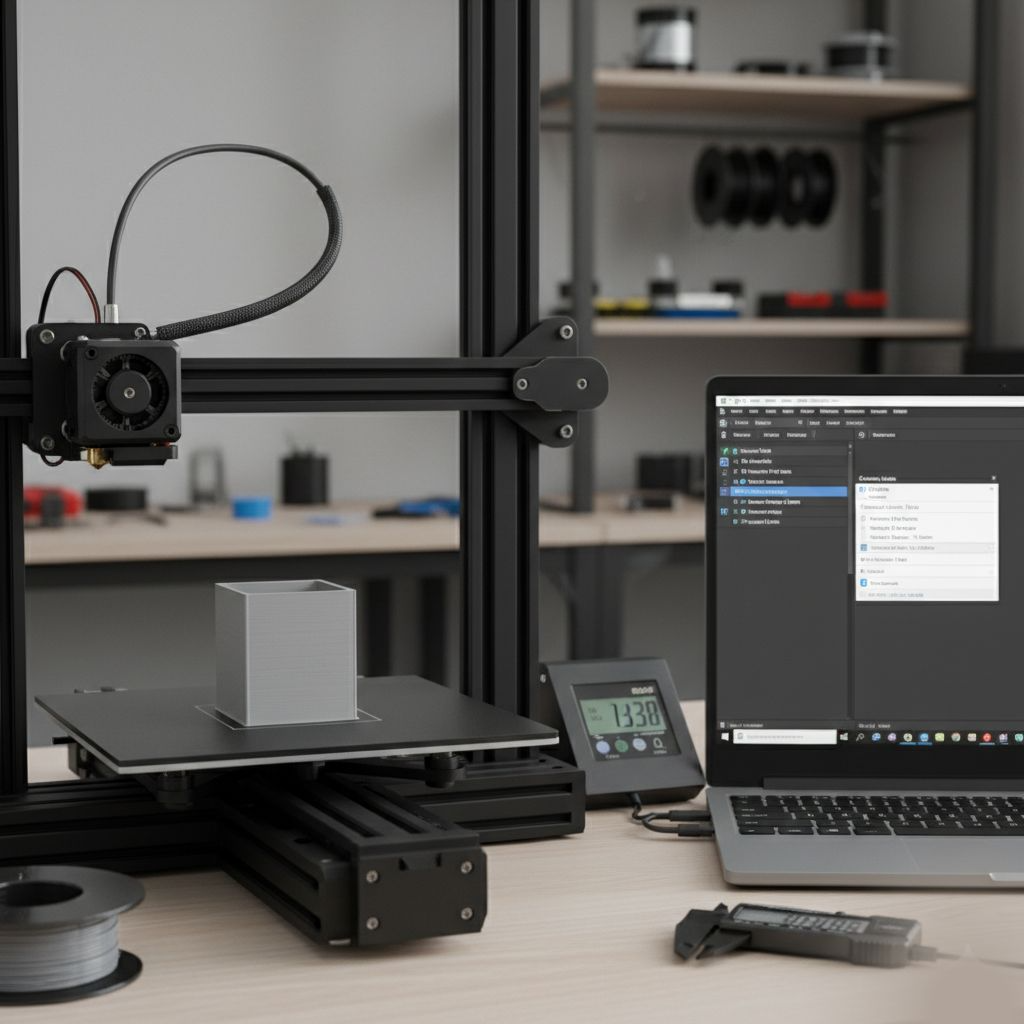
Step-by-Step Guide to Fixing Stringing
Ready to banish those annoying webs from your prints? Dealing with stringing can feel like battling invisible spiders. But don’t worry, we have a plan of attack. Follow these simple steps to reclaim your smooth 3D prints.
Adjust Retraction Settings
Retraction is your first line of defense against stringing. Think of it like slurping up a noodle before moving your fork. When your printer moves between sections, it pulls the filament back slightly. This relieves pressure inside the nozzle. Without this pull-back, melted plastic oozes out during travel moves.
Most slicer software has retraction enabled by default, but it might need tweaking. You primarily want to look at retraction distance and retraction speed. Distance controls how far the filament is pulled back. Speed controls how fast it happens.
If you see strings, try increasing the retraction distance slightly. Start with small changes, like adding 1mm at a time. Be careful not to set it too high, or you might cause a clog.
Pro Tip: Print a small “retraction tower” test model. This helps you see exactly which setting gives you the cleanest results.
Lower the Nozzle Temperature
Heat is often the culprit behind messy prints. When your nozzle gets too hot, the filament becomes too liquid. It turns into a runny syrup that drips easily. Even with good retraction, super-hot plastic will still leak out.
To fix this, try cooling things down. Lower your nozzle temperature in small steps, usually by 5 to 10°C. Test a print after each adjustment to see if the stringing improves.
You don’t want to go too cold, though. If the temperature is too low, the plastic won’t melt properly. Here are some general ranges to aim for:
- PLA: Try keeping it between 180°C and 200°C.
- ABS: Usually works best around 210°C to 230°C.
- PETG: Often needs 220°C to 245°C.
Finding the perfect balance prevents oozing while keeping your layers strong.
Use High-Quality Filament
Sometimes, your settings are perfect, but the material is the problem. Not all filament is created equal. Cheap or low-quality spools often have inconsistent diameters. They may also contain impurities that ruin your print quality.
Moisture is another huge enemy of smooth 3D prints. A filament acts like a sponge, soaking up water from the air. When you heat wet plastic, that water turns into steam. This creates bubbles and pressure, pushing plastic out when it should stay inside.
If you hear popping sounds while printing, your filament is likely wet. Store your spools in airtight bags with desiccant packs to keep them dry. Investing in decent material saves you hours of troubleshooting later.
Optimize Print Speed
Speed kills—or at least, it kills print quality. Moving too fast can mess up how the printer handles melted plastic. However, the logic for fixing stringing is a bit tricky here.
Travel speed is what matters most for stringing. This is how fast the nozzle moves when it isn’t printing anything. If it moves slowly between points, gravity has time to pull plastic down.
Try increasing your travel speed slightly. A faster zip between parts means less time for oozing to start. Just don’t push it so high that your printer starts vibrating or skipping steps. Finding the sweet spot takes a little experimentation, but the results are worth it.
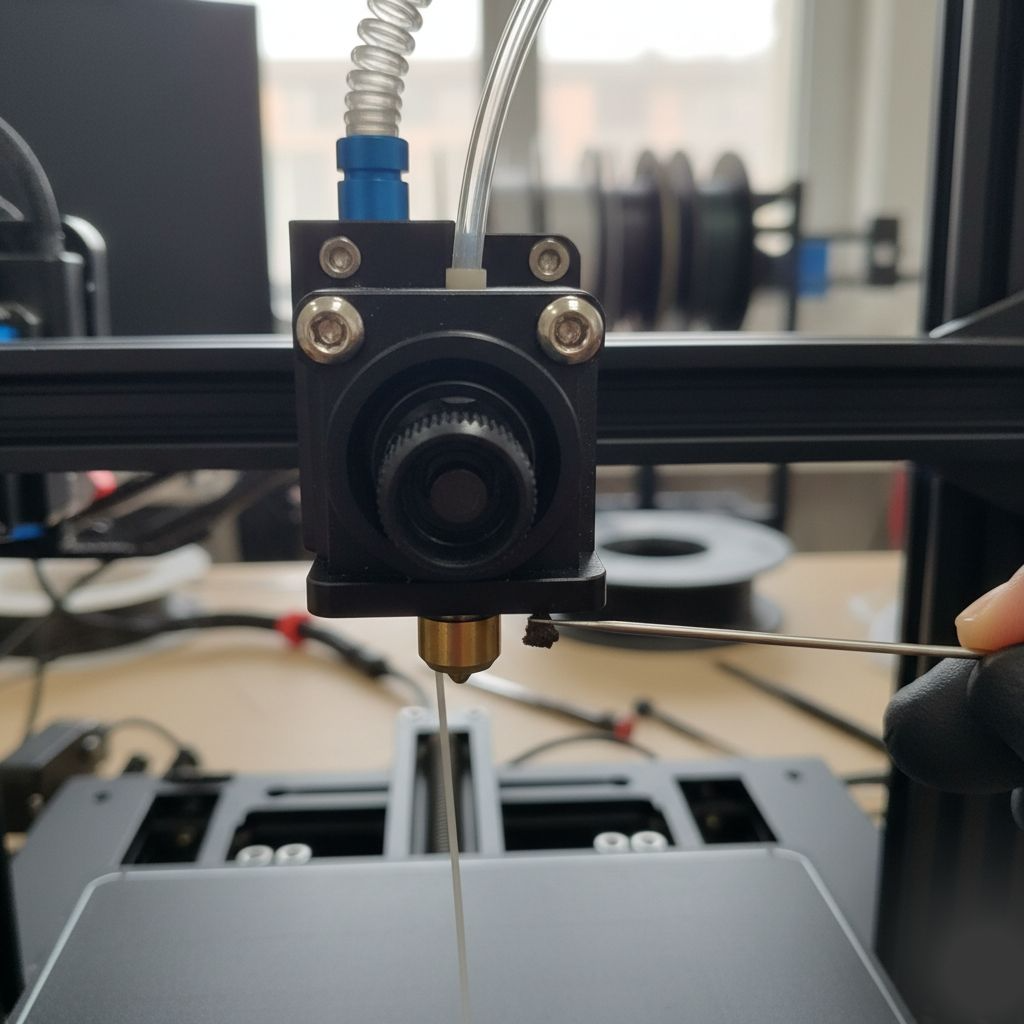
Clean the Nozzle
A dirty nozzle is a recipe for disaster. Over time, burnt plastic and debris can build up inside and outside the tip. This crud can block the flow or grab onto fresh filament.
If your nozzle is partially clogged, retraction won’t work correctly. The pressure inside becomes unpredictable.
Regularly clean your nozzle. You can use a brass wire brush to scrub the outside while it’s warm. For the inside, a thin needle can help dislodge blockages. You can also use “cleaning filament” to pull out old residue. A clean path ensures the plastic flows—and stops—exactly when you tell it to.
Bonus Tips for Perfect Prints
If you’re ready to elevate your 3D printing game, these advanced tips will help you achieve flawless results:
1. Enable “Combing Mode” in Your Slicer Software
Combing mode is a game-changer for reducing stringing and improving print quality. This feature adjusts the nozzle’s travel path to stay within the print’s interior, minimizing retractions and preventing filament oozing on visible surfaces.
For example, in Cura, you can choose modes such as “Not on Outer Surface” to avoid scars on the outer layers or “Within Infill” for a cleaner finish. Experiment with different combing settings to find the best fit for your model and material.
2. Use a Filament Dryer for Moisture-Sensitive Materials
Moisture is the enemy of smooth prints. Filaments like nylon, PETG, and PVA are highly hygroscopic, meaning they absorb water from the air. A filament dryer removes this moisture, preventing issues like bubbles, stringing, and weak layers.
Devices like the Sunlu FilaDryer or Sovol SH02 offer adjustable temperature settings and real-time humidity monitoring. For a budget-friendly option, you can even use a food dehydrator or a DIY heated box.
3. Experiment with Different Slicer Profiles
Your slicer software is a powerful tool for fine-tuning print settings. Create and test multiple profiles tailored to specific filaments or models. Adjust parameters like retraction distance, print speed, and layer height to optimize results.
For instance, a slower print speed can enhance detail, while tweaking retraction settings can eliminate stringing. Save these profiles for future use to streamline your workflow and ensure consistent quality.
These tips will help you tackle common challenges and achieve professional-grade prints. Happy printing!
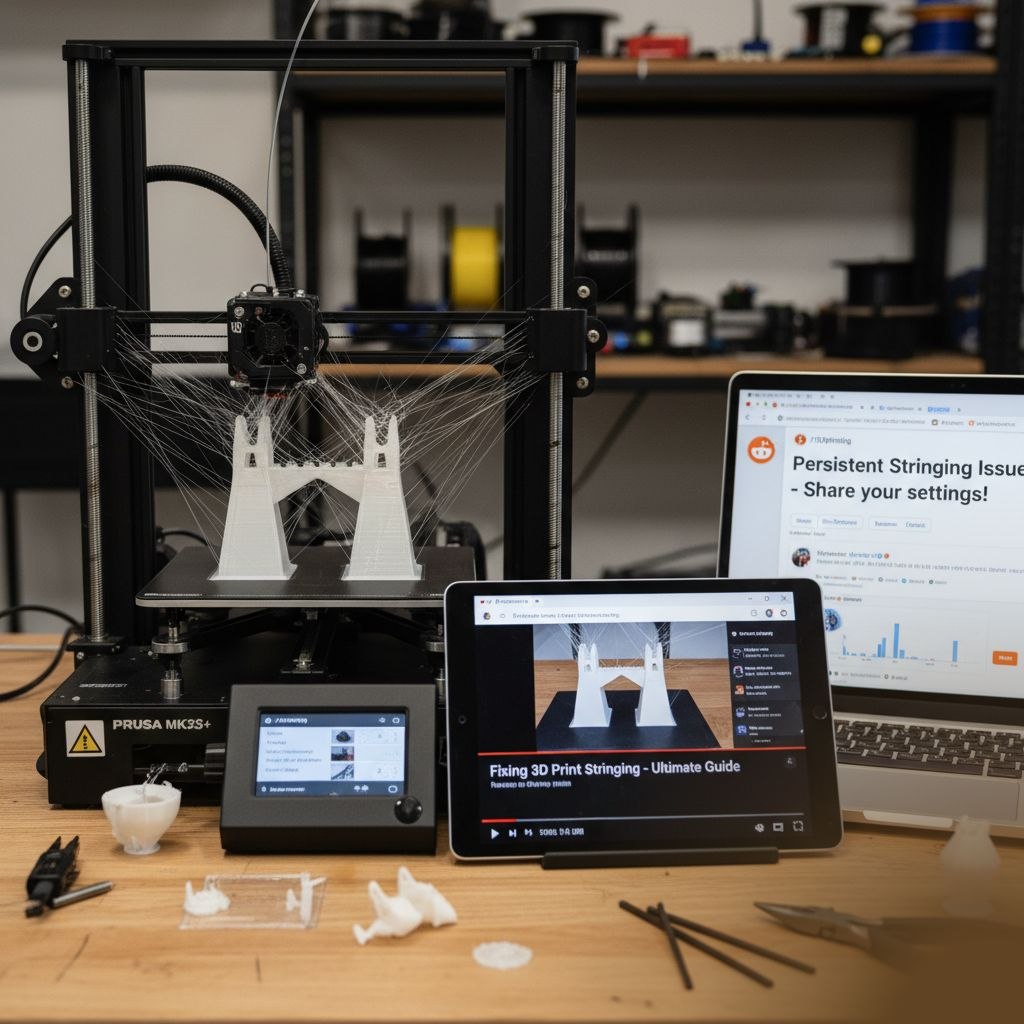
Troubleshooting: What If Stringing Persists?
If stringing continues to plague your prints despite your best efforts, don’t worry—there are still steps you can take to troubleshoot and resolve the issue.
1. Inspect Your Hardware
- Check the Extruder: A worn-out extruder or loose idler tension can lead to inconsistent filament feeding, which may cause stringing. Tighten the idler screw slightly to ensure the filament is gripped properly without being damaged.
- Examine the Nozzle: Residue buildup inside the nozzle can obstruct smooth extrusion. Clean the nozzle thoroughly using a needle or perform a cold pull to remove debris.
Verify the Bowden Tube: For Bowden setups, ensure the tube is securely connected and free of kinks or damage.
2. Reassess Your Filament
Switch Filament Brands: Sometimes, the filament’s quality can be the problem. Experiment with a different brand to see if it improves your results.
Dry Your Filament: Moisture in the filament is a common culprit for stringing. Use a filament dryer or an oven (at a low temperature) to remove moisture. Store filaments in airtight containers with desiccants to prevent future issues.
3. Optimize Slicer Settings
- Enable Coasting and Wiping: These features in slicer software can help reduce oozing by stopping extrusion slightly before the end of a print move or wiping the nozzle along the print surface to clean up excess material.
- Adjust Retraction Settings: Fine-tune the retraction distance and speed. For Bowden extruders, a higher retraction distance (e.g., 4-6mm) is often necessary, while direct-drive setups may only need 1-2mm.
Increase Travel Speed: Faster travel moves reduce the time the nozzle spends over open spaces, minimizing the chance for oozing.
4. Seek Community Support
- Join Online Forums: Communities like Reddit’s r/3Dprinting or manufacturer-specific forums (e.g., Prusa3D) are treasure troves of advice. Share your settings and results to get tailored recommendations.
Watch Tutorials: Many creators share step-by-step guides for troubleshooting stringing on platforms like YouTube.
5. Stay Patient and Persistent
Even seasoned 3D printing enthusiasts occasionally encounter stringing. It’s a learning process that involves trial and error. Celebrate small improvements and keep experimenting with settings until you achieve the perfect print.
Wrapping Up
Stringing in 3D printing can be frustrating, but it’s a solvable challenge. By following the proper steps, you can achieve cleaner, smoother prints. Start by adjusting your retraction settings, lowering the nozzle temperature, and ensuring your filament is dry. Regular maintenance, like cleaning the nozzle, also plays a key role in preventing stringing.
Remember, 3D printing is a journey of learning and experimentation. Don’t be discouraged if your first attempts aren’t perfect. Small tweaks can make a big difference, so keep testing and refining your settings.
FAQs About Fixing Stringing in 3D Printing
What is stringing in 3D printing?
Stringing occurs when thin strands of filament are left between parts of a 3D print. It happens when molten filament oozes out of the nozzle during non-printing moves, creating a cobweb-like effect.
What causes stringing in 3D printing?
Common causes include incorrect retraction settings, high nozzle temperature, wet filament, slow travel speed, or a dirty nozzle.
How can I fix stringing on my 3D prints?
Adjust retraction settings, lower the nozzle temperature, dry your filament, increase travel speed, and clean the nozzle regularly. These steps can significantly reduce stringing.
Can wet filament cause stringing?
Yes, wet filament absorbs moisture, which turns into steam during printing. This creates bubbles and uneven extrusion, leading to stringing. Always store filament in a dry, airtight container.
How do I remove stringing from a finished 3D print?
Use small pliers, a craft knife, or fine sandpaper to remove strings. For a polished finish, apply gentle heat with a heat gun to melt and shrink the strings.