 Skip to content
The ability to transform a 2D image into a 3D print opens up a world of creative possibilities, from personal keepsakes to professional prototypes. This process, often called “image-to-3D conversion,” involves translating visual data into a three-dimensional object that can be printed using 3D printing technology.
Whether you’re looking to preserve a cherished memory, create a custom gift, or develop a prototype for a business idea, converting pictures to 3D prints offers a tangible way to bring your ideas to life. With the right tools, you can easily convert picture to 3d print and bring your designs to life. For small businesses, investing in the best 3D printer for small business can significantly enhance the process, making it easier to produce high-quality, customized prints.
Applications in Personal Projects and Business Ventures
In personal projects, converting photos into 3D prints enables the creation of unique items, including personalized gifts, custom jewelry, and commemorative plaques. This technology allows for businesses to produce prototypes, create branded merchandise, and develop models for marketing and presentations. The versatility of 3D printing from images makes it a valuable tool across various industries, including art, fashion, education, and marketing.
Benefits: From Personalized Gifts to Prototyping
The primary benefits of converting pictures to 3D prints include personalization, customization, and rapid prototyping. Personalized items carry sentimental value, making them ideal for gifts or commemorations. Customization enables the creation of one-of-a-kind designs tailored to specific needs or preferences. Rapid prototyping enables businesses to quickly iterate on product designs, thereby reducing development time and costs. Whether for personal or professional use, the ability to Instantly Create a 3D Model from a simple image empowers creators to turn photos into tangible, functional objects with ease.
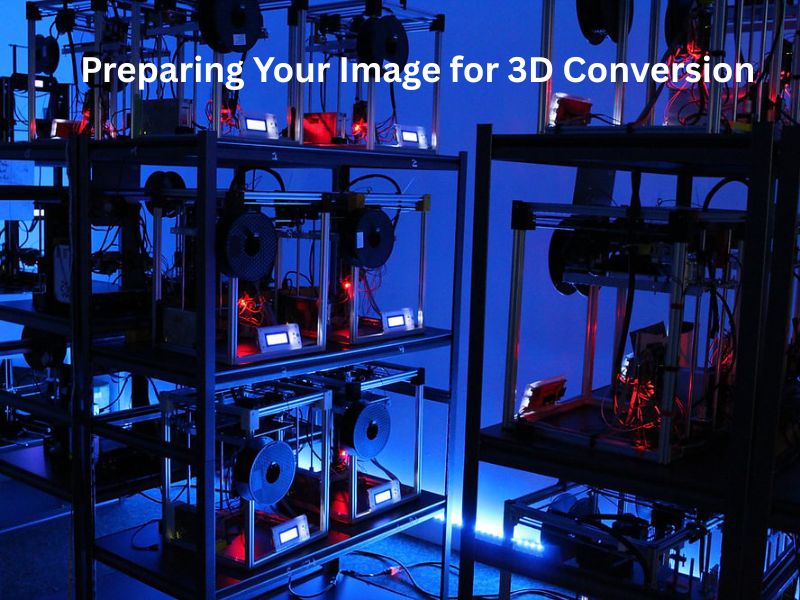
Step 1 – Preparing Your Image for 3D Conversion
Selecting the Ideal Image
- High-Resolution and Clear Contrast: Choose images with high resolution and clear contrast to ensure that details are captured accurately during the conversion process.
- Simple Backgrounds Enhance Accuracy: Opt for images with simple, uncluttered backgrounds to prevent distractions and ensure that the focus remains on the subject.
- Avoiding Complex Patterns and Gradients: Images with complex patterns or gradients can be challenging to convert into 3D models. Simpler images yield better results.
Editing the Image for Optimal Results
- Converting to Black and White for Clarity: Converting the image to black and white can help in defining edges and contrasts, making it easier to create a 3D model.
- Using Tools Like GIMP or Photoshop for Adjustments: Utilize image editing software such as GIMP or Photoshop to adjust brightness, contrast, and sharpness, enhancing the quality of the image. These adjustments are essential when you convert picture to 3d print, as they help highlight important details and improve the final 3D model’s accuracy.
- Creating Vector Outlines with Inkscape or Illustrator: For more detailed work, convert the image into vector outlines using tools like Inkscape or Illustrator, which can then be used in 3D modeling software.
Step 2 – Choosing the Right Method for Conversion
Manual 3D Modeling with Blender or Tinkercad
- Importing and Extruding Vector Files: Import the vector outlines into 3D modeling software like Blender or Tinkercad and use extrusion techniques to add depth to the design.
- Applying Displacement Mapping for Depth: Use displacement mapping to add realistic depth and texture to the model, enhancing its visual appeal.
- Sculpting and Refining the Model: Refine the model by sculpting details and smoothing surfaces to achieve the desired look.
Automated Conversion Using AI Tools
- Utilizing Platforms Like Alpha3D for Quick Conversion: AI-powered platforms like Alpha3D can automatically convert 2D images into 3D models, streamlining the process.
- Adjusting Parameters: Resolution, Scale, and Mesh Density: Customize the output by adjusting parameters such as resolution, scale, and mesh density to suit your specific needs.
- Previewing and Downloading the STL File: Preview the generated 3D model to ensure it meets your expectations before downloading the STL file for printing.
Lithophane Technique for Photo Reliefs
- Creating 3D Photo Prints with Backlighting: Lithophanes are 3D prints that reveal detailed images when backlit, creating a unique visual effect.
- Using Online Tools Like 3DP Rocks for Conversion: Online tools like 3DP Rocks allow you to upload a photo and convert it into a lithophane-ready 3D model.
- Adjusting Settings for Desired Thickness and Detail: Customize the lithophane by adjusting settings such as thickness and detail level to achieve the desired effect.
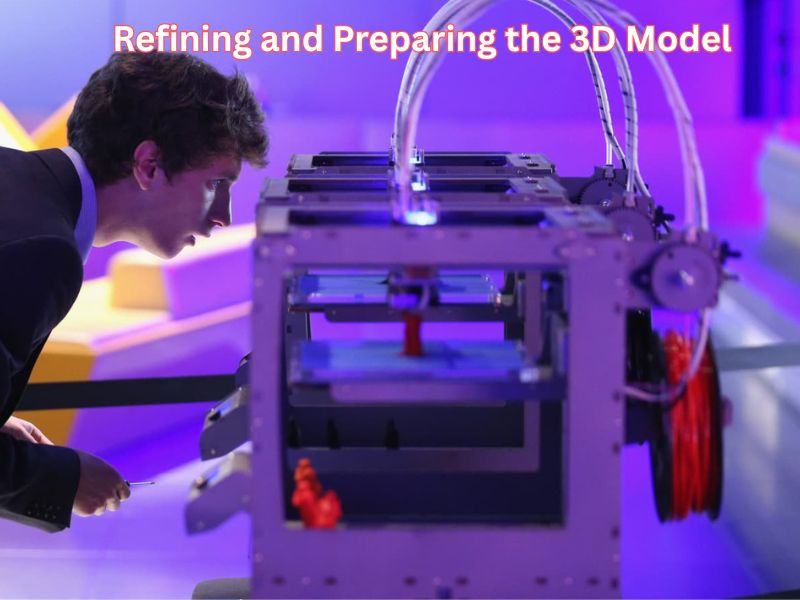
Step 3 – Refining and Preparing the 3D Model
Mesh Repair and Optimization
- Using MeshLab or Blender for Error Checking: Utilize tools like MeshLab or Blender to check for and repair any errors in the mesh, ensuring the model is printable.
- Ensuring Watertight Geometry for Printing: Ensure the model’s geometry is watertight, with no holes or gaps, to prevent printing issues.
- Adjusting Wall Thickness and Adding Supports: Modify wall thickness and add support structures as needed to ensure the model prints correctly.
Texture Mapping and UV Unwrapping
- Applying 2D Images onto 3D Models: Use texture mapping to apply 2D images onto the 3D model, adding realism and detail.
- Flattening the Model for Accurate Mapping: Use UV unwrapping techniques to flatten the 3D model and accurately map textures onto its surface.
- Enhancing Realism with Proper Texturing: Enhance the model’s realism by carefully applying textures and adjusting settings to achieve the desired appearance.
Step 4 – Exporting and Printing the 3D Model
Exporting in Compatible Formats
- Choosing Between STL, OBJ, or FBX: Select the appropriate file format for your 3D printer and software. STL is commonly used for 3D printing, while OBJ and FBX are suitable for more complex models. If you’re planning to convert a picture to a 3d print, make sure the format you choose is compatible with both your modeling tool and your printer.
- Adjusting Export Settings for Printer Compatibility: Ensure that export settings match your printer’s specifications, such as scale and orientation.
- Saving the File for Printing: Save the exported file to a location accessible to your 3D printer, ready for the printing process.
Printing the Model
- Selecting the Right Material: PLA, ABS, or Resin: Choose the appropriate material based on the model’s requirements and the capabilities of your 3D printer.
- Choosing the Appropriate Printer Settings: Set printer parameters such as layer height, print speed, and temperature to optimize print quality.
- Monitoring the Print Process for Quality Assurance: Monitor the printing process to ensure the model prints correctly and address any issues that may arise.
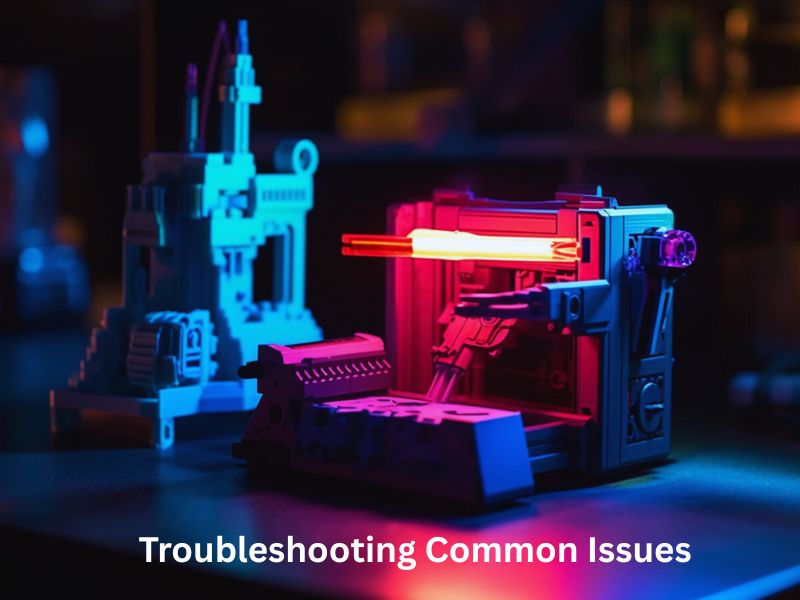
Step 5 – Troubleshooting Common Issues
Addressing Mesh Errors
- Identifying and Fixing Holes or Gaps: Utilize mesh repair tools to identify and address any holes or gaps in the model’s geometry, ensuring it remains watertight.
- Using Repair Tools for Quick Fixes: Utilize automated repair tools to fix common mesh errors, saving time and effort quickly.
Optimizing Print Quality
- Adjusting Print Speed and Temperature: Modify print speed and temperature settings to achieve optimal print quality and reduce issues such as warping or stringing.
- Ensuring Proper Layer Adhesion: Ensure that each layer adheres properly to the previous one by adjusting settings such as bed temperature and first layer height.
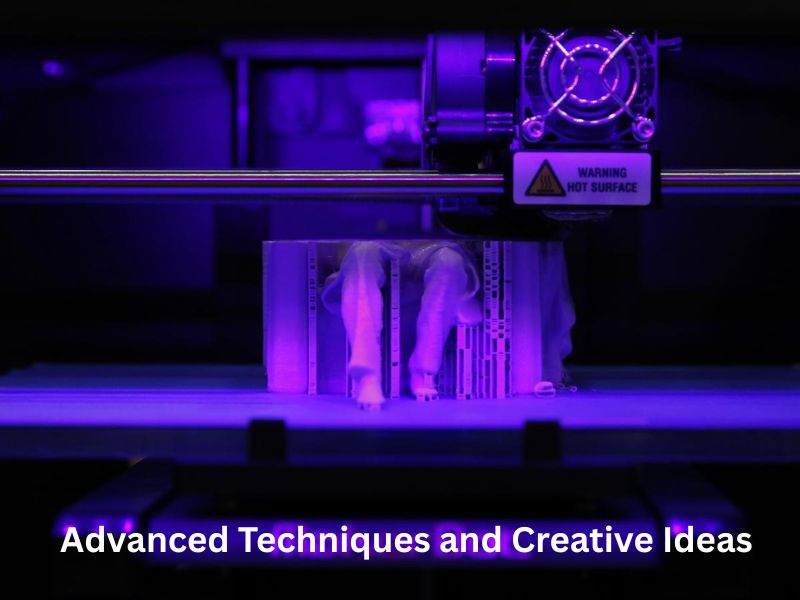
Bonus Tips – Advanced Techniques and Creative Ideas
Creating 3D Models from Multiple Images
- Using Photogrammetry Software for Detailed Models: Capture multiple images of the subject from different angles and use photogrammetry software to convert the pictures to 3d print and create a detailed 3D model.
- Capturing Multiple Angles for Comprehensive Data: Ensure that images cover all angles of the subject to provide comprehensive data for accurate modeling.
Exploring 3D Scanning for Physical Objects
- Using Smartphone Apps or Dedicated Scanners: Utilize smartphone apps or dedicated 3D scanners to capture the geometry of physical objects for conversion into 3D models. These digital tools make it easier to convert a picture to a 3d print by generating accurate depth data that can be turned into printable designs.
- Converting Scanned Data into Printable Models: Utilize 3D modeling software to process scanned data and create printable models for 3D printing.
Incorporating Animation into 3D Prints
- Designing Models with Moving Parts: Incorporate moving parts into your 3D models, such as hinges or gears, to create interactive prints.
- Using 3D Printing Techniques for Functional Models: Utilize 3D printing techniques such as overhangs and supports to create functional models with moving parts.
Wrapping Up
Convert picture to 3d print offers a creative way to bring images to life, whether for personal keepsakes or professional prototypes. By selecting high-resolution images, editing them for clarity, and choosing the appropriate conversion method—be it manual modeling, AI tools, or lithophane techniques—you can transform 2D visuals into tangible 3D objects. Refining the 3D model ensures quality, while exporting and printing it brings your creation into the physical world. With advancements in technology and accessible tools, this process has become more approachable, enabling individuals and businesses to explore new dimensions in design and personalization.
Frequently Asked Questions
What are the main methods for converting a 2D image into a 3D printable model?
There are three primary methods to convert a 2D image (like a JPG or PNG) into a 3D printable model (STL file):
AI/Automated Conversion: Dedicated AI-powered tools and platforms use depth mapping and machine learning to infer the 3D structure and texture from a single 2D photo, creating a fully rounded 3D model.
Lithophane Technique: This is the most common method for photos. It creates a 3D relief where the model’s thickness corresponds to the image’s brightness (thicker areas are darker, thinner areas are lighter). The image becomes visible when backlit.
Vector Extrusion (2D Drawing/Logo to 3D): This method involves converting a simple, high-contrast image (like a logo or line drawing) into a vector file (SVG). The vector outlines are then imported into a 3D modeling program and given depth by using an “Extrude” or “Press/Pull” function.
What kind of image works best for 3D conversion?
For the best results, you should select an image that has:
Optimal View: For AI-based conversion of a specific object, a clear, standard front view is highly recommended.
High Resolution: To capture all fine details.
Clear Contrast: A strong difference between the subject and the background helps the software define the edges and depth accurately.
Simple Background: Especially for AI or extrusion methods, a plain, single-color, or transparent background minimizes noise and focuses the conversion on the main subject.
What file format should I use for 3D printing a picture?
The standard file format for 3D printing is STL (Stereolithography). Almost all 3D printers and slicer software are compatible with it.
For more complex models that include color and texture information, you might use OBJ or FBX (as mentioned in the source article), or GLB/GLTF (often used for AR/VR applications). However, STL remains the standard for physical printing.
How do I prepare the final 3D model for the printer?
Once you have the STL file, you must use a slicing software (e.g., Cura, PrusaSlicer, Bambu Studio) to prepare it for your 3D printer. This involves:
- Slicing: Converting the 3D model into thousands of thin, horizontal layers (G-code) that the printer understands.
- Settings: Adjusting critical printer parameters such as layer height, print speed, infill density, and temperature.
- Support: Adding support structures if the model has large overhangs or complex geometry.
- Repair: Performing a final check to ensure the model’s mesh is “watertight” (no holes or gaps) to prevent printing failures.
Can I create a detailed 3D model from a single photograph?
Yes, with recent advancements in AI tools (like Meshy or Hyper3D), you can now generate surprisingly detailed 3D models from a single image.
However, for truly high-fidelity, comprehensive 3D models of real-world objects, the traditional technique of photogrammetry is still superior. Photogrammetry requires capturing multiple images of the object from every angle, and then stitching them together using specialized software (like Meshroom or Autodesk ReCap) to create an accurate 3D geometry and texture.
