How to 3D Print: The 3D printing process revolutionizes industries from conception to completion, from the beginning design to the final product. According to projections, the 3D printing Market will reach $24.31 billion by 2024, up from $9.73 billion in 2017.
As a result of such growth, both hobbyists and businesses can benefit from the technology. Although this sector is new to the Market, I’d like to help you understand what 3D printing is and why it’s a valuable tool to use.

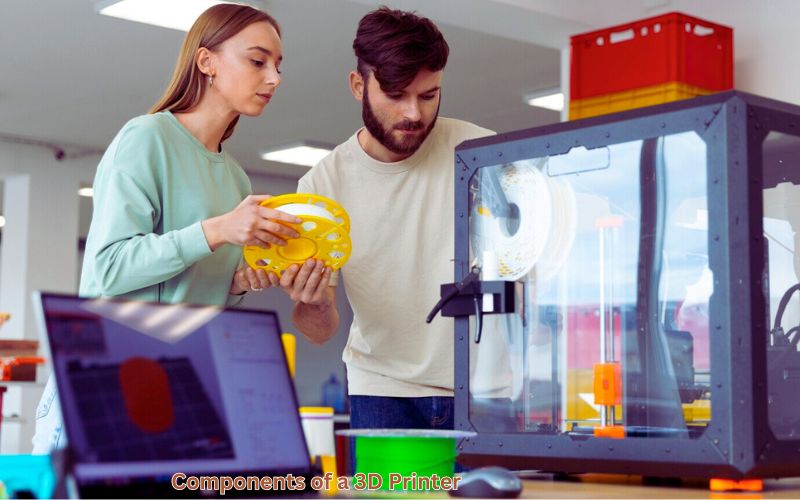
Essential Components of a 3D Printer
Key Parts of a 3D Printer and Their Functions
In 3D printing, understanding the fundamental elements of a printer can help you in the long run. Below are some steps to take:
- Print Bed: The 3D object is created here. A few beds are heated to prevent warping, and an appropriate surface enhances adhesion of the material while facilitating extraction.
- Extruder: The extruder features a hot end that melts filament and a cold end that pushes it out. The extruder delivers the filament in liquid form to the bed.
- Mainboard: As the printer’s brain, it controls everything from motion to heat. It oversees the coordination of various components.
- Stepper Motors and Belts: For printing in detail, precise mechanical components are essential. If belt tension is not adjusted correctly, errors could occur.
- Nozzle: The nozzle is where the filament is discharged in liquid form. The dimensions of the nozzle impact print quality and speed.
- Heating Elements: Heaters are used for both the hotend and bed to ensure good layer adhesion and proper printing.
As a result of this knowledge, you can effortlessly troubleshoot and enhance your 3D printing projects.
Types of 3D Printers: Which One is Right for You?
FDM, SLA, and SLS are the three most common types of 3D printers.
- FDM printers are relatively inexpensive and easy to use, capable of creating very detailed objects through the process of heating and layering plastic.
- SLA printers use lasers to cure liquid resin, producing detailed prints of high quality. However, they are more expensive and require routine maintenance.
- SLS printer combines powdered materials with a laser. Their ability to produce intricate shapes makes them suited for industrial applications.
You should use FDM printers if you are a beginner. They are inexpensive and easy to use. Go for SLA printers if you need more advanced details.
Getting Started with 3D Printing
Preparing Your First 3D Print.
Follow these simple steps to get started with your first 3D print:
- Assembling Your Printer:
Make sure all parts are connected firmly, and unbox your printer. Follow the instructions carefully to avoid mistakes. - Calibrating the Printer:
Keep the nozzle at the correct distance from the print platform. Set the temperature according to the filament type. - Choosing Filaments:
PLA is easy to use and doesn’t warp much. Load it into the printer and preheat it as needed. - Software Setup:
Prepare your 3D model for printing using slicing software like Cura. Adjust settings to suit your printer. - Preparing to Print:
Set basic printing settings, such as layer thickness, after loading your STL file into the slicer. - Starting the Print:
During the first layer, carefully watch the adhesion and flow of the materials, and adjust if necessary.
Welcome to the world of 3D printing! Enjoy each print as a learning step. Experiment to improve your skills.
Designing for 3D Printing: Where to Begin
3D printing design is exciting and fun. To get started, you need to choose the right software. For beginners, TinkerCAD is best. It’s easy to use and doesn’t cost anything. If you’re planning to sell your creations, pairing your designs with the best 3d printer for small businesses can give you high-quality results without high costs. Next, start by modeling basic shapes.
You should first sketch out your ideas to find problems in advance. Check whether your model is printable. Look for overhangs and thin sections. Check that your design meets requirements using TinkerCAD.
If your model is in STL format, you can use slicing software to create a 3D model. This makes it easier for the printer to print it out. Ensure your build plate is clean and level, consult the instructions, and verify that you have the correct filament loaded.
Implement your projects using these simple and effective actions. Most importantly, enjoy and practice!

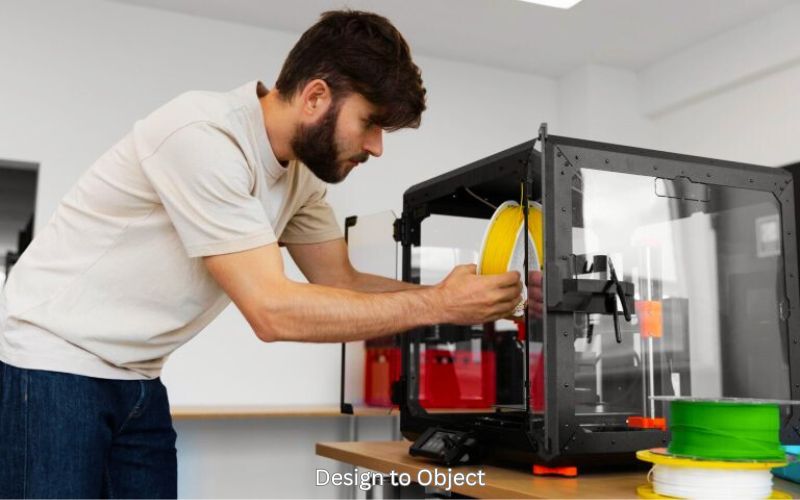
The 3D Printing Process: From Design to Object
Step-by-Step Guide to 3D Printing
3D printing is fun. Here are some tips for getting started.
Step 1: Model Your Design
Using simple software like Tinkercad or Thingiverse, you can create a digital model.
Step 2: Slice the Model
Next, you need to slice the model. This involves converting the design into printer instructions using slicing software like Cura.
Step 3: Print the Object
Make sure your 3D printer is ready, and the bed is clean. Load your filament and start printing. The printer will build your object layer by layer as you print.
Step 4: Post-Process the Print
After it is printed, it must be finished. Trim the supports and file the edges. It can also be painted to give it a more finished look.
Embrace 3D printing technology and unleash your imagination with these helpful tips.
Common Challenges and How to Overcome Them
A few bumps can occur with 3D printing. Here are a few common problems and how to fix them.
Under-Extrusion
The filament diameter might not be well-defined on your printer, resulting in weak prints. Adjust your extrusion rate in your software for a better flow.
Stringing
The printing temperature must be lowered to prevent thin threads of plastic from appearing between the parts. Oozing can be reduced by adjusting the retraction settings.
Layer Separation
Ensure that the layer height is slightly less than the nozzle diameter to prevent layers from not adhering properly. Increase the print temperature slightly.
Blobs and Zits
To improve the finished print, set the retraction to minimize filament waste. Utilize coasting to prevent extrusion at the end.
Curling and Rough Corners
Ensure that any fans are operating correctly. Lower the print temperature if the printer is cooling too quickly.
Weak Infill
There is a weak infill in the structure. You can use grid or honeycomb patterns, increase density if needed, and reduce printing speed to improve infill control.
The issues can be fixed with minor adjustments, so practice more to make better empathetic prints. Have fun and enjoy the process!

Materials for 3D Printing: Choosing the Right Filament
Popular Filament Types and Their Uses
Choosing the right filament is essential for 3D printing success. Here’s a simple guide:
- PLA (Polylactic Acid): As an organic material derived from cornstarch, PLA can be easily 3D printed. It is best for toys, models, and things that require no strength. It also performs well at cooler temperatures.
- ABS (Acrylonitrile Butadiene Styrene): Thermoplastic ABS has good heat resistance, but a heated bed is necessary to prevent the ‘warping’ of the material. It’s suitable for functional applications.
- PETG (Polyethylene Terephthalate Glycol): It is highly flexible, durable, and can be used in outdoor and mechanical applications. In addition, PETG is food-safe.
Select filaments based on your project’s requirements.
Sustainable Practices in 3D Printing
In 3D printing, adopting sustainable practices is beneficial for the environment. A green option is to use materials like PLA. PET bottles made from recycled filaments are more environmentally beneficial. They conserve resources and encourage recycling.
The layer-by-layer approach of 3D printing can reduce waste by up to 90 percent, which is a significant reduction.
3D printers can be used to manufacture products locally, reducing transportation emissions. This is especially useful for small-scale manufacturing, one-off designs, or even to make money from a 3D printer by selling custom items or prototypes.
Additionally, repurposing old prints to create new filament helps conserve materials and reduce industrial waste.
Moreover, 3D printing consumes less energy. It does not require extensive heating or cooling, as most traditional methods do.
The 3D printing technology, as a result of these practices, enables a much more eco-friendly world.

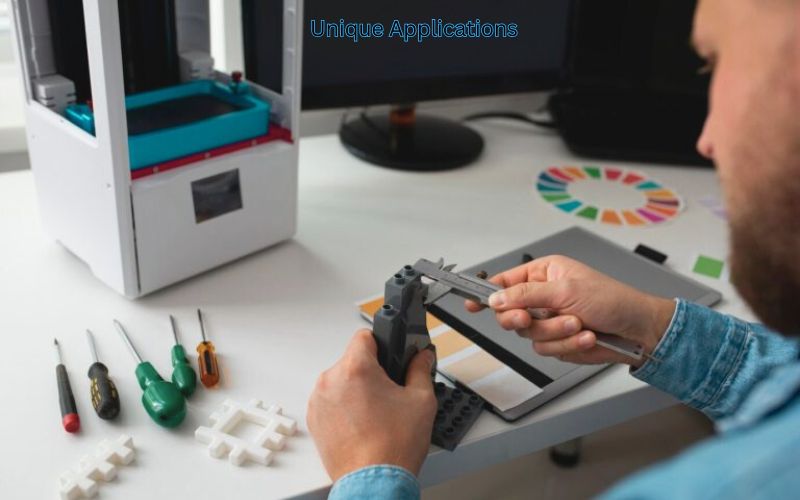
Unique Applications of 3D Printing
Innovative Ways to Use 3D Printing at Home
3D printing offers endless advantages for designing your interior. Design unique lampshades and wall paintings that match your style.
Print damaged machine parts yourself, avoiding long searches for replacements.
Create items that fit your space perfectly, like a phone stand or a plant pot.
With 3D printing, you can create and utilize items in your home in innovative ways.
How Businesses Are Leveraging 3D Printing
A growing number of companies are adopting 3D printing to improve their processes and increase innovation. A 3D printer enables the production of intricate shapes without the need for organic molds in the automotive sector. This expedites product development and reduces expenses.
In the healthcare sector, 3D printing enables the creation of customized surgical tools. It produces dental prostheses and internal body implants, enhancing the healthcare industry. This technology reduces stock usage and delivers essential surgical structures faster when production is available.
Aerospace companies create lightweight, vital parts using 3D printers. These parts reduce weight and save fuel, and conventional processes cannot produce them. 3D printing perfectly suits turbine blades, which often have overhangs and complex internal shapes.
Protolabs and Xometry are two companies that use 3D printing effectively to modify products and remain competitive without investing in expensive machinery.
For businesses striving to be adaptive and innovative, 3D printing reduces expenses and enables rapid changes.
Advanced Tips for Mastering 3D Printing
Enhancing Print Quality with Advanced Settings
A few simple tips can significantly improve the quality of your 3D prints.
Level the Bed and Set Nozzle Height: Always level your print bed and set the nozzle at the correct height. Use a piece of paper to measure the distance between the bed and the nozzle tip.
Adjust Nozzle Temperature: Adjust the temperature while printing. High temperatures can create strings, while lowering the temperature produces finer details.
Pick the Right Build Plate: Use glass or PEI for smooth prints. Use painter’s tape if you want a muted finish.
Use Slicer Software Correctly: Lower the layer height for better details, and adjust settings slowly and iteratively.
Slow Down the Print Speed: Reduce the print speed to minimize vibrations and keep prints neat and precise.
Do Post-Processing: Smooth rough spots on ABS prints with sandpaper. Use an acetone vapor bath to add a sheen, but handle carefully to avoid weakening the print.
Treat each print as a chance to improve and learn. Apply these tips and discover which ones work best for you.
Integrating 3D Printing with Other Technologies
3D Printing and CNC Machining: By combining 3D printing with CNC, AI, IoT, and robotics, manufacturers can increase productivity, improve precision, and reduce costs.
AI and IoT Integration: Integrating AI and IoT with 3D printing enhances efficiency, optimizes processes, and ensures more innovative production.
Robotics in 3D Printing: Robots can perform assembly and finishing tasks in 3D printing, lowering labor costs, maintaining quality, and increasing production volume.
Although challenges such as smooth data transfer and efficient material handling exist, technological advances are addressing these issues. By combining 3D printing with other technologies, companies can optimize their production, reduce costs, and remain competitive.

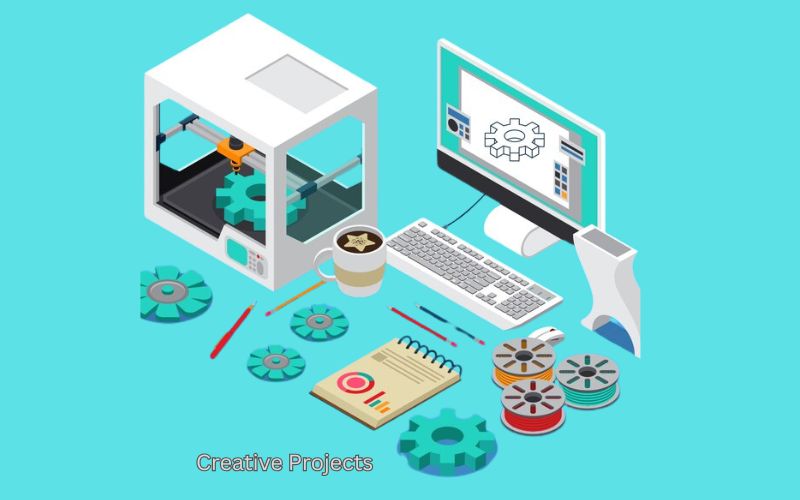
Bonus: Creative Projects to Try
Fun and Functional Projects for All Skill Levels
3D printing offers endless opportunities in both entertainment and valuable projects. Easy prints like phone docks and twist-and-lock containers are ideal for beginners. They are effective and also help brush up on the basics.
Print articulated models as your skills improve. These are useful for understanding how motion works within parts. Additionally, they can be fun as toys or desk decor.
More experienced users can create custom skateboard parts or retro TV phone stands. These projects help build their expertise and provide them with valuable items.
You can now make all sorts of clever items you would love to create with 3D printing. Start today!
Wrapping Up
3D printing gives you a lot of room for creativity, new ideas, and further development – with every new project, you can practice and develop your skills further. For a thrilling result, try different techniques or materials.
As you practice 3D printing, you will become more proficient at implementing concepts and putting them into action. It is essential to remember that this is a continuous process involving gradual development. Stay curious. Don’t stop trying new things, and great things will happen.
How many layers for a 3D print?
It depends on layer height and model size—most prints range from 100 to 400 layers.
How to paint 3D prints?
Sand the surface, apply a primer, then use acrylic or spray paints for a smooth finish.
What are the best resin 3D printers?
Top picks include the Anycubic Photon Mono, Elegoo Mars 4, and Formlabs Form 3.
What is the difference between a filament and a resin 3D printer?
Filament printers (FDM) use melted plastic, while resin printers (SLA/DLP) use light-cured liquid resin.
What 3D printer uses light?
Resin printers, such as SLA, DLP, and MSLA, use UV light to cure resin layer by layer.
Can a 3D printer make jewelry?
Yes, resin and wax 3D printers can create detailed jewelry molds for casting.
What technology does 3D printing use?
Standard technologies include FDM, SLA, SLS, and DLP, each using different materials and methods.
What 3D printer material is UV-resistant?
Materials like ASA, PETG, and polycarbonate resist UV exposure better than standard PLA.
What kind of code does a 3D printer use?
Most 3D printers use G-code, which gives movement and temperature instructions.
Is 3D printing heat-resistant?
Yes, depending on material—ABS, PETG, and Nylon can withstand higher temperatures.
What fabric is UV-resistant?
Polyester, acrylic, and solution-dyed fabrics are commonly UV-resistant for outdoor use.

Comments are closed.