In this article we are going to discuss, how to 3D print something from a picture. The global market for 3D printing is expected to increase by 24% by 2025. 3D printing has never been easier: you can manufacture a three-dimensional object from any two-dimensional image easily. Regardless of whether it is a one-time present for someone, a model for testing, or something for your company, this tutorial will show you how to use a three-dimensional printer to create anything from a picture. It can be a great idea for the best 3d printer for small businesses. The process is simple and enjoyable; you only need to follow the instructions. No engineering skills are required.
To Know More
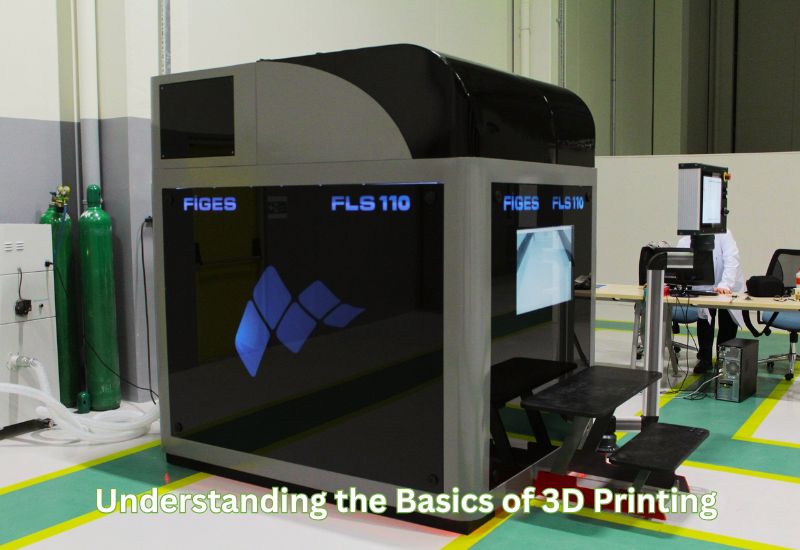
Understanding the Basics of 3D Printing from Pictures
What Does “Converting a Picture for 3D Printing” Mean?
Converting a photograph to a 3D file creates a file for printing and a three-dimensional image. With a 3D printer, you can make this electronic three-dimensional picture into a real-world object. For example, you can take a picture of your beloved pet, turn it into a 3D design, and turn it into an adorable keychain. Discover how to 3D print something from a picture. This method complements basic computer programs and a great deal of imagination to turn images into objects.
Essential Questions Before You Begin. Explore how to 3D print something from a picture.
Before starting, consider these key factors to ensure success:
- What Kind of Picture Works Best?
- Clear, high-contrast images are ideal, making it easier for software to distinguish the details.
- Black-and-white or simplified graphics often produce better results than complex, colorful photos.
- What Are You Creating?
- Decide your purpose ahead of time. Is the goal a decorative item, like a lithophane or a keepsake?
- Are you prototyping a product for business? Knowing this information can help you tailor the design and materials for the right outcome.
A simple planning process transforms a single photo into a creative, useful, and even professional 3D-printed masterpiece. Discover how to 3D print something from a picture.
What You Need To Get Started
Tools and Software
3D printing from a picture doesn’t require complicated equipment, but the right tools and software are essential. Here are some fantastic options for getting started:
- TinkerCAD (Free) is a beginner-friendly 3D design tool perfect for creating and editing basic 3D models. Its simple, drag-and-drop interface makes it ideal for beginners.
- Fusion 360 (Free for personal use) is a powerful tool for developing more complex 3D models. It allows parametric design, making it great for both professionals and hobbyists.
- Lithophane Maker (Free and Paid options) is specially crafted to convert images into stunning lithophanes. It simplifies the process by offering size, resolution, and shape presets.
- Cura (Free): A slicing software that transforms your 3D model into printer-ready instructions. It’s user-friendly and works with most 3D printers.
When choosing software, consider how advanced you want your projects to be. Free options like TinkerCAD can get you started, while costlier tools like Fusion 360 offer more advanced features. Discover how to 3D print something from a picture or even paint a 3D print for a more customized finish.
Equipment Checklist
Before you begin printing, a few basic pieces of equipment are essential:
- Basic 3D Printer (FDM recommended): The FDM (Fused Deposition Modeling) printer is perfect for beginners. It’s affordable and supports most standard 3D printing materials.
- PLA Filament: With its ease of use, affordability, and environmentally friendly properties, PLA is the ideal filament for beginners and general projects alike.
- Computer or Smartphone: Software for 3D design and slicing can be run on a computer. Smartphone apps can be used for remote adjustments and monitoring.
- Print Bed Adhesion Tools (optional but useful): Using glue sticks and masking tape can ensure that your models adhere securely to the printing plate.
Your creative ideas will come to life with the right tools and materials. Whether you’re looking to make lithophane or a prototype for a product, the right setup is essential. Discover how to 3D print something from a picture.
The 10-Step Guide to 3D Printing a Picture
Creating a 3D print from a picture is an exciting way to turn your ideas into reality. Follow these 10 simple steps from a flat image to a tangible masterpiece.
1. Choose the Right Image
The first step is choosing an image. You need a clear image to convert to 3D. Sharp edges or black-and-white images with line-based borders will deliver the best results. Google Image Search can help you find Creative Commons images. Look for items without copyrights or images that are not for sale. Discover how to 3D print something from a picture. Avoid using images with a lot of detail, as this will make the imaging too messy and make 3D reconstruction more difficult.
2. Convert the Picture into a Vector File
As soon as the image is ready, it must be converted into a vector file, which is an outline that can be used by 3D software. Inkscape or any online free converter can do this very easily. Start the software and open your image, choose Bitmap and “trace” to vectorize it. Then save it in either DXF or SVG format. Discover how to 3D print something from a picture. In the next step, 3D modeling can be added to a vector file by outlining the complementary elements of your image.
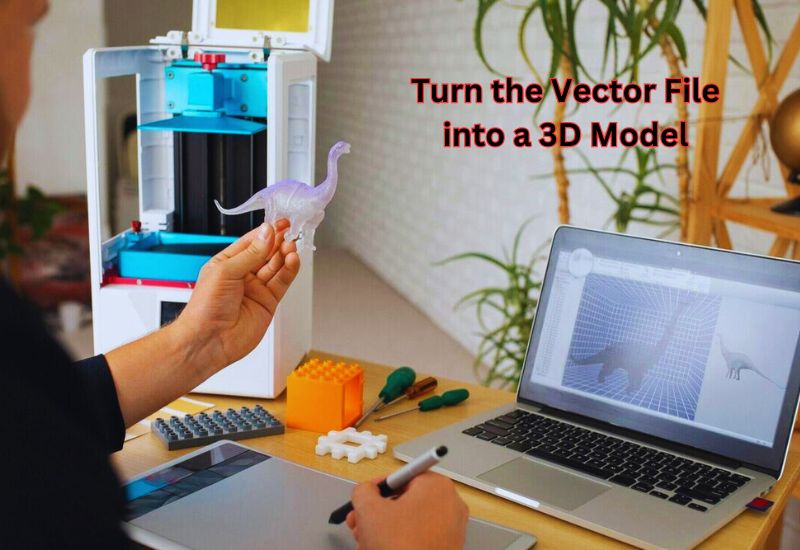
3. Turn the Vector File into a 3D Model
Next, turn the newly acquired vector file into a three-dimensional structure. This is not difficult for a novice because TinkerCAD or Fusion 360 software can easily do it. Upload your SVG file and then extrude the 2D shapes into 3D shapes. Discover how to 3D print something from a picture. In this step, you will convert your image into a 3D printable file called STL, giving it depth. Simple shapes, such as logos and object perimeters, should now take the form of three-dimensional figures.
4. Tweak the Design in 3D Modeling Software
A 3D model can help you adjust dimensions, smooth edges, or eliminate unnecessary details. For instance, you might need to resize or add text or shapes to your design to fit your printer’s capabilities. Discover how to 3D print something from a picture. Its easy-to-use drag-and-drop interface makes TinkerCAD ideal for editing, so your final product will look exactly as you imagined.
5. Slice the 3D Model for Printing
In slicing, you divide your 3D model into layers so you can print it. Upload your STL file to Cura or PrusaSlicer using slicing software. Configure settings like layer height (smaller values like 0.1mm for greater detail), infill percentage (affects strength and weight), and resolution while slicing. Discover how to 3D print something from a picture. These adjustments affect your print’s quality and appearance, so take time to make them right.
6. Prepare Your 3D Printer
Before printing, ensure your printer is ready. First, level your print bed—it’s essential to smooth printing and avoid errors. Choose a filament type based on your project. Explore how to 3D print something from a picture. Transparent PLA, for example, creates a glowing effect when used for photos or lithophanes. Ensure your nozzles are clean and clogged-free to avoid printing problems.
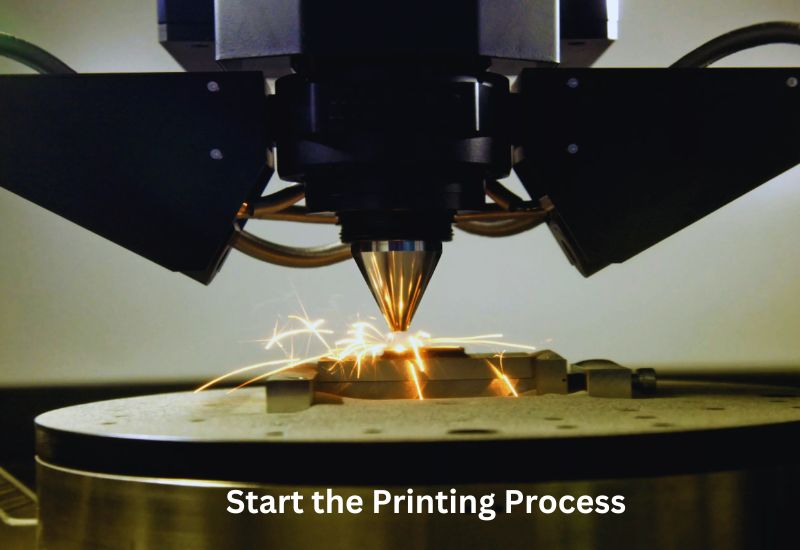
7. Start the Printing Process
You can print your sliced file by loading it to the printer, selecting the appropriate settings, and observing how the material adheres to the bed during the initial layers. If you have early problems with adhesion, you can stop the print and reset it. Explore how to 3D print something from a picture. Printing times can vary, but you can improve your results by staying involved.
8. Monitor the Print
Ensure the layers are laid down smoothly by checking for stringing, warping, or filament clogs. Explore how to 3D print something from a picture. If you notice any problems, pause the print and resolve them before continuing.
9. Post-Process the Finished Model
Once your print is completed, it’s time to refine the final result. Remove the model carefully from the print bed to avoid breaking fragile parts. Sand rough edges or trim support structures if necessary. Explore how to 3D print something from a picture. For lithophanes, backlighting can be added to enhance the image. It could also be painted or enhanced with an extra finish based on your design.
10. Display or Use Your Creation
Using 3D-printed pictures as decorations, gifts, or marketing products is fun! Frame your picture in lithophane, use a keychain, or proudly display your logo. You can use your print as a decoration, gift, or product. Explore how to 3D print something from a picture. Incorporate your creation into a lamp or other useful item for added creativity.
Start experimenting with different designs today and bring your imagination to life by 3D printing any picture!
Bonus Tips and Advanced Techniques
Using AI Tools to Simplify the Process
Images can be turned into 3D models quickly and easily with AI-powered tools like Meshy AI. With this beginner-friendly tool, you don’t have to spend time designing; you simply upload your photo, select an output format like STL, and download a ready-to-print model. Explore how to 3D print something from a picture.
Adding Custom Text to Your Prints
Customize your prints with text for branding or gifting. TinkerCAD makes it easy to add text. Insert a text box, write your message, and position it within your 3D model. You can also engrave the text on existing designs. Once you are satisfied, export the file and print it out.
Multi-Colored Printing Options
It’s easy to add color to your prints. Try filament switching by pausing your printer mid-print to change colors. Use a printer that switches filaments automatically, such as the Prusa MMU2S, for complex designs. If you like gradients, choose rainbow filament to create naturally shifting colors. Explore how to 3D print something from a picture. These techniques are beginner-friendly and give your creations a vibrant life.
These advanced techniques make your 3D prints more versatile, creative, and professional!
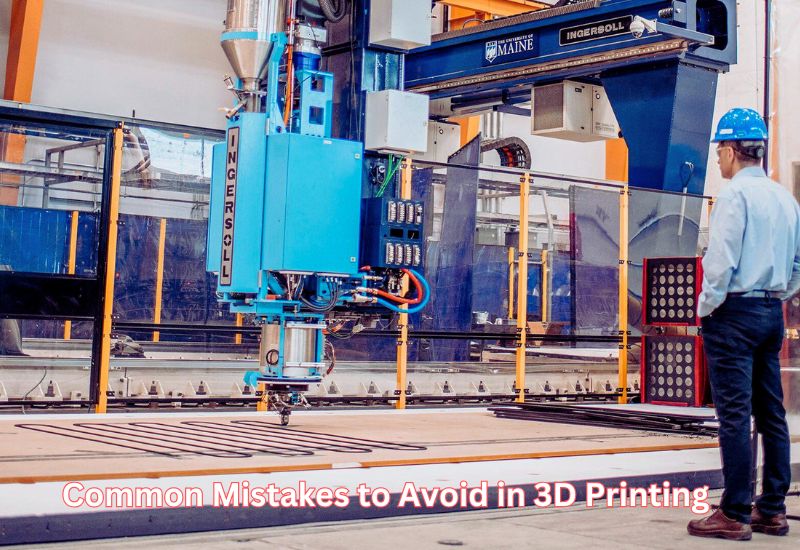
Common Mistakes to Avoid in 3D Printing from Pictures
Overly Detailed Images
3D printers can have trouble handling complex images, resulting in distorted prints or missing details. Make your image simple, such as line art or high-contrast graphics. Explore how to 3D print something from a picture. Make your image stand out using online editing tools to highlight its key elements. Clean, clear images result in better 3D-printed models.
Poor Printer Setup
If you skip the printer setup, you can ruin your project. Ensure your print bed is calibrated for even layers, and clean your nozzle to ensure smooth operation. An unlevel bed causes poor adhesion, leading to warped prints, while a clogged nozzle disrupts material flow. Regular maintenance saves you time and prevents print failures.
Skipping Test Prints
Testing ensures higher accuracy and reduces waste in your final model. Print a scaled-down version or small section as a trial. Explore how to 3D print something from a picture. Test prints help catch errors in your design or settings, saving filament and effort.
You should avoid these common pitfalls to improve your 3D printing results and experience.
Creative Ideas for 3D Printing from Photos
Personal Gifts
3D printing allows you to create lithophanes that transform photos into stunning, backlit displays. You can also create customized sculptures and mini-busts from cherished pictures. Explore how to 3D print something from a picture. A photo-embossed lid on a keepsake box adds a personal touch, making it ideal for memorable occasions like birthdays or anniversaries.
Business Use Cases
3D-printed promotional items are an effective way to boost brand awareness. Branded coasters, keychains featuring your logo, or customized phone stands are practical and eye-catching tools for boosting brand visibility. As well as highlighting your company’s modern edge, these creative marketing pieces leave a lasting impression.
Educational Tools
The tactile nature of 3D-printed materials makes geography lessons more engaging. Alphabet shapes or animal figures can engage young students in learning. Explore how to 3D print something from a picture. In addition to simplifying complex topics, you can also 3D-print molecular structures or artifacts to enrich the educational experience.
Wrapping Up
3D printing allows us to make customized presents, educational tools, and more just by taking pictures and converting them into physical forms. It is not as difficult as it may seem and allows you to turn concepts into physical products. Such capabilities make creating and inventing trivial tasks for domestic or commercial purposes. Explore how to 3D print something from a picture. This book provides a methodology for realizing your vision within the shortest timeframe. See how your ideas and thoughts become reality with this new experience!
Frequently Asked Questions
Can I 3D print directly from a photo?
No, not directly. You must first convert your 2D photo into a 3D model file (like an STL) using specialized software.
What kind of picture works best for this process?
Clear, high-contrast images are ideal, as are black-and-white or simplified graphics. Images that are overly complex or detailed can lead to distorted or messy prints.
What are the key steps to convert a picture to a 3D model?
The process involves three main steps: 1) Choose the right image, 2) Convert the picture into a vector file (SVG or DXF), and 3) Extrude the vector file into a 3D structure (STL) using modeling software.
Which file format is needed for 3D printing?
The standard file format required by slicing software is the STL (stereolithography) file.
What tools are recommended for turning a photo into a 3D model?
For general design and editing: TinkerCAD (beginner-friendly) and Fusion 360 (more complex). For photo-specific conversion: Lithophane Maker, Smoothie 3D, or photogrammetry software.
Do I need advanced design skills?
No. Many modern tools are user-friendly, such as TinkerCAD, and some AI-powered tools (like Meshy AI) can automate the process almost entirely.
