
In this article, I am going to discuss how to clean 3d printer bed. 3D printer beds must be as clean as possible to receive high-quality prints. Did you know that 60% of 3D printer users intend to invest more in this technology in the future? Because it improves adhesion and prevents prints from failing, cleaning and maintaining the printer generally extends its life and produces high-quality prints. If you want to do business, choose the best 3d printers for small businesses. These tips will help you to efficiently take care of your 3D printer bed and use it to improve the results, regardless of whether you are a DIY family or a business.
Another way to maximize your 3D printing results is to program a 3D printer. For example, you can set custom print speeds and temperatures in your printer’s software to match the material you’re using. This ensures better layer adhesion and reduces the chances of warping, complementing the clean bed for flawless prints.
Read More On This
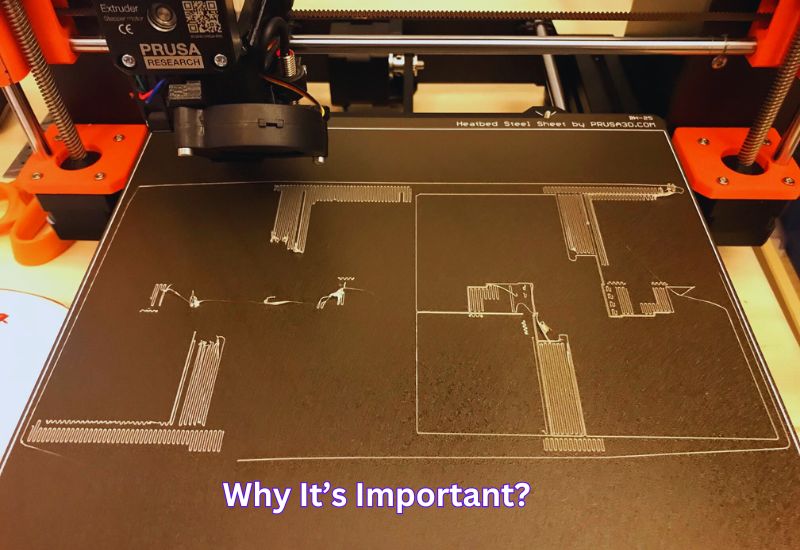
1. Allow the Print Bed to Cool Completely Before Cleaning
Why It’s Important
Cleaning the bed after printing while the printer is still hot poses a risk to you and the printer. During hot printing, plastic residues become tacky and harder to remove, leading to burns. Discover how to clean a 3D printer bed. Waiting for the bed to cool ensures the residue hardens, making it easier to scrape off without smearing.
Moreover, cleaning the bed while it is warm may compromise its build surface since materials like PEI and adhesive sheets are more heat-sensitive during cleaning.
How to Do It
After completing a print, the bed should be returned to room temperature, and then you can begin printing. To check this, hover your hand lightly above the surface. If no heat is felt, it’s safe to move forward. Some printers allow you to monitor cooling progress by viewing the bed temperature level. Discover how to clean 3d printer bed. Once the bed is sufficiently cool, you can use the preferred cleaning method to ensure a smooth and safe cleaning process.
2. Use a Plastic Scraper to Remove Debris
To ensure a good first-layer adhesive and good print quality, it is important to keep the surface of the 3D printer clean. A plastic scraper works well for this purpose, so it is society, not metal. Discover how to clean 3d printer bed.
Why Plastic Scrapers Are Better
A plastic scraper has pros and cons. It can be used on soft surfaces such as glass, pei, or magnetic beds in 3D printers. Although it is a good alternative to metal scrapers, it has some downsides, such as removing filaments or adhesives. Plastic scrapers eliminate that issue. Discover how to clean 3d printer bed. They are safe and great for the bed surface. Tough edges accomplish that task, but as we all know, tough edges can weather the surface.
How to Use It: How to Clean 3D Printer Bed.
Using a plastic scraper requires a bit of finesse. Follow these steps for the best results:
- If the print bed has recently been used, begin by allowing it to cool fully. Attempting to clean a hot surface can warp coatings or leave marks.
- Hold the scraper at a shallow angle of about 30 degrees. This helps maintain controlled contact with the bed and prevents excessive force from being applied.
- Apply light and consistent pressure as you scrape. Move in one direction, working systematically across the bed instead of focusing force on a single spot. This not only prevents damage but ensures every area is cleaned uniformly.
- Add slight heat to the bed (within its safe operating range) for stubborn debris to soften the material before scraping. Then, repeat the process carefully.
Check the edge of the scraper for damage or abrasion. Nicks on the scraper also lead to scratches, so keep replacing it after use. Discover how to clean a 3D printer bed. This basic tool will help you keep your print bed in perfect condition and make successful prints.
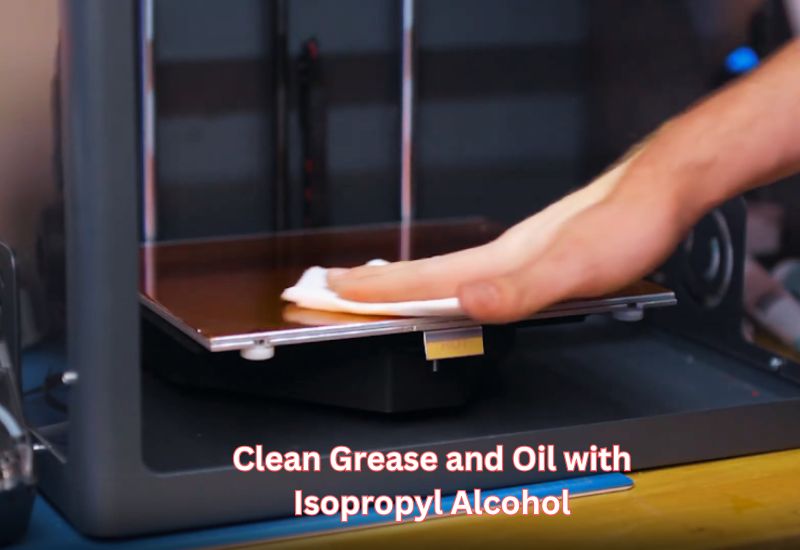
3: Clean Grease and Oil with Isopropyl Alcohol
A slippery print surface is not required in a 3D printer, as it hinders proper adhesion. Therefore, keeping the print bed clean and free from grease and oil is important. Discover how to clean a 3D printer bed. Print surfaces contain many contaminants, including fingerprints, oils, and sticky residues, but isopropyl alcohol is an effective cleaning agent.
Why Is Isopropyl Alcohol Works so Well
Isopropyl alcohol (IPA) is a great general-purpose soluble trust agent that works well on various surfaces, including oils and grease. It’s considered a less harsh solvent compared to acetone. IPA can be safely applied to different bed materials like glass, PEI sheets, and magnetic build plates. It also helps reduce print errors, which can impact the Cost to Print 3D models. Once the IPA evaporates, the surface remains clean and smooth, ready for the next print.
Steps to Follow
- Choose the Right Concentration: A 70% to 90% concentration of isopropyl alcohol is powerful enough to cut through grease while remaining safe for most printer materials.
- Prepare Your Cleaning Cloth: Use a microfiber cloth or a lint-free wipe. Microfiber cloths are ideal as they don’t leave fibers behind.
- Lightly Dampen the Cloth: Pour a small amount of isopropyl alcohol onto the cloth. Do not soak it completely, as too much liquid can damage electrical components.
- Gently Wipe the Bed: Clean the print bed in smooth, circular motions. Focus on areas with visible smudges or stuck-on adhesive.
- Allow the Bed to Dry: The isopropyl alcohol evaporates in only a few seconds. Once it has dried, your bed will be ready for use. Discover how to clean 3d printer bed.
Quick Tips for Best Results
- Use IPA between every few prints, especially after using glue sticks or adhesives.
- Avoid spraying IPA directly onto the bed to protect sensitive components beneath.
- Keep a dedicated cleaning cloth to avoid introducing dirt or contaminants.
IPA will help your printer perform at its best. It will also keep your bed clean and ensure consistent first-layer adhesion. Discover how to clean 3d printer bed.
4. Use Warm Water and Dish Soap for Stubborn Adhesives
You can avoid sticky residue during a glass 3D printing session using glue sticks, warm water, and dish soap. Discover how to clean 3d printer bed. This strategy prevents glass scratches, is inexpensive, and helps scrape tough material deposits from the glass surface. Here’s why and how:
Why Choose Warm Water and Dish Soap?
- Loosens debris: Warm water helps soften hardened residues, making them easier to clean.
- Gently dissolves adhesives: Dish soap is mild yet effective, breaking down adhesive particles without damaging the glass bed.
- Cost-effective and accessible: Most households already have these cleaning essentials, which are safe for use.
Step-by-Step Guide to Cleaning
- Cool the Bed
Before starting, ensure the glass bed is completely cool. Cleaning a hot surface could cause burns or compromise the cleaning results. - Prepare the Mixture
Fill a small bowl with warm water and add a few drops of mild, unscented dish soap. Stir to create a soapy solution. Discover how to clean 3d printer bed. - Scrub the Bed
- Dampen a sponge with the soapy water. Avoid soaking it, as excess water can seep into other printer parts.
- Gently scrub the glass surface in circular motions, focusing on areas with adhesive residue or debris.
- Rinse Thoroughly
Rinse off the soap with a cloth or sponge dampened in warm water. This step ensures no soapy film remains, as it could affect the print adhesion. - Dry Completely
Use a lint-free microfiber cloth to dry the bed thoroughly. Any remaining moisture might interfere with the next print job.
For particularly stubborn spots, let the soap solution sit on the bed for a minute before scrubbing. Discover how to clean 3d printer bed. This helps loosen debris further, making it easier to remove.
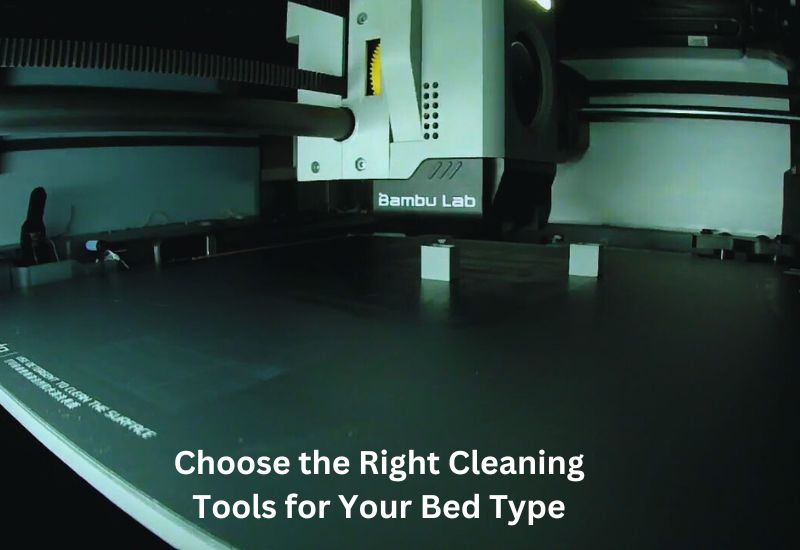
5: Choose the Right Cleaning Tools for Your Bed Type
A 3D printer bed requires specific cleaning strategies according to its characteristics and materials to stay effective and durable. The right tools and methods can prevent potential damage and ensure better adhesion during printing. Discover how to clean 3d printer bed. Here are tips on cleaning different bed types:
Why Every Bed Type Is Different
Glass crystal beds, PEI sheets, and magnetic build plates all have different functions. Glass beds provide even surfaces for glossy ends and distribute heat evenly. PEI sheets are a good alternative to adhesives because they stick well to prints. Discover how to clean a 3D printer bed. In addition, magnet beds facilitate the removal of prints from assemblies, improving flexibility. Cleaning requirements, however, vary greatly depending on the material properties.
What to use
Glass Beds
Glass beds are durable and heat-distributing but require regular cleaning to remove residue.
- Tools & Method: If grease is stubborn, use a plastic scraper and warm, soapy water or isopropyl alcohol (70-90%).
PEI Sheets
PEI sheets provide strong adhesion but are sensitive to oils.
- Tools & Method: If buildup persists, use acetone occasionally for deep cleaning. Then, use mild dish soap and a non-abrasive cloth to clean.
Magnetic Build Plates
Magnetic beds are flexible but require careful cleaning to preserve the magnetic layer.
- Tools & Method: For quick cleaning, use alcohol wipes or wash the bed in warm, soapy water for heavier residue. Detach the bed before cleaning to avoid excessive moisture.
Keep your cleaning routine consistent to ensure better adhesion and print quality across all bed types. Discover how to clean 3d printer bed.
6. Remove Stubborn Residues with Heated Cleaning
When to Try Heated Cleaning
A heated cleaning solution is your best bet for sticky plastic that cannot be removed using scraping or wiping. This is ideal for materials such as PLA and nylon, which can be tough to remove. If you see a lot of filament or stiff leftovers from your last print and the usual methods are not working, crank up the heat. Explore how to clean a 3D printer bed. A heated cleaning solution is also helpful when adhesive sprays or glue sticks are applied that dry up and make everything tacky.
How It Works
Start by setting your printer bed to moderate heat—typically 50°C to 60°C. Once the bed is warm, gently remove residue with a plastic scraper or lint-free cloth. Overheating should not damage or warp the bed material. Explore how to clean 3d printer bed. To deal with tricky spots, use an isopropyl alcohol-dampened microfiber cloth. If you use this method sparingly, you will have a flawless print bed.
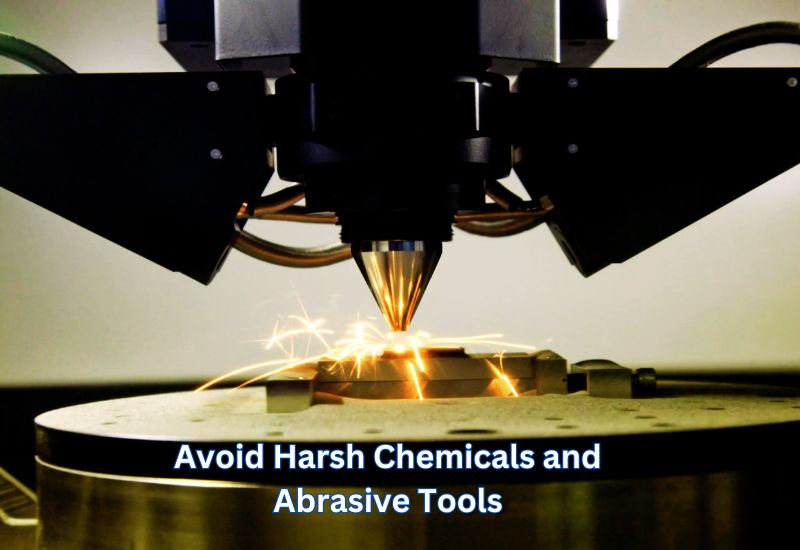
7: Avoid Harsh Chemicals and Abrasive Tools
Why This Matters
A metal scraper or cleaner containing acetone or ammonia can damage the protective coating of a 3D printer bed. Regular cleaning and servicing can increase the bed’s effectiveness and eliminate the need for costly replacements. Explore how to clean 3d printer bed. However, this could result in poor bonding, scratches, and a reduced lifetime.
Safer Alternatives
- Isopropyl Alcohol (IPA): Use 70%—90% IPA and a soft cloth to remove oils and residue gently.
- Warm Water and Mild Soap are great for tough stains or adhesive build-up. Clean with a sponge and dry thoroughly.
- Plastic Scraper: Safely removes debris without scratching the surface.
- Microfiber Cloths: Ideal for delicate cleaning without leaving scratches or lint.
Opting for these methods protects your print bed while ensuring it stays clean and functional for high-quality prints. Explore how to clean 3d printer bed.
8 (Unique): Clean the Print Environment Regularly
The environment around your 3D printer significantly influences the quality of printed materials. The temperature, humidity, and ventilation of your workspace can affect the way materials attach and layers bond, affecting the success of your prints. Explore how to clean 3d printer bed. Here are ways to improve your space to ensure better prints.
- Temperature Matters
Prints can warp and crack in extreme cold and distort in extreme heat. Keep your printer out of the sun and away from glass windows to avoid wide temperature fluctuations. - Manage Humidity
A humidity level above 50% can result in nozzle clogs and weak prints, so use a dehumidifier and store filament in airtight containers with desiccants. - Ensure Good Ventilation
Maintain proper airflow to prevent overheating and disperse fumes from the melted filament. Maintain a ventilated environment and avoid blocking the printer’s vents. An air purifier may also be helpful.
Cleaning and maintaining a clean print environment ensures optimum print quality and extends your printer’s and filaments’ lifetime, resulting in a smoother project.
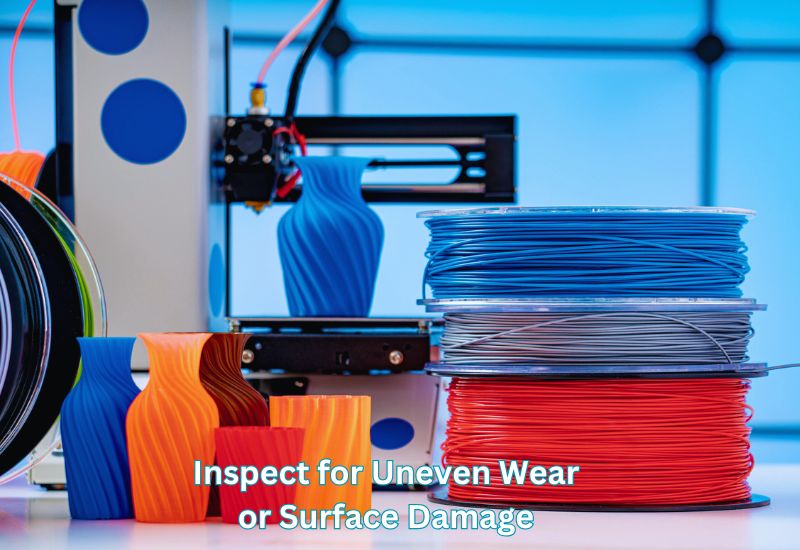
9. Inspect for Uneven Wear or Surface Damage
Why Regular Checks Are Important
A successful print is largely dependent on a clean and smooth patch. As your 3D printer bed is used over time, you may notice small scratches, pits, or worn-out spots. When such cracks appear, they can cause poor adhesion, which may result in the first layer not adhering or misaligning. Explore how to clean 3d printer bed. Regular checks can detect and resolve these issues before they affect your work’s quality.
What to Do
Make sure your print bed is thoroughly inspected under good lighting. Use a flashlight to highlight uneven spots or scratches. Slowly move your light along the surface, looking for depressions, raised edges, or cracks. If you discover damage that is not easily repaired with minor cleaning, consider replacing removable build plates or repairing the surface. Explore how to clean 3d printer bed. A glass bed can often be flipped to reveal a new side, while PEI sheets may benefit from a gentle buffing or replacement.
Regularly inspecting your print bed ensures consistent results and prevents minor problems from becoming costly repairs.
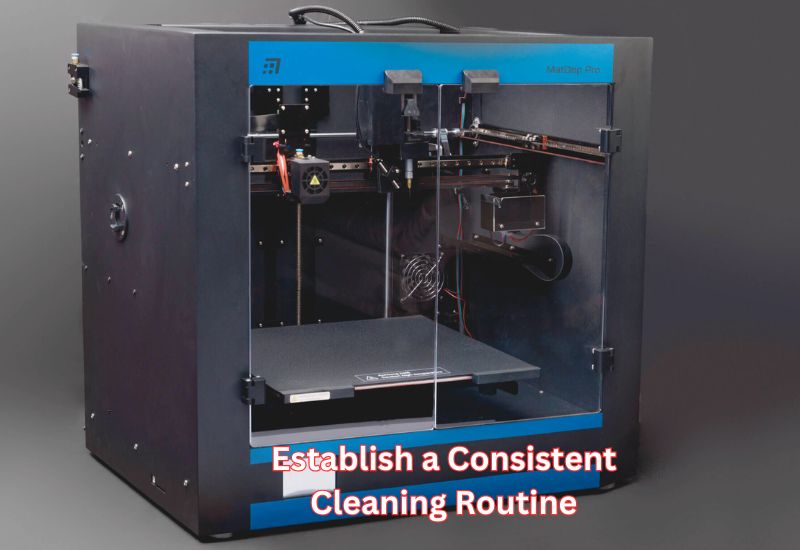
10: Establish a Consistent Cleaning Routine
Maintaining exceptional prints with your 3D printer bed can help prevent potentially damaging situations while maintaining exceptional prints. Routine maintenance ensures residues, oils, and dust bunnies don’t interfere with adhesion or cause print defects. An effective bed maintenance program ensures better prints, reduced interference, and longer print life.
Why Routines Are Key
The effects of dust and residue on print adhesion may seem minor, but they can significantly affect it over time. A cleaning routine removes subtly accumulated layers of grime, preventing problems like uneven layers or warped prints. Cleaning your bed early prevents more significant problems, like uneven layers or warped prints. Additionally, it will last longer if you treat it well over time. Explore how to clean 3d printer bed. Every project benefits from consistency, whether a one-off prototype or a batch for business production.
Suggested Routine Frequency
To keep your print bed in its best shape, follow a cleaning schedule based on your frequency of use:
- Light Cleaning
Use a dampened microfiber cloth to wipe down the bed every few prints. This removes dust and residues that settle naturally on the bed. This prevents the grime from hardening. - Deep Cleaning
When printing frequently or using materials that leave heavy residues like PETG or ABS, schedule thorough cleanings monthly or as needed. Wash the bed (if detachable) in warm water and mild dish soap to remove stubborn grime. Dry thoroughly before reusing.
Cleaning your printer step-by-step won’t take long, but it will prevent print failures, keep it reliable, and produce flawless results. Explore how to clean 3d printer bed.
Wrapping Up
A clean bed is essential for achieving flawless print quality and preventing issues like adhesion and residue buildup. By following a consistent cleaning routine and using the right tools, you can extend the life of your printer. Regular maintenance can save time, improve results, and protect your investment, whether you’re printing for business or DIY projects. Explore how to clean 3d printer bed. Take advantage of these 3D printing tips today to make your experience hassle-free and efficient!
FAQ
How often should I clean my 3D printer bed?
Light cleaning every few prints; deep cleaning once a month or as needed based on use.
What cleaning agents are safe to use?
Isopropyl alcohol (70-90%) is best for most surfaces, and mild dish soap and water are best for deep cleaning.
How do I remove stubborn residue?
Heat the bed slightly and use a plastic scraper. For tough spots, apply isopropyl alcohol and wipe with a microfiber cloth.
Can I use acetone?
Only on compatible surfaces like glass or ABS residue. Avoid coatings like PEI unless recommended.
What tools should I use?
Microfiber cloths, plastic scrapers, and non-lint towels. Avoid metal scrapers and abrasive pads.
How can I prevent buildup?
Apply adhesives evenly, clean immediately after failed prints, and ensure correct filament settings.
What if I don’t clean it regularly?
Buildup leads to poor adhesion, failed prints, and potential bed damage over time.