
This article going to discuss how to create 3d models for printing free. 3D printing is expected to reach $25 billion by 2025, a growing economic niche. Such rapid market growth indicates the outstanding potential available for entrepreneurs and casual users. Want to get your head started? Learn free 3D modeling for free. You can buy the best 3d printer for your small businesses and make models. The guide will help you make a DIY device product prototype and find out how to use 3D printing to make it happen without spending too much. Let the creative juices flow and explore the ocean of possibilities!
Learn how to create 3D models for printing free using simple tools and beginner tips to start your 3D printing journey.
Related internal pages:
- how-to-use-3d-printer-software/
- 3d-printer-for-miniatures/
- how-to-make-3d-models-for-printing/
- the-small-business-3d-printing/
- sovol-sv03-3d-printer-review/
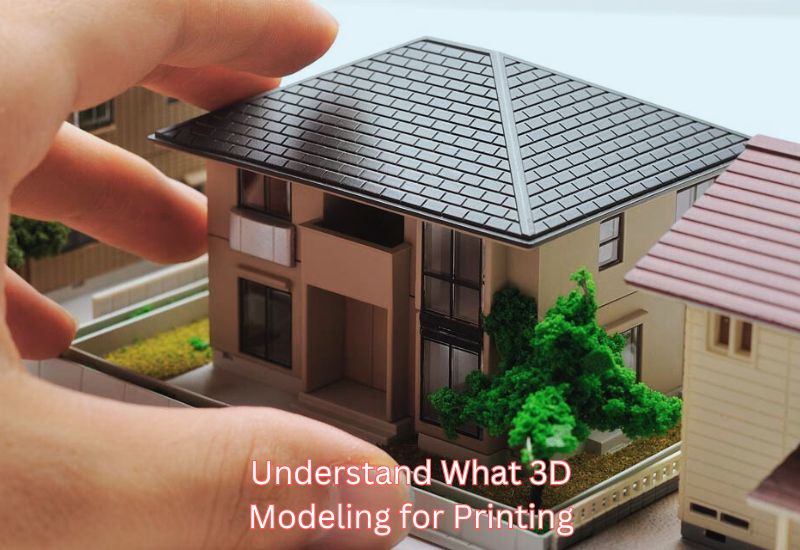
1: Understand What 3D Modeling for Printing Is
3D modeling creates a digital design for an object that acts as its fundamental design. By converting the models into printer-compatible formats such as an STL file, you can construct the models into real-life shapes using 3D printers. It’s like making something, only it’s digital.
The 3D modeling process is a great example of how a 3D printer can be used to create items they envision or custom furniture based on artistic imaginations. Explore how to create 3D models for printing free. Additionally, 3D models can be used for fun or for practical purposes in any situation, from hobbyists to small businesses—while also helping you understand the Cost to Print 3D objects accurately before starting.
2: Choose the Best Free 3D Design Software
The Top Free Software Options to Get You Started
Finding the right software is key to creating 3D models. Discover how to create 3d models for printing free. Here are some excellent free options to consider:
TinkerCAD: Simple and beginner-friendly, this web-based tool is perfect for hobbyists and educators who need quick and basic designs.
Fusion 360: A great tool for hobbyists and non-commercial users, it allows you to create detailed functional models of mechanical parts or tools.
Blender: A powerful choice for creating animations, sculptures, and intricate visuals, Blender is free and open-source software.
SketchUp Free: Easy-to-use and ideal for quick sketches, this web-based tool is popular for architecture, furniture, and simple 3D projects.
FreeCAD: Open-source modeler is well suited to engineering and technical designs, as it allows precise adjustment.
How to Pick the Right Software for Your Needs
- Artistic vs. Functional Models: Create artistic designs with Blender, or create tools and components for construction with Fusion 360 and FreeCAD.
- Ease of Use: Beginners can use TinkerCAD or SketchUp Free, while advanced users can use FreeCAD or Blender.
Explore how to create 3d models for printing free. Test these options and see what aligns with your project goals. With such variety, there’s something to suit every user!
Discuss some software pros and cons:
| Software Name | Pros | Cons |
| TinkerCAD | – Beginner-friendly, web-based with drag-and-drop interface | – Limited capabilities for advanced or complex designs |
| – Great for hobbyists and quick designs | – Not suitable for detailed technical or artistic models | |
| Fusion 360 | – Advanced tools for functional and mechanical designs | – Free version limited to non-commercial use |
| – Ideal for creating precise parts and intricate models | – Can be overwhelming for absolute beginners | |
| Blender | – Powerful, open-source software for artistic and detailed designs | – Steep learning curve for new users |
| – Includes animation, sculpting, and visual effects tools | – Not ideal for engineering or technical builds | |
| SketchUp Free | – Simple, web-based tool for quick sketches | – Lacks advanced tools required for detailed or complex designs |
| – Popular for architecture, furniture, and basic 3D projects | – Requires internet access for use | |
| FreeCAD | – Excellent for engineering and technical designs | – Interface can feel dated and less intuitive |
| – Open-source and allows precise adjustments for detailed projects | – May require additional plugins for certain functionalities |
3: Plan and Sketch Your Idea
Why Sketching Your Idea First Helps
When you sketch your design before you model it, you can visualize its structure and proportions. Using a pencil sketch will allow you to identify problems early, like disproportions or alignment issues, before getting lost in software tools. It’s also a creative outlet that lets you explore ideas without the constraints of software. Explore how to create 3d models for printing free.
A smoother transition to digital is ensured by taking into account the 3D printer’s specifications, including build size and material compatibility.
Important Questions To Ask Before You Start
- Is your model functional or decorative?
A functional model, like a tool or mechanical part, requires precision and durability, whereas a decorative model allows for more flexibility and creativity. - What are the size and material constraints?
A printer with a large build area and materials like PLA or ABS may require larger projects to be split into sections. Materials must be matched to the model’s purpose.
A thoughtful sketch paired with these considerations sets a strong foundation for your design, minimizing errors and maximizing efficiency in the modeling process. Explore how to create 3d models for printing free.
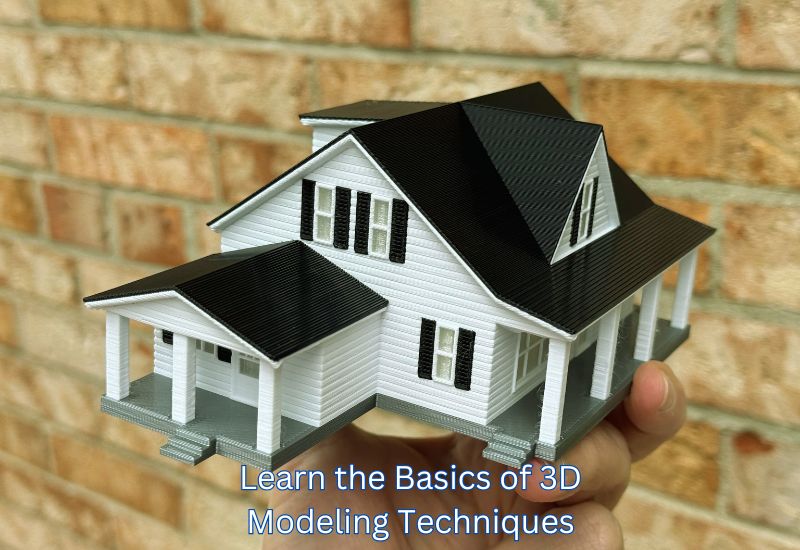
4: Learn the Basics of 3D Modeling Techniques
Creating Shapes and Combining Them
3D modeling begins with manipulating basic shapes like cubes, cylinders, and spheres. You can make intricate designs by resizing, rotating, and merging these shapes. By merging a box with a sphere, for instance, you can produce a prototype or gadget. To learn how to master these steps, use beginner-friendly tutorials in platforms like TinkerCAD and Blender. Explore how to create 3d models for printing free. As you experiment with different designs, tutorials help boost your confidence and guide you.
Avoiding Common Beginner Mistakes
A common problem for beginners is overlapping parts or creating thin walls. Using software like “snap to grid” to align shapes properly can prevent weak spots in your print. Thin walls are also prone to breaking. Fixing these problems early guarantees a smoother print process and a stronger final product by highlighting problem areas and using slicer tools to highlight them. Explore how to create 3d models for printing free. Review and refine regularly for the best results.
Step 5: Refine Your Design to Make It Print-Ready
Focus on Printability
You need to refine your design for 3D printing in order to ensure a smooth process. Start with wall thickness – thin walls below 1 mm can break, while overly thick ones waste material. Aim for walls between 1-2 mm for small designs, and 2-3 mm for larger ones.
You should pay attention to overhangs. Anything that exceeds 45 degrees will sag and need to be supported. Use gradual slopes or reduce unsupported areas. FDM printers are much more precise than SLA and SLS printers. Explore how to create 3d models for printing free. Features smaller than 0.4 mm may not print correctly. Make sure your design aligns with the printer’s precision capabilities.
Tools to Validate Your 3D Model
You can find potential problems with tools like Meshmixer and PrusaSlicer. Meshmixer identifies weak points and helps you reinforce them, whereas PrusaSlicer shows you how each layer is attached, revealing flaws like thin walls and unsupported overhangs. Explore how to create 3d models for printing free. Adjustments can make your design a reliable and high-quality physical object by resolving issues.
6: Export Your Model as an STL File
What Is an STL File and Why It’s Important?
In 3D printing, STL files, or stereolithography files, simplify your designs by converting their surfaces into triangles, which your printer can interpret. In order to turn a digital model into a physical object, you need this format to ensure compatibility with most printers. Explore how to create 3d models for printing free.
Step-by-Step Guide to Exporting STL Files
Here’s how you can export STL files using three popular 3D modeling tools for hassle-free printing:
1. Using Tinkercad
- Open your design in Tinkercad.
- Once the project is ready, click the “Export” button on the upper right side of the screen.
- Choose “.STL” as the file format from the export options.
- Save the file to your computer. Now, your model is ready for slicing software or direct printing.
2. Using SolidWorks
- Open your model in SolidWorks.
- Navigate to “File” > “Save As” from the top menu.
- Select “STL (*.stl)” in the Save as Type dropdown menu.
- Click on Options to adjust resolution settings (higher resolution means more details).
- Save the file. Your SolidWorks model is now ready for printing.
3. Using AutoCAD
- With your model open, go to File > Export.
- Select “STL (Stereolithography)” as the export file type.
- Make sure the model is within positive XYZ coordinates to avoid errors.
- Enter a name for the file, and choose Binary format for smaller file size.
- Save the.STL file to your desired location.
Tips for High-Quality STL Files
- Always check your model’s resolution. Higher triangle counts create smoother edges but increase file size.
- Use binary STL format as it reduces file size without affecting the quality.
- Double-check for errors like unjoined surfaces or gaps before exporting.
Following these steps, you can easily generate STL files, enabling you to bridge the gap between your 3D design and a successful print. Explore how to create 3d models for printing free.
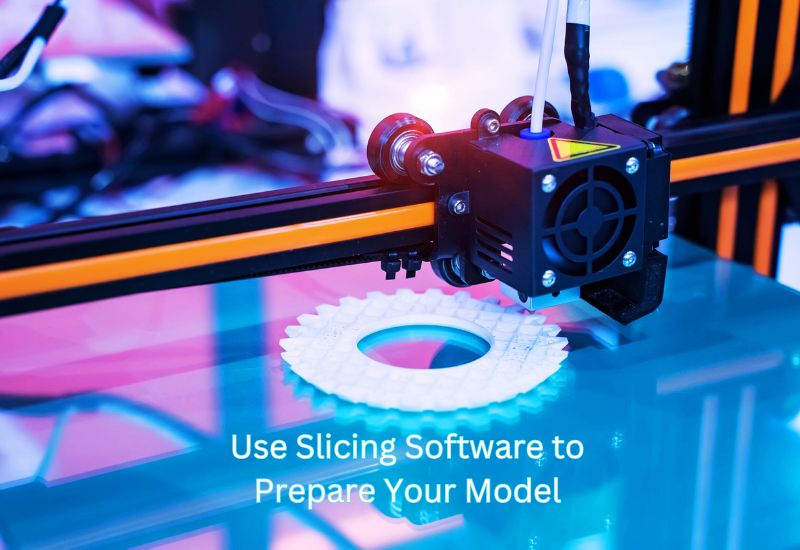
7: Use Slicing Software to Prepare Your Model
What Slicing Tools Do and Why You Need Them
A slicer software program translates a 3D design into G-code, a language your printer understands. Explore how to create 3d models for printing free. It divides the model into thin layers, then gives instructions for printing. Cura, PrusaSlicer, and Chitubox are popular options.
- Cura is beginner-friendly and versatile, supporting numerous printers with its robust features.
- PrusaSlicer offers advanced tools, like “paint-on” supports for precise customization.
- Chitubox excels in resin printing, allowing for hollowing and detailed exposure settings.
These slicers also optimize prints with features like support structures, print speed adjustments, and material settings, ensuring reliable and efficient results.
Choosing Proper Print Settings
Selecting the right slicing settings enhances print quality and functionality. Key settings include:
- Layer Height
Smaller heights, like 0.1mm, produce finer details but take more time. Larger sizes, around 0.2mm, are faster for functional prints. - Print Speed
Slower speeds (40–50mm/s) improve precision, while higher speeds (60mm/s and up) are better for quick drafts. Material choices like PLA or ABS may also impact speed settings. - Infill Density
Lighter models (10–20% infill) suit decorative items, while functional parts require higher density (50% or more) for strength. Patterns like grid or gyroid balance durability and material use.
You can balance your projects’ quality and efficiency by fine-tuning these options in your slicer. Discover how to create 3d models for printing free.
8: Set Up Your Printer for Success
Essentials of Printer Preparation
1. Clean the Print Bed
Ensure the print bed is free of dust and residue, as these affect adhesion. After each print, wipe the surface with 91% isopropyl alcohol and a cloth to smooth it.
2. Level the Bed Accurately
Bed leveling ensures consistent nozzle height across the print surface. Use a sheet of paper as a gauge while adjusting the bed screws. Warm up the printer first to account for material expansion.
3. Load the Right Filament
Choose a filament, such as PLA, that suits your print. Trim the end at an angle, feed it into the extruder, and run the printer’s loading feature to check for smooth flow.
Avoiding Common 3D Printing Issues
1. Bed Adhesion Issues
Use the correct bed temperature (50–60°C for PLA) and consider applying a glue stick layer or a textured plate for better grip.
2. Filament Feeding Stalls
Prevent feed problems by storing filament in a dry space and cleaning the feed path. Check for tangles or extruder gear slippage and tighten if necessary.
3. Temperature Instability
Ensure the hot end and bed align with the filament’s temperature range. Print calibration tests to fine-tune settings and address poor bonding or stringing.
Discover how to create 3d models for printing free. A properly prepared printer minimizes errors and ensures smooth, high-quality prints every time!
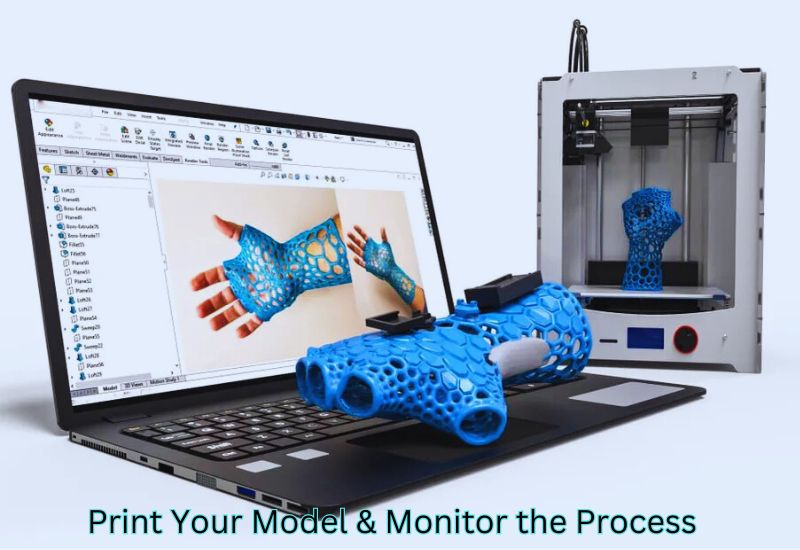
9: Print Your Model & Monitor the Process
Know What to Watch Out For During Printing
Ensure that the first layers adhere evenly to the bed. Look for lifting edges, warping, or gaps that indicate problems. To fix these, ensure the print bed is level, set the nozzle height correctly, and clean the surface. Discover how to create 3d models for printing free. You can save your print from significant flaws by monitoring early layers. Adjust your bed temperature or print speed if necessary.
How Long Will It Take? Factors That Affect Print Time
Models with details or supports take longer to print due to precise layer placement. Larger designs require more layers, naturally increasing print time. ABS and resin may require slower speeds for stability or detail, whereas PLA prints faster. Discover how to create 3d models for printing free. By optimizing layer height, infill, and speed settings, you can balance print time with high quality.
10: Finishing Your 3D Printed Model with Post-Processing
Removing Supports and Polishing Your Print
Using needle-nose pliers or a craft knife, remove support structures gently. After the model is smoothed, use sandpaper, starting with coarse grit (100-200) and gradually moving up to finer grit (400-600). Sanding sticks can help with tight spots.
Primer smooths minor imperfections and prepares the surface for painting. Use thin coats of paint for even coverage, and dry between layers. Discover how to create 3d models for printing free. If assembly is required, ensure all parts fit seamlessly before final bonding.
Advanced Finishing Options
Ensure your model is durable and polished by sealing it with resin or varnish. For ABS prints, acetone vapor smoothing can create a seamless, glossy effect. Clear coats provide gloss, and matte finishes offer subtle aesthetics. Be careful during the process to maintain the shape of the model.
If you are looking for durability and style, use epoxy coatings or metallic sprays. To make your print stand out, add decals, textures, and multi-material layers to make it unique. Discover how to create 3d models for printing free. Both functionality and visual appeal are enhanced by these techniques.
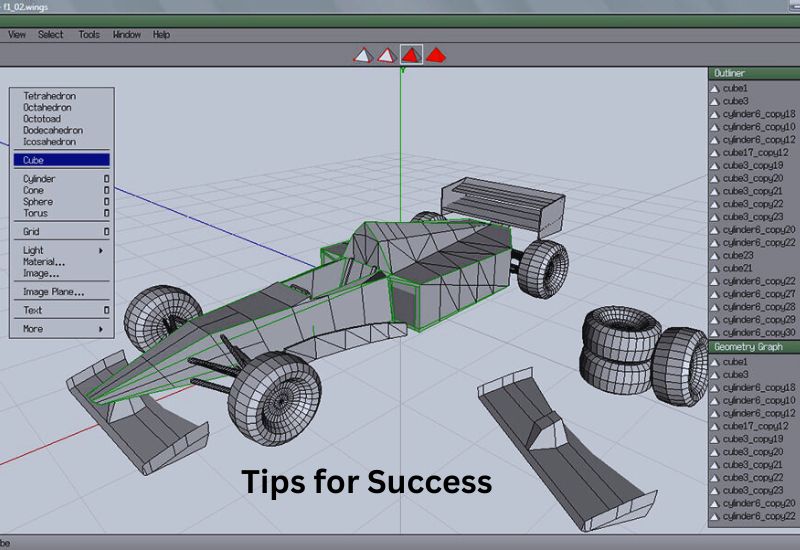
Bonus Tips for Success
How to Find Ready-to-Use Free 3D Models Online for Inspiration
Free3D and Sketchfab offer a variety of free 3D models, ranging from furniture to intricate miniatures, often with customizable licenses. Get started with your creativity by exploring ready-to-use 3D models. Discover how to create 3d models for printing free. It’s easy to find innovative ideas or modify existing models with Thingiverse and MyMiniFactory, while Thingiverse offers practical and fun projects.
Ways to Make Money from Selling Custom 3D Prints
3D prints can be sold on platforms like Etsy, where items like phone docks, vases, and personalized gifts are in high demand. You can offer tailored services, like creating prototypes for architects or engineers or making detailed gaming miniatures for niche markets. Discover how to create 3d models for printing free. The sale of original 3D designs on sites such as CGTrader can also build passive income. Focus on quality and customization so you can make a name for yourself.
Wrapping Up
Free tools and resources make it easier than ever to create 3D models for printing. You can design practical items, artistic creations, or prototypes with creativity and experimentation. Free3D makes inspiration accessible, and you can even make money from selling prints. Discover how to create 3d models for printing free. Start small, learn as you go, and enjoy bringing your ideas to life. Your next creative project is just a design away—start now!
Frequently Asked Questions
What is the easiest way for a beginner to start creating 3D models for free?
The easiest way to start is by using free, web-based software like Tinkercad or SketchUp Free. These tools are highly beginner-friendly, using a simple drag-and-drop or block-combining interface that requires no prior design experience.
What are the main steps required to turn an idea into a final 3D print?
The process generally involves four main stages: 1. Sketch & Plan the design. 2. Design the model using 3D software. 3. Export the file in a printable format like STL. 4. Slice the file and send the resulting G-code to the 3D printer.
What are the best free 3D modeling software options?
The best option depends on your goal: Tinkercad is ideal for beginners and simple geometric designs. Fusion 360 (free for hobbyists) is best for precision and functional/mechanical parts. Blender is a powerful, open-source tool for artistic, complex, or sculpted organic models. FreeCAD is excellent for engineering and technical designs requiring precise adjustments.
What does it mean for a 3D model to be “watertight” or “manifold”?
A model must be watertight (or manifold) to be printable. This means the model must represent a complete, closed volume with no holes, gaps, or open surfaces. If the model is not manifold, the slicing software cannot distinguish between the interior and exterior, leading to printing errors.
How do I handle overhangs, and will I need supports?
An overhang is any part of your design that extends outwards without direct support underneath. If an overhang is steeper than 45 degrees, it will likely require support structures during printing to prevent the filament from drooping or failing. You can sometimes avoid supports by rotating your model in the slicer.