In this article we are gonna discuss how to program a 3d printer for efficient work. An entry-level 3D printer shipments grew by a staggering 65% in 2024, contributing to a 7% increase in global 3D printing revenues? This rapid growth showcases the booming potential of 3D printing for hobbyists and professionals. Programming your own 3D printer unlocks endless creative and business opportunities. Beginners can choose the best 3d printers for small business. With my years of hands-on experience, this step-by-step guide is here to help you master the process easily and efficiently. Let’s get started on turning your ideas into reality!
Before starting a new print, it’s essential to clean your 3D printer bed. A dirty or sticky bed can cause prints to warp or fail. For example, wiping the bed with isopropyl alcohol ensures proper adhesion and smoother first layers. Taking this simple step can save time and reduce frustration during printing.
Read Relevant Article
Artillery Sidewinder X4 Plus Review
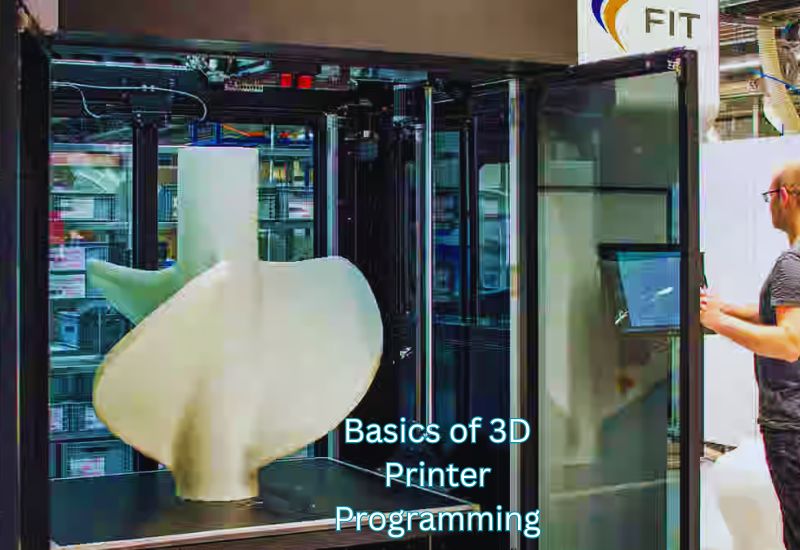
1: Understanding the Basics of 3D Printer Programming
What is G-Code and Why is it Important?
3D printers use G-Code to communicate about movements, speeds, and filament extrusion. The print head converts digital 3D models into motion and moves in a particular direction at a specified speed. For example, “G1 X10 Y10 F1500” moves the print head a specific distance. Discover how to program a 3d printer.
For improving accuracy or fixing errors in a print, it’s useful to understand G-Code fundamentals, even if it’s generated by slicing software.
Choosing the Right Software for Beginners
TinkerCAD and Cura are both beginner programs that can make 3D printing easy. TinkerCAD creates 3D designs online and exports them as STL files. Cura converts the STL files into G-Code for printing, making printing easy. With its ready-made profiles, anyone can quickly select printing parameters such as layer thickness and speed, making it useful for novices and experts. This process seamlessly integrates all these elements from drafting to printing—and even prepares your model if you plan to paint a 3D print for added detail or finishing.
2: Preparing Your 3D Design
Create or Choose a 3D Model
It is best to decide whether to build a template from scratch or use a premade one. For more intricate designs and parametric modeling, FreeCAD is more appropriate. TinkerCAD is a drag-and-drop tool that beginners can use. With these platforms, diverse ideas can be implemented with precision.
Several 3D models can be found on various websites that can be used for 3D printing directly if compiling designs seems overwhelming. On sites like Thingiverse, Cults3D, and Pinshape, you can find 3D prints that are ready to print. Search for models with incompatible file extensions, such as STLs and OBJs. Discover how to program a 3d printer.
Tips for Designing Print-Friendly Models
To create a 3D print-ready design, keep these essentials in mind:
- Sizing
Match the size of your model to the build area of your printer. For larger designs, scale or divide them into smaller parts. - Layer Thickness and Details
Optimize detail size for your nozzle capability. Avoid overly intricate elements to ensure clear and accurate printing. - Overhangs and Supports
Limit overhang angles to under 45 degrees or add supports to prevent sagging. Use software simulations to spot trouble spots. - Wall Thickness
Maintain a wall thickness of at least 1.2-2mm for a sturdy structure that won’t collapse. - Orientation
Position flat surfaces on the bed to enhance adhesion and reduce print errors like warping.
These steps will help maximize your model’s printability while minimizing potential issues.
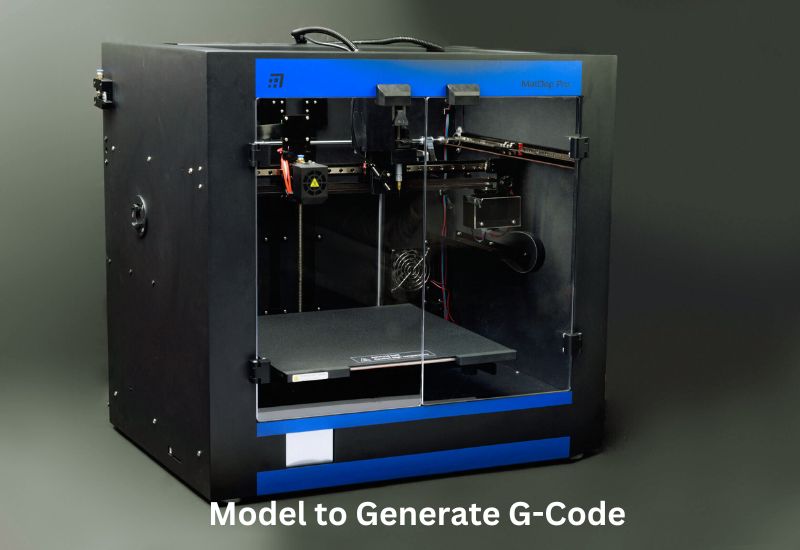
3: Slicing the Model to Generate G-Code
What is Slicing, and How Does it Work?
Slicing converts a 3D model into horizontal layers and transfers them to a printer in G-Code format. You will need this G-Code to determine how the printer fuses together the layers and what temperatures to use. Otherwise, your printer will not understand your design. Discover how to program a 3d printer.
Configuring Print Settings in Slicing Software
For an optimized print result, upload your 3D model to a slicing software such as Cura or Simplify3D, then fine-tune the print settings. Here are some key parameters to adjust:
- Layer Height determines the thickness of each 3D-printed layer. A lower layer height provides finer detail but increases print time.
- Infill Density and Pattern: The infill density, ranging from 0% (hollow) to 100% (solid), impacts the strength and weight of your print. Popular patterns like honeycombs or grids can provide durability while minimizing material usage.
- Print Speed: You can adjust the speed to balance clarity and efficiency. Lower speeds ensure better quality, while higher speeds save time.
- Material Type Settings: Inputting the correct filament type helps the software determine ideal extrusion and bed temperatures.
Cura makes using it incredibly easy, as its pre-configured profiles work with various printers and filaments. Add your printer, pick a profile, and make any needed changes. Discover how to program a 3d printer. Despite being paid, Simplify3D is well known for its powerful control features, which allow advanced users to alter every aspect of the print as deeply as possible.
Exporting the G-Code File
To help your 3D printer produce the intended physical object, it is recommended that you check the results after slicing to detect errors. Next, save the resulting G-code to a USB stick or SD card with the correct file name. Discover how to program a 3d printer.
4: Setting Up Your 3D Printer
Preparing the Printer Hardware
Start by leveling the build plate. If you have automatic leveling, use it; otherwise, adjust it with the knobs. When using thin pieces of paper, ensure a slight resistance between the nozzle and the building plate. Ensure that the filament matches the print requirements. If the nozzle appears clogged, warm it to the temperature of the material you’re using and scrub it appropriately. Discover how to program a 3d printer. Once the filament is loaded, purge the old filament to prevent intermingling. Lastly, make sure the filament is installed properly.
Verifying Firmware Compatibility
Ensure your printer’s firmware is current and compatible with the G-Code you created. If necessary, use the settings or official material to update the firmware. This small verification provides more assurance of the printing process than a print failure if the printer’s Pprofile in your slicer’s setup does not match the printer brand. Discover how to program a 3d printer.
5: Transferring the G-Code to Your Printer
Getting your G-Code file to the printer is crucial for starting the print. Here’s how to do it effectively and common solutions to potential issues.
Different Methods for File Transfer
1. USB Drives
The simplest way to use G-Code is to save it to a USB drive, plug it into your 3D printer, and select it from the printer’s interface.
2. SD Cards
To start a G-Code file, load it onto an SD card and insert it into your printer. You can organize files on the card into specific folders to avoid confusion.
3. Wireless Connectivity
Software such as OctoPrint, which allows you to send files directly from your desktop computer or phone, eliminating the need for a physical connection, is ideal for printers with Wi-Fi capabilities. Discover how to program a 3d printer.
Common Issues During File Transfer and Fixes
1. File Not Recognized
If the USB or SD card is formatted with FAT32 and the G-Code file is placed in a readable directory, the printer should be able to detect it.
2. File Errors
If you receive errors such as ” Invalid Program, “ensure your slicer settings align with your printer’s firmware requirements.
3. Wireless Connection Drops
Ensure a stable connection by positioning the printer closer to the router or establishing a fixed IP address.
4. Corrupted Data
You should use high-quality USB drives or SD cards, eject devices safely, and restart your router and printer to ensure wireless connectivity.
Choose the method that suits your printer setup and handle these common challenges to ensure a smooth start to your prints. Explore how to program a 3d printer.
6: Running a Small Test Print
Importance of a Calibration Print
A calibration print ensures that the 3D printer is well-adjusted for quality. A block stand or 3DBenchy test model provides information on the printer’s performance regarding quality, layering, surface, and finishing. These provide an excellent starting point and help you tackle complex models by determining which parameters must be modified. Time, mate: Good test prints also help manage time and frustration, preventing mistakes. Explore how to program a 3d printer.
Adjustments Based on Test Results
Evaluate your test print for common issues and apply these fixes:
- Under-Extrusion
Fix thin or incomplete layers by recalibrating your extruder’s E-steps or tweaking the slicer flow rate. - Overhang Issues
Mitigate sagging by increasing fan speed, lowering print speed, or using supports for extreme angles. - Bed Adhesion
Poor adhesion can be addressed by leveling the bed, adjusting the Z-offset, or applying adhesives like glue sticks for better grip.
Refining these elements early enhances print quality and sets your printer up for consistent success. Explore how to program a 3d printer.
7: Executing the Full Print Job
Here’s how to keep your 3D print on track and handle common issues effectively.
Monitoring Your Print During Progress
- Check First Layers Closely
The first layers are key to a solid print. Watch for good adhesion and even filament flow. - Use Remote Monitoring
Platforms like OctoPrint and compatible webcam apps allow you to track progress from anywhere. - Set Alerts
Many printers and apps notify you of errors, like running out of filament, so you can act immediately. - Maintain Proper Environment
Keep the printer in a stable environment free of drafts and temperature fluctuations. Learn how to program a 3D printer.
Resolving Mid-Print Issues
- Filament Jams
Pause and unload the filament. Clean the nozzle with a fine tool before resuming. - Layer Shifts
Check and tighten loose belts or reposition the printer on a stable surface. - Under-Extrusion
Address gaps by cleaning the nozzle and ensuring the correct temperature and extrusion settings. - Warping
Increase bed adhesion using a glue stick or adjust bed temperature as needed. - Power Interruptions
Use printers with resume-print features or invest in a UPS for uninterrupted printing.
You can always ensure a smooth and successful print with careful monitoring and quick fixes. Explore how to program a 3d printer.
8: Post-Processing Your Printed Object
Cleaning and Finishing
Once your 3D print is complete, it is time to eliminate excess materials. It is best to begin by removing the supports with pliers or a craft knife. If the supports are intricate, water-soluble materials are ideal for cleaning and ensuring a smooth finish. Once that is done, sanding is the next step. For heavy blemishes, coarse grit sandpaper is best; gradually finer grits will produce a more professional appearance. Using harsh sandpaper will result in overstanding and breaking finer parts. To finish off the rough areas, use a creamy base abrasive paste. Explore how to program a 3d printer.
Enhancing the Final Product
Paint the surface of your 3D print to enhance its aesthetics. Start with a plastic-compatible primer. Apply acrylic spray paint thinly to avoid dripping. Apply a clear coat to add durability. Multi-part prints can also be assembled with super glue or epoxy. Use filler paste to smooth joints and hide seams, giving a seamless finish. To further customize, try adding decals, patterns, or metallic finishes. Explore how to program a 3d printer. The extra effort can transform a plain print into an eye-catching piece!
9 (Unique): Customizing and Editing G-Code for Advanced Control
How to Manually Edit G-Code
The G-Code commands define all the actions and movements of the 3D printer so you can tweak them and improve your 3D print even more. Decreasing the printing time would be more accurate by changing the F parameter of G1 commands rather than increasing print speed. The Z coordinate can also be changed to allow for different layer heights, and the M104 command changes the extruder’s temperature to accommodate different materials and details. Explore how to program a 3d printer.
You can edit the G-code manually using a text editor like Notepad or Notepad++. Each line performs a certain operation, such as moving the nozzle, heating the bed, or forcing out the filament. Explore how to program a 3d printer. If you delete all the G-codes, you can fix problems with slicing layers, target specific layers, or add instructions like a pause for inspection.
Example Tweak:
Increase the flow rate for a strong first layer by adjusting the extrusion amount in G1 commands:
G1 X50 Y50 Z0.2 F1800 E15 ; Adds extra filament extrusion
Recommended Tools for G-Code Editing: Explore how to program a 3d printer.
Using the right tools can simplify editing and improve your control. Here are some top suggestions:
- Notepad++
- It’s ideal for spotting errors or navigating through lines of G-Code commands. A free, lightweight text editor that highlights syntax for easier reading.
- Perfect for beginners who want an accessible tool for small tweaks.
- GCode Viewer
- The NC Viewer tool simulates G-Code commands, which can be used to identify potential print quality problems before running them on a printer.
- OctoPrint Plugins
- If you’re already using OctoPrint, many add-ons allow you to live-edit G-Code files mid-print for real-time adjustments.
These tools are invaluable for beginners and advanced users, offering flexibility and reliability without needing professional software.
Using Comments in G-Code for Better Debugging
You can use G-Code Comments to keep track of changes made or diagnoses during prints that may pose problems in the future. If you use a semicolon (;) in G-Code, the printer will ignore everything after that point. In this space, you may explain your modifications or make notes regarding potential changes for me. Explore how to program a 3d printer.
Examples of Commenting in G-Code:
- Identifying a custom speed setting:
G1 F1200 ; Reduced speed for better bridge quality - Marking layer-specific changes:
G1 Z1.2 ; Begin Layer 6 adjustments
A proper G-Code note is necessary to optimize print speed, eliminate print artifacts, and level your bed. The comments are useful during trial-and-error debugging, as they prevent you from modifying the code multiple times. Explore how to program a 3d printer.
With the right equipment and a decent workflow, you can achieve amazing 3D printing results with a few changes to G-Code.
10 (Unique): Optimizing Your Skills for Continuous Improvement
H3 Learning from Each Print
Every print teaches you something. Consider the surface quality, adhesion, or even warping of the print. Record material type, settings, and results to remember what worked. Explore how to program a 3d printer. When you encounter such problems, you can adjust parameters like the bed temperature or the amount of retraction to polish your techniques and improve consistency.
H3 Exploring Advanced Techniques and Challenges
Dual extrusion allows you to combine different materials or colors. You can take your printer to the next level with dissolvable supports or flexible materials. You can also create complex designs such as lattices and overhangs. With each challenge, you improve your skills and creativity.
H3 Keeping Up with 3D Printing Trends
Keep up with technology and innovations. Join forums and social groups to share information. Take courses on current trends such as bioprinting or AI-based optimization. Explore how to program a 3d printer. Staying on top of 3D printing ensures you do not lag behind in a fast-paced world.
Wrapping Up
The skills you need to create prototypes expand the fundamentals of 3D printing. Furthermore, your creativity can be focused on advanced aspects of the printer or 3D industry as you see fit. Considering the increasing trend in 3D printing now is the perfect time to improve your skills. Do not stop experimenting, learning, and keeping up with the latest developments to make the most of this fascinating technology. Explore how to program a 3d printer. The only limitation is your imagination!
FAQs
What does programming a 3D printer involve?
It involves configuring firmware, understanding G-code, and adjusting printer settings for optimal performance.
Do I need coding skills to program a 3D printer?
Not necessarily. Slicers generate G-code automatically, though basic knowledge helps with customization and troubleshooting.
How can I edit G-code?
Use text editors like Notepad++ or slicer software to tweak commands for speed, temperature, or movements.
What is the best firmware for beginners?
Marlin and Klipper are user-friendly and well-supported options for most setups.
What are common programming issues?
Miscalibrated motors, bad bed leveling, and adhesion issues often stem from incorrect settings.
How do I program dual extrusion or multi-material prints?
Adjust slicer settings and G-code to manage multiple nozzles or materials effectively.
