
What Is 3D Printing for Beginners and Why Learn the Basics
3D printing is a method of creating physical objects by building them layer by layer from a digital design. If you’re wondering how to use a 3d printer for beginners, imagine a printer that uses plastic or resin to make toys, tools, or custom parts right in your home or workspace.
Learning the basics of 3D printing is an excellent starting point for beginners. It allows you to create unique DIY projects easily and affordably. Additionally, it opens doors for starting a small business by allowing the production of prototypes or custom products with minimal costs.
Most importantly, 3D printing sparks creativity. It helps you understand how designs come to life and gives you the skills to create practically anything. Starting with the basics is the key to unlocking all these possibilities. If you’re looking to take your skills further, choosing the best 3d printer for small business can help you grow both creatively and professionally.
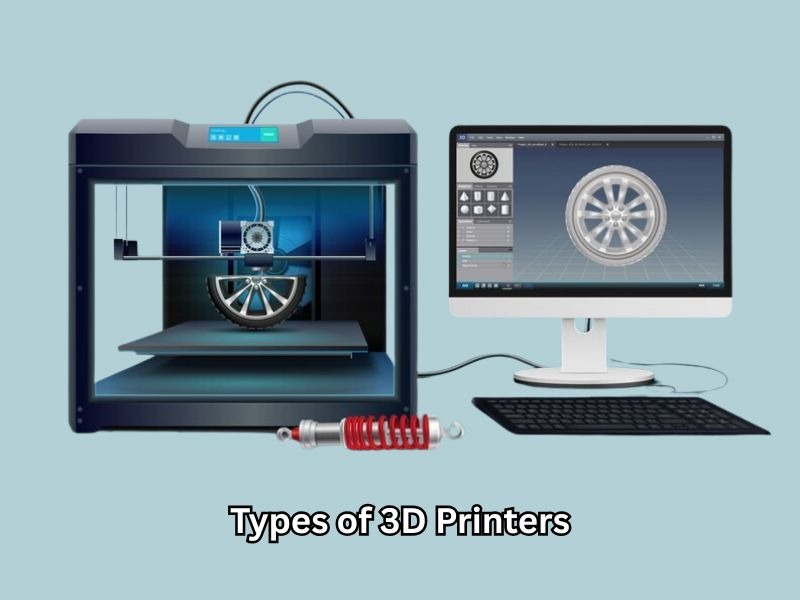
Beginner-Friendly Types of 3D Printers and How to Pick One
Understanding FDM Printers and Filament Options
What Is FDM Printing?
FDM (Fused Deposition Modeling) melts plastic filament and builds objects layer by layer. Imagine a hot glue gun carefully drawing your design in 3D.
Why FDM Is Great for Beginners
FDM printers are affordable, easy to use, and perfect for creating practical items. They’re also simple to maintain.
Common Beginner Filaments:
- PLA: Easy to print, eco-friendly, and great for most projects.
- PETG: Stronger and more flexible than PLA, good for durable parts.
- ABS: Tough and heat-resistant, but needs a heated bed and good ventilation.
Resin Printing (SLA/DLP) Overview for Beginners
What Is Resin Printing?
Resin printers use liquid resin cured by UV light to create smooth, detailed prints. SLA uses a laser, while DLP uses a projector.
Why Try Resin Printing?
Resin printers produce highly detailed models, making them ideal for miniatures and jewelry.
Basic Safety Tips:
- Use the printer in a well-ventilated space.
- Always wear gloves and eye protection.
- Clean and cure prints properly after printing.
Key Factors to Choose a Beginner Printer in the USA
What to Consider:
- Budget: Beginner printers start around $150 to $300.
- Print Size: Pick a build volume that fits your projects.
- Ease of Use: Features like auto-leveling and touchscreens help beginners.
- Support: A good user community makes troubleshooting easier.
Popular Beginner Printers:
- Creality Ender 3 V3 SE: Affordable and reliable for beginners.
- Anycubic Kobra 3 Combo: Easy setup with helpful features.
- Elegoo Neptune 2: Known for stable prints and strong community support.
- Anycubic Photon Mono: Budget resin printer with great detail.
- Elegoo Mars 2 Pro: High-quality resin prints for detailed projects.
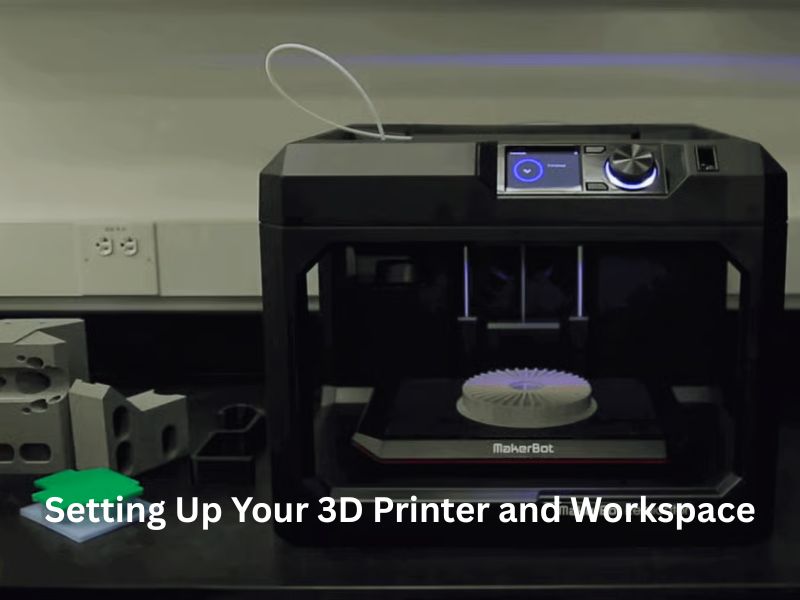
Setting Up Your 3D Printer and Workspace
Unboxing, Assembly, and Following the Manual
Start by placing your printer on a flat and stable surface, such as a sturdy table. Avoid wobbly setups to prevent failed prints.
Carefully remove all packaging. Some printers have foam blocks or zip ties inside for shipping safety; remove those.
Now, open the manual and follow the step-by-step assembly instructions. Many beginner-friendly printers come mostly preassembled, so setup is often quick and easy.
Double-check that all screws are snug and cables are securely in place. A proper setup prevents future issues and saves time.
Leveling the Print Bed for First-Time Users
Bed leveling helps your printer lay down smooth, first-layer lines. If the nozzle is too far or too close, your print can fail.
There are two main types of bed leveling:
- Manual leveling uses knobs under the bed. Slide a piece of paper between the nozzle and bed, and adjust until you feel slight resistance.
- Automatic leveling uses sensors to measure points across the bed. The printer then adjusts while printing.
Why it matters: A level bed helps filament stick properly. Without it, prints may warp, shift, or not start at all.
Loading Filament and Initial Calibration
Before loading filament, preheat the nozzle to ensure a smooth printing experience. For PLA, set around 200°C. Other filaments, like ABS, require more heat.
- Cut the filament tip at an angle for easier feeding.
- Insert the filament through the extruder until melted plastic begins to come out.
- Use the control screen to extrude a few millimeters. This confirms it’s loaded right.
- Adjust the tension if needed so the gear grips do not grind.
- Check the flow and clean the nozzle if needed. Good extrusion means you’re ready to print.
Using Slicer Software to Convert Models for Printing
Before printing, you need slicer software. It turns your 3D model into a language your printer understands. This is called G-code. Without slicing, your printer won’t know how to process the file.
Choosing and Installing a Slicer (Cura, PrusaSlicer)
Cura and PrusaSlicer are two of the most popular choices for beginners. Both are free and easy to install. If you’re learning how to use a 3d printer for beginners, these slicers make the process simple. Simply visit the official site, download the version compatible with your system, and follow the on-screen instructions. Cura is great if you use an Ender or Anycubic printer. PrusaSlicer works well with Prusa machines but also supports other 3D printers.
Slicers break your model into layers. This helps the printer know where to move, how fast, and how much filament to use. They also allow you to adjust important settings, such as speed or quality. When learning how to use a 3d printer for beginners, selecting a suitable slicer is essential to prevent print errors.
Slicer Settings Beginners Must Know
Start with basic settings. First is layer height. A smaller height provides more detail but requires more time to achieve. Next is infill. This controls the solidity of your model. More infill makes it stronger, but also uses more plastic.
Then comes support. These hold up parts of your print that hang in the air. You can turn them on or off depending on the shape. Finally, if you’re learning how to use a 3d printer for beginners, it’s important to understand the difference between a brim and a raft. A brim adds extra plastic around the base to help stick to the bed. A raft lifts the print slightly to prevent warping.
Start with the default settings in the slicer. As you become more confident, you can refine these to achieve even better results.
Exporting G-code and Transferring Files to Printer
Once your file is sliced, save it as G-code. This is the format your High-Performance 3D Printer reads. You can transfer this file using a few methods. Many printers use SD cards or USB drives as storage media. Some newer models allow you to send files over Wi-Fi.
Choose the way that matches your printer. Insert the SD card or USB drive, then select the file on your printer’s screen. Now you’re ready to print.
Your First Print: Step-by-Step for Beginners
Getting your first print right feels great. Take your time and don’t rush through the steps. It’s okay if the first try isn’t perfect.
Starting the Print and Watching the First Layers
Start your print from the printer screen. Watch the first few layers carefully. These are the most important when learning how to use a 3d printer for beginners. If they don’t stick to the bed or look messy, pause the print and fix it. Make sure the nozzle isn’t too far from the bed. If that’s the case, your filament may not adhere well.
Keep an eye on how the lines of filament lay down. They should look smooth and even. If something looks wrong, it’s better to stop and check than waste time and plastic.
Removing the Print and Basic Post-Processing
Once the print has finished and cooled, gently remove it from the bed. Don’t force it. If it’s stuck, use a scraper or wait a few minutes longer.
After removing it, check for support structures. Snap them off with your fingers or pliers. You can also sand rough spots or trim loose threads with a small knife.
Cleaning up your print helps it look better and feel smoother. You can now paint it or leave it as is, depending on your project.
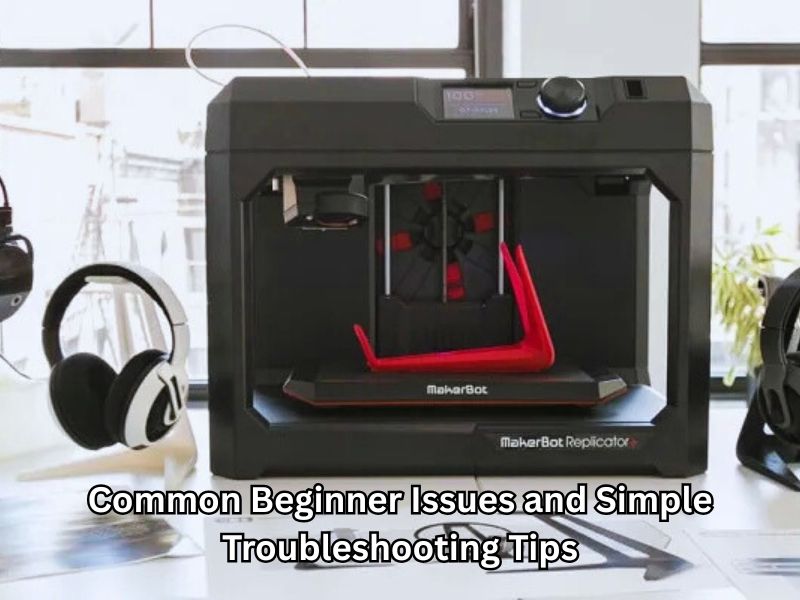
Common Beginner Issues and Simple Troubleshooting Tips
Poor Bed Adhesion, Warping, and First-Layer Failures
Struggling with prints peeling or curling at the edges? That often happens when the first layer doesn’t stick well.
Clean and level the bed: Always wipe the print bed with isopropyl alcohol. Ensure it’s free from dust, oil, or leftover filament. Use a piece of paper to check nozzle height during manual leveling.
Adjust the first layer: Lower the nozzle slightly so the first layer presses gently into the bed. A slightly squished line helps it grip more effectively.
Add adhesion helpers:
- Apply a glue stick or blue painter’s tape to improve surface grip.
- Use a brim or raft in your slicer settings to give prints a better base.
Control cooling: For larger or taller prints, reduce cooling fan speed or print in an enclosed space. Sudden cooling can cause warping.
Clogged Nozzle and Filament Jams
Nothing ruins a print faster than a blocked nozzle or jammed filament.
Use the right temperature: Printing at too low a temperature can cause blockages. Printing too hot can lead to heat creep. Check the proper temperature range for each filament type.
Try the cold pull method: Heat the nozzle slightly, insert the filament, and then cool it down slightly. Pull the filament out gently. This often removes debris stuck inside.
Clean the nozzle manually: Use a thin needle or nozzle cleaning tool to clear blockages. Do this when the nozzle is hot and soft enough for cleaning.
Store filament properly: Keep filament in a dry, airtight container with desiccant packs. Moisture causes swelling, clogs, and poor extrusion.
Stringing, Oozing, and Layer Shift Fixes
Fixing Stringing and Oozing
Thin plastic strands between parts? That means the nozzle is oozing during travel.
- Adjust retraction settings: Increase retraction length and speed slightly in your slicer settings.
- Lower the temperature: Reducing the nozzle temperature by 5–10°C can prevent the filament from dripping.
- Enable coasting and wipe features: These settings help stop excess flow before the nozzle moves across the print.
- Dry your filament: Wet filament increases stringing. Use dry, sealed spools for best results.
Fixing Layer Shifts
Layer shifts appear as if your print is sliding to one side. It ruins accuracy.
- Tighten belts and pulleys: Loose belts or gears can cause the print head to skip steps.
- Secure your printer: Place it on a solid, level table to prevent vibrations.
- Lower print speed and acceleration: Fast movements can cause skipped steps, especially on cheaper printers.
Quick Troubleshooting Table
| Problem | Likely Cause | Fixes |
| Poor bed adhesion | Dirty or uneven bed | Clean bed, re-level, use a brim or glue stick |
| Warping | Sudden cooling or uneven layers | Slow cooling, use an enclosure, check bed temp |
| Clogged nozzle | Debris, wrong temp, wet filament | Cold pull, nozzle cleaning, dry storage |
| Stringing or oozing | High temp, poor retraction | Lower temp, adjust retraction, dry filament |
| Layer shifts | Loose belts, fast speed, vibrations | Tighten belts, reduce speed, steady the printer table |
These tips will help you avoid common mistakes and get better prints quickly.
Build Skills: Practical Tips to Improve Prints and Save Money
Fine‑tune extrusion and axis calibration
Calibrating your printer is crucial for achieving sharper prints. If you want to learn how to use a 3d printer for beginners, start by adjusting extruder steps for precise filament flow. Next, adjust the X, Y, and Z axis movements to ensure accurate dimensions. Use small test cubes to check results. Temperature tuning also improves layer bonding and surface finish.
Optimize infill and support use
Lower infill density to save material and shorten run time. If you’re learning how to use a 3d printer for beginners, try cubic or lightning infill patterns to keep parts strong while using less plastic. Reorient pieces or split models to avoid the need for supports. Fewer supports mean quicker cleanup and less waste.
Reuse failed or leftover prints
Keep failed prints and trimming scraps for future testing. Small cut pieces work as spacers, shims, or color samples. If you want to learn how to use a 3d printer for beginners wisely, consider shredders and filament recyclers that turn waste back into usable filament spools.
Track time and material costs
Weigh each spool and record the grams used per job. Note the print duration and power usage to see the real costs. Cost tracking helps you decide when to batch items or adjust prices for clients.
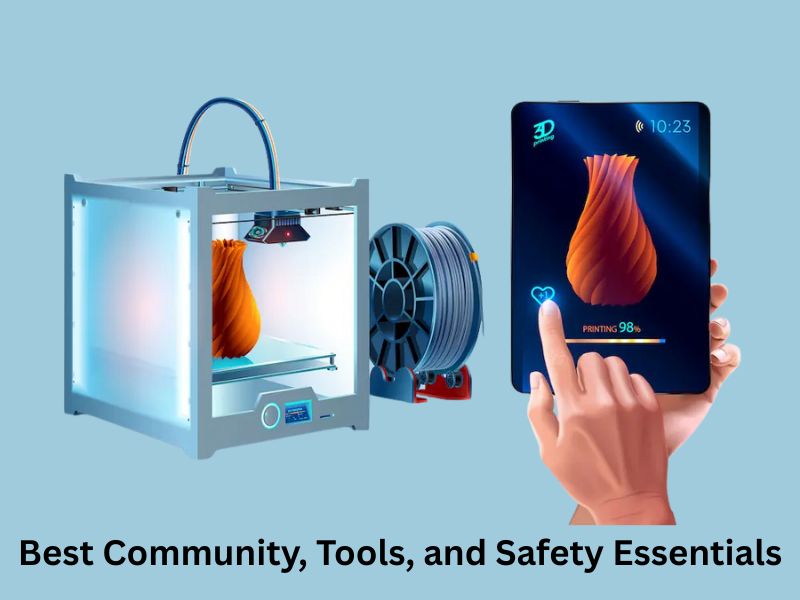
Learn More: Best Community, Tools, and Safety Essentials
Join active communities and learn from experts
Forums and social groups share settings, upgrades, and troubleshooting help. If you want to learn how to use a 3d printer for beginners, video tutorials cover bed leveling, firmware, and complex prints in a step-by-step format. Local makerspaces often host workshops where beginners get hands‑on guidance.
Use large libraries of free models
Online repositories offer thousands of printable designs at no charge. Search filters sort models by category, printer type, and difficulty. Download proven files and practice before creating your own designs.
Prioritize safety and eco‑friendly practices
Place the printer in a well-ventilated room to reduce fumes and particles. When learning how to use a 3d printer for beginners, keeping wiring tidy and checking connections helps prevent shorts and fires. Wear gloves and goggles when handling resin or sharp tools to stay safe. Also, sort filament scraps for recycling or convert them with a personal 3D printer or extruder.
Conclusion
Practice with simple models first
Start with calibration cubes, phone stands, or drawer handles. These quick prints build confidence and reveal tuning needs.
Explore advanced printing techniques
When basic skills feel solid, add a multi‑material unit or try soluble supports. Experiment with flexible or wood‑filled filaments for new effects.
Seize DIY and small business opportunities
Good fundamentals in how to use a 3d printer for beginners let you create spare parts, custom gifts, or prototype products. Master the basics today, and tomorrow your printer can fuel both hobbies and income.
Frequently Asked Questions
Which 3D printer is best for a beginner?
FDM printers are generally recommended for beginners. Models like the Creality Ender-3 or Anycubic Kobra series are often cited as affordable, reliable, and easy to set up. Key features to look for include auto-leveling and strong community support for easy troubleshooting.
What is the safest and easiest material for beginners to use?
PLA (Polylactic Acid) filament is the easiest to print with and is considered eco-friendly and safe for most projects. For those using Resin printers, more advanced safety gear (gloves, eye protection) and a well-ventilated space are essential.
What are the key slicer settings a beginner must understand?
Layer Height: Determines the resolution of your print (smaller height = more detail, longer print time).
Infill: Controls the internal solidity of the model (more infill = stronger part, more material used).
Supports: Temporary structures that hold up parts of the model that overhang in the air.
My print is not sticking to the bed (Poor Bed Adhesion/Warping). How can I fix it?
This is the most common beginner issue. Try these fixes:
- Clean the Bed: Wipe the print bed with isopropyl alcohol to remove dust, oil, or residue.
- Re-Level: Carefully re-level the print bed, ensuring a slight resistance when sliding a piece of paper between the nozzle and the bed.
- Use Adhesion Aids: Apply a glue stick or use a brim or raft setting in your slicer.
- Control Cooling: For larger prints, reduce the cooling fan speed or use an enclosure to prevent sudden cooling, which causes warping.
How do I fix a clogged nozzle or a filament jam?
Blockages can ruin a print. To fix them:
- Check Temperature: Ensure you are printing at the correct temperature range for your specific filament.
- Cold Pull Method: Heat the nozzle slightly, insert the filament, cool it down slightly, and then pull the filament out gently to remove debris.
- Manual Cleaning: Use a thin needle or a nozzle cleaning tool to clear blockages while the nozzle is hot.
- Proper Storage: Store your filament in a dry, airtight container with desiccant packs, as moisture can cause swelling and clogs.