
Want clean, detailed prints from your resin 3D printer? You’re in the right place. I’ve worked with resin printers for years—printing everything from tiny figures to product prototypes. Resin printing yields stunning results, but only when each step is executed correctly. In this guide on how to use a resin 3d printer, I’ll share a simple, 10-step process that beginners and small business owners can follow. It covers everything from setting up safely to curing your final model. If you’re ready to print like a pro, let’s begin.
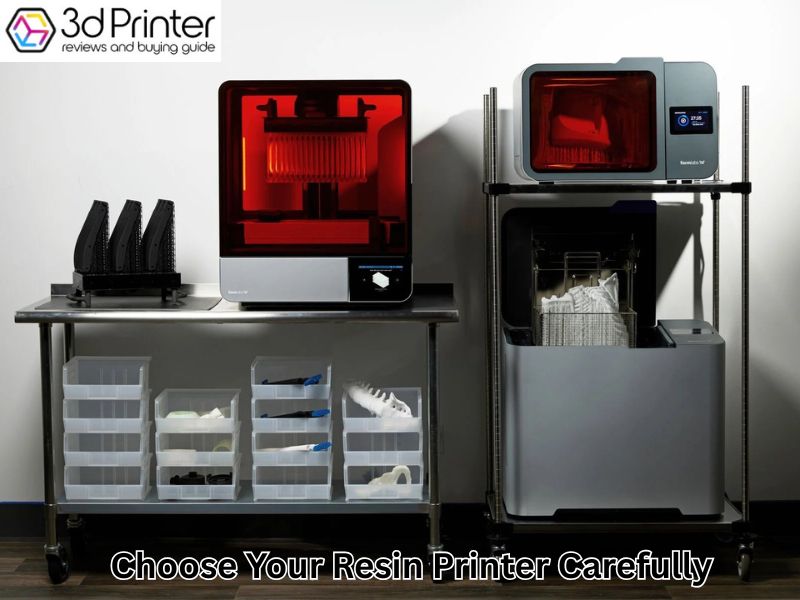
Step 1 – Choose Your Resin Printer Carefully for Best Print Quality
Not all resin printers are the same. For sharp, detailed prints, choose a printer with high screen resolution—8K or 12K offers smoother layers and finer details. Build size matters too; a larger print area allows you to print larger models or multiple parts simultaneously, which is ideal for small businesses or batch runs. If you’re looking for the best 3d printer for small business, focus on machines that balance resolution, build volume, and reliability to meet your needs.
Look for helpful features like auto-leveling, which saves time by perfectly aligning the build plate for better first-layer adhesion. A touchscreen interface adds ease, letting you manage prints without a computer.
Match your printer to your goals. For miniatures, prioritize ultra-high resolution. For prototypes or functional parts, balance speed, resolution, and build volume to achieve optimal results. If you run a small business, reliability and easy maintenance are key. When learning how to use a resin 3d printer, choosing a machine with smart features can help reduce errors and boost productivity.
Ultimately, choose the printer that best fits your specific needs, not just the advertised specifications.
Step 2 – Set Up Your Workspace Safely and Efficiently Before You Begin
Ensure good ventilation and protect your health while using a resin 3D printer
Resin 3D printers can produce strong fumes while printing. These smells aren’t just unpleasant—they can also cause irritation if you’re not careful. That’s why ventilation is key when learning how to use a resin 3d printer safely. Try to set up your printer in a well-ventilated area, such as near a window or under an exhaust fan. Some users even build a simple vent system to push air outdoors. If you’re printing often, it’s worth it.
Wear the right safety gear and cover your work area
Always wear nitrile gloves when handling resin. It may look harmless, but uncured resin can irritate your skin. Add safety glasses and an old long-sleeved shirt to stay covered. Avoid using latex gloves—they don’t hold up well with resin. To protect your table, use a silicone mat or plastic tray. Spills happen, but cleanup is easier when your surface is covered.
Organize your tools and cleaning supplies before you print
Have everything ready before your first layer starts. Keep items like isopropyl alcohol, a resin scraper, paper towels, a rinse container, and curing tools nearby. This setup ensures a smooth and stress-free process.
Maintain a stable temperature and handle resin responsibly
Resin works best at room temperature—around 70 to 75°F. If your space is cold, use a small heater to help. When learning how to use a resin 3d printer, it’s important to never pour leftover resin down the sink. Instead, cure it in sunlight until it hardens, then toss it with regular trash. Keeping your space safe and clean helps protect you and the environment.
Step 3 – Calibrate Z‑Axis & Level the Build Plate
Getting perfect prints starts with proper calibration. If your bed isn’t level or the Z‑axis isn’t accurate, your prints can fail fast.
Why Bed Leveling Matters
An uneven build plate can cause poor adhesion, especially in the first few layers. Ensure your plate is flat and sits flush with the screen to prevent print warping or peeling.
Auto vs. Manual Leveling
- Auto-leveling: Fast and beginner-friendly. Just press a button and let sensors adjust the plate.
- Manual leveling: More hands-on, but gives better control. Use a piece of paper to fine-tune pressure as you tighten screws.
Paper Test for Easy Calibration
Slide a sheet of paper between the plate and screen. Lower the plate until you feel a light resistance, then lock it into place. When the paper drags just slightly, you’re good to go.
Z-Axis Accuracy Is Key
The Z-axis controls layer height. If it wobbles, layers may shift, ruining the print. Look for printers with solid rails or dual rods to maintain steady movements.
Dial In Both for Success
Perfect leveling, combined with a stable Z-axis, yields stronger first layers, enhanced detail, and consistent print quality.
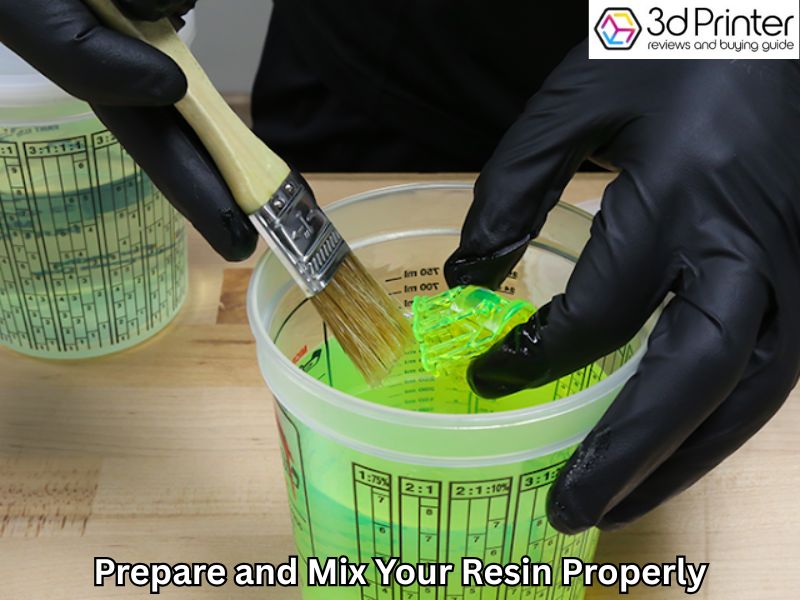
Step 4 – Prepare and Mix Your Resin Properly for Smooth, High-Quality Prints
Bring Your Resin to Room Temperature Before Use
Resin works best when it’s at a stable room temperature, around 68 to 75°F. If your resin is cold, it can become thicker and harder to cure properly. Before printing, gently warm the bottle by leaving it in a warm room or placing it in a container of warm water (not hot). Understanding how to use a resin 3d printer includes these simple steps to ensure your resin flows smoothly during the printing process.
Shake or Stir Your Resin Well to Mix Pigments and Additives
Before pouring, give your resin bottle a good shake or stir to evenly mix any pigments, fillers, or additives. These materials can settle at the bottom during storage. To master the 3D picture printer, it’s important to use well-mixed resin, as this helps your prints cure evenly and prevents cloudy or weak spots.
Use a Filter When Pouring Resin Into the Vat
Pour your resin slowly through a fine mesh or nylon filter. This step removes dust, hardened particles, or bits of cured resin that may have dropped into the bottle. Filtering keeps your printer’s vat clean and reduces the chance of print defects caused by debris. This simple yet essential step is crucial when learning how to use a resin 3D printer properly for optimal results.
Avoid Overfilling the Resin Vat
Fill the resin vat only up to the recommended level. Overfilling risks resin spilling over during printing, especially when the build plate lowers. It also increases waste and can create a messy cleanup. Check your printer’s manual for the right fill line.
Store Resin Properly After Use
Keep resin bottles tightly sealed and away from direct sunlight to prevent premature curing. Store them upright in a cool, dark place. Proper storage extends resin life and keeps it ready for your next print job.
Step 5 – Orient and Support Your Model Correctly in the Slicer for Better Prints
Pros of Proper Model Orientation and Support in Resin Printing
- Reduces print failures: Tilting the model at 30–45 degrees lowers suction forces, minimizing layer separation and peeling.
- Improves surface quality: Angled positioning reduces visible layer lines, enhancing curved and detailed areas.
- Protects delicate parts: Using appropriate supports (like tree supports) secures overhangs without damaging the model.
- Saves resin and time: Hollowing models and adding drainage holes reduces resin use and speeds up curing and cleaning.
- Customizable support settings: You can adjust support density and contact points to balance strength and ease of cleanup.
Cons of Model Orientation and Support Setup
- Requires careful balancing: Too few supports cause print failure, while too many increase cleanup time and material waste.
- May need trial and error: Finding the perfect orientation and support setup can take practice and adjustment.
Step 6 – Run a Calibration Test Print Before Printing Your Main Model
Running a calibration test print is a smart way to check your printer’s settings before committing resin and time to a full model. If you’re learning how to use a resin 3d printer, these small test prints help you fine-tune exposure, layer adhesion, and support settings. They also catch potential issues early, saving frustration and wasted resin.
Common Calibration Test Prints and What They Check
| Test Print Name | Purpose | What to Look For |
| RERF (Resin Exposure Test) | Finds the ideal exposure time for your resin and printer. | Clear layers with no over- or under-curing; fine details visible. |
| First Layer Test | Ensures good adhesion and proper bed leveling. | Smooth, fully cured first layer with no gaps or lifting. |
| Support Test | Checks support strength and ease of removal. | Supports hold firmly without damaging the model when removed. |
| Bridging Test | Tests the ability to print horizontal gaps cleanly. | Clean, unbroken bridges with no sagging or resin drooping. |
| Overhang Test | Evaluates the printing of angled surfaces. | Smooth overhangs without excessive drooping or defects. |
How to Use Calibration Prints
- Choose a test print file suited for your resin and printer (many slicers include these).
- Adjust exposure times according to manufacturer recommendations, then fine-tune them based on the results.
- Observe the print carefully for signs of undercure (sticky, soft) or overcure (brittle, fuzzy edges).
- Make small changes and repeat tests until you achieve clean, accurate prints.
Running calibration prints regularly keeps your resin printer in top shape. This simple step helps ensure your main prints come out flawless every time.

Step 7 – Start the Print with Correct Settings and Keep an Eye on Progress
Set the Right Exposure Time and Print Settings
Every resin brand needs a specific exposure time for each layer. Using the right exposure helps your print cure perfectly—neither too soft nor too brittle. Check your resin’s recommended settings and adjust if needed for your printer model. Many slicers allow you to fine-tune exposure for bottom layers separately, which is crucial for achieving good bed adhesion.
Monitor the First Few Layers Closely
The first layers are the foundation of your print. Watching them carefully is key when learning how to use a resin 3d printer like a pro. If you notice that the print is not sticking well or the layers are peeling off, pause and check your bed leveling or exposure settings. Early intervention can save you from wasting resin and time.
Keep an Eye on the Build Plate and Resin Vat
As your print progresses, ensure that resin levels remain consistent and the build plate moves smoothly. If you notice any unusual sounds or movement, stop the print to troubleshoot. Some printers offer remote monitoring apps or cameras, allowing you to view your print job from anywhere, which is particularly handy for longer jobs.
Avoid Interruptions During Printing
Try not to open the printer or disturb the setup once printing starts. If you’re learning how to use a resin 3d printer, it’s important to avoid vibrations or accidental bumps, as they can cause layer shifting or print failure. Also, keep pets and children away from the printer during operation to prevent accidents.
Step 8 – Remove the Print Carefully and Rinse Immediately After Printing
Gently Remove the Print to Avoid Damage
Once your print finishes, carefully remove it from the build plate. If you’re learning how to use a resin 3d printer, it’s important to use a flat scraper or spatula at a low angle to gently lift the model. Avoid forcing or prying, as resin prints can be delicate right after printing. Taking your time here helps prevent cracks or breaks.
Wash the Print to Remove Uncured Resin
Freshly printed models still have sticky, uncured resin on their surfaces. If you want to know how to use a resin 3d printer properly, one key step is rinsing your print in isopropyl alcohol (usually 90% or higher) or using a dedicated wash station. Submerge and gently agitate the print for several minutes to clean off excess resin. This step is essential to avoid tacky spots or dull finishes.
Use Proper Containers and Safety Precautions
Always wash your print in a closed container to limit fumes and spills. Wear gloves and work in a ventilated area. Avoid pouring used alcohol down the drain; instead, collect and dispose of it according to local guidelines.
Step 9 – Cure Your Model Properly After Washing to Harden and Strengthen It
Use a UV Light or Natural Sunlight to Cure Your Print
After washing, your print still needs to be cured to fully harden. If you’re learning how to use a resin 3d printer, proper curing is a crucial step. The best way is to use a UV curing station designed for resin models. These devices provide even UV light exposure to harden both the surface and the inner layers. If you don’t have one, placing your print under direct sunlight for several hours can also work well.
Rotate and Expose All Sides for Even Curing
To avoid soft spots or warping, rotate your model during curing so all sides get equal light. Some curing stations have turntables to automate this process. If using sunlight, turn your print every hour or so.
Follow the Resin Manufacturer’s Curing Times
Different resins require different curing times. When learning how to use a resin 3d printer, always check the resin bottle or the manufacturer’s website for the recommended curing duration. Over-curing can cause brittleness, while under-curing leaves your print soft or tacky.
Handle Cured Prints Safely
Once fully cured, the print is safe to handle without gloves. It becomes tougher and ready for sanding, painting, or assembly. Proper curing improves durability and the overall finish quality.
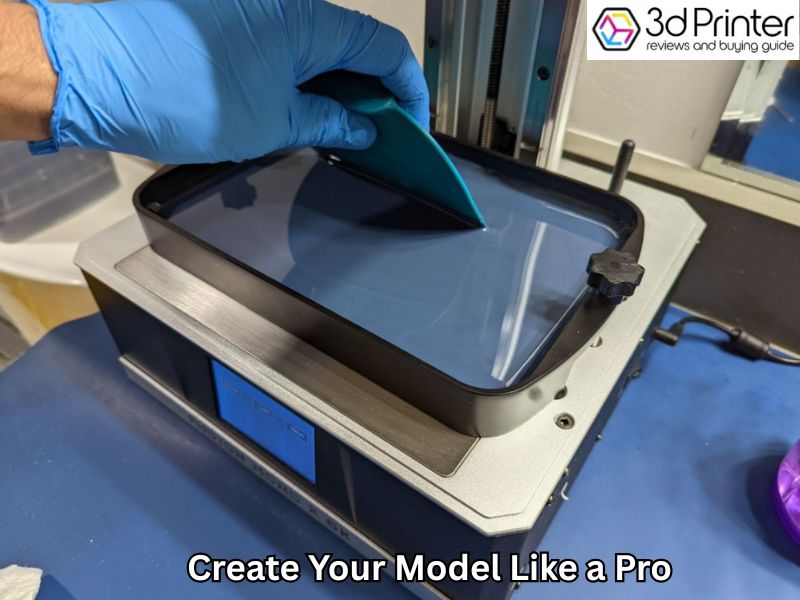
Step 10 – Remove Supports and Finish Your Model Like a Pro
Carefully Remove Supports to Avoid Damage
Once your print is fully cured, it’s time to remove the supports. If you’re learning how to use a resin 3d printer, it’s important to use precision cutters or small pliers to gently clip them off. Avoid pulling or twisting, as this can damage delicate parts. Work slowly, especially around thin or detailed areas.
Sand and Smooth Support Marks for a Clean Finish
After removing supports, you’ll likely see small marks or bumps where they attached. Use fine-grit sandpaper (around 400 to 600 grit) to smooth these spots. For a polished look, follow with even finer grit or polishing tools.
Optional: Prime and Paint Your Model
If you want to add color or details, apply a primer first to help the paint stick evenly. When learning how to use a resin 3d printer, understanding the finishing process is key. Use acrylic paints or specialized model paints specifically designed for use with resin. Take your time with thin layers for the best results.
Seal Your Finished Print for Durability
To protect your paint and surface, apply a clear sealant or varnish. Matte or gloss finishes are available depending on your style. Sealing also helps shield your print from UV damage and wear.
Final Thought
Getting great results with resin 3D printing is all about following the right steps. Choosing the right printer, setting up your workspace safely, and calibrating carefully make a big difference. Handling resin properly, positioning your models accurately, and finishing prints with care will yield sharp, lasting results. Running test prints helps you find the perfect settings. Whether you’re printing for personal use or business, this simple 10-step guide will help you save time and avoid mistakes, creating beautiful, professional-quality prints every time.
Frequently Asked Questions
What printer features are most important for high-quality prints?
Look for printers with a high screen resolution, such as 8K or 12K, as this directly results in smoother layers and finer detail. Features like auto-leveling and a decent build size for your needs are also beneficial.
What are the essential safety precautions when using a resin printer?
Always set up your printer in a well-ventilated area (near a window or exhaust fan) to manage fumes. Wear nitrile gloves (avoid latex) and safety glasses whenever handling uncured resin.
How should I prepare my resin before pouring it into the vat?
The resin should be at a stable room temperature, ideally 68°F to 75°F. Before pouring, give the bottle a good shake or stir to mix settled pigments and then pour the resin through a fine mesh filter to catch any debris.
What is the best model orientation for resin printing?
Tilt your model at an angle, typically between 30 to 45 degrees. This orientation minimizes the cross-sectional area being printed on each layer, which reduces suction forces and improves the overall surface finish.
What is the proper way to wash a resin print?
Immediately after printing, gently remove the model and wash it in a bath of 90% or higher Isopropyl Alcohol (IPA) or a dedicated wash station to remove all sticky, uncured resin from the surface.