
More than one million entry-level 3D printers were shipped worldwide in early 2025, indicating strong growth in the desktop 3D printing market. If you’re part of this growing community, learning how to use Creality Slicer is a smart move. As someone who works with a 3D printer every day, I can say this slicer makes the process smoother and faster. In this step-by-step guide, I’ll show you how to utilize Creality Slicer to achieve better prints, save time, and unlock the full potential of your machine.
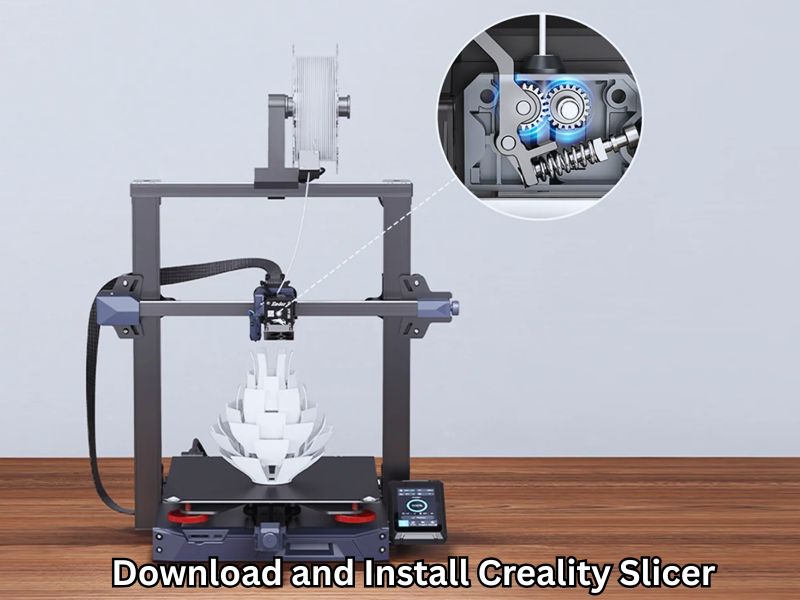
How to Download and Install Creality Slicer on Your Computer
Make Sure Your PC or Laptop Meets the System Requirements
Before you start, it’s essential to verify that your computer can handle Creality Slicer smoothly. The software works well on both Windows and macOS systems. For Windows users, the computer should be running Windows 7 or a newer version. Mac users will need macOS 10.14 or later. If you’re searching for the best 3d printer for small business, having the right hardware and software setup is key to getting the most out of your printer.
Your device should have a 64-bit processor, such as an Intel Core 2 or an equivalent AMD chip, to ensure optimal performance. While 4 GB of RAM is the minimum requirement, having 8 GB or more is beneficial, especially when working with complex 3D models. A graphics card that supports OpenGL 4.x or higher is needed to display the 3D model previews clearly.
Make sure you also have at least 500 MB of free storage space for the program and future updates. When learning how to use Creality Slicer, checking these basics will save you from issues during installation and while running the slicer.
Follow the Simple Steps to Download and Install the Slicer Software
Downloading and installing Creality Slicer is a straightforward process. First, visit Creality’s official website and find the download section. Here, you can select the right version for your computer. If you own a newer Mac with Apple’s M1 or M2 chip, choose the Apple Silicon version.
Otherwise, pick the Intel version for older Macs or Windows users. After downloading, open the installer file—this will be a .exe file on Windows or a .dmg file on Mac. Windows users just double-click and follow the on-screen steps by clicking “Next” and “Install,” then finish by clicking “Finish.” Mac users should open the .dmg file and drag the Creality Slicer icon into the Applications folder.
Once installed, open the program. You’ll see a setup wizard that guides you through selecting your language and region. Next, pick your specific Creality printer model from the list. This setup ensures your slicer uses the right settings for your machine, making your 3D printing experience smoother and more reliable. If you’re wondering how to use Creality Slicer, this step-by-step setup is the perfect place to start. After this, you’re all set to start slicing your 3D models with confidence.
Set Up Your Printer Profile for Accurate Printing
Complete the Setup Wizard and Choose Your Creality Printer Model
When you first open Creality Slicer, a setup wizard helps you pick your exact Creality printer model. If you’re wondering how to use Creality Slicer, this step is crucial because it sets important details, such as your printer’s bed size, nozzle diameter, and maximum print height. Selecting the right model ensures your print fits on the build plate and runs smoothly without errors. It also adjusts slicing settings to match your printer, helping you achieve better results from the start.
Select Your Filament Type and Pick the Best Print Quality Preset
Next, you’ll choose the filament type you’re using, like PLA, ABS, or PETG. Each material melts and cools differently, so selecting the right one allows the slicer to adjust temperatures and cooling settings to suit your filament.
Then, you pick a print quality preset: Fast, Standard, or High Quality. If you’re learning how to use Creality Slicer, these presets make it easy to choose the right balance. Fast mode prints thicker layers and less infill to save time, which is great for quick drafts. Standard balances speed and detail, making it perfect for everyday prints. High Quality slows down printing and uses thinner layers for smooth, detailed results. These presets help you achieve the optimal balance of speed, strength, and finish without requiring numerous adjustments to settings.
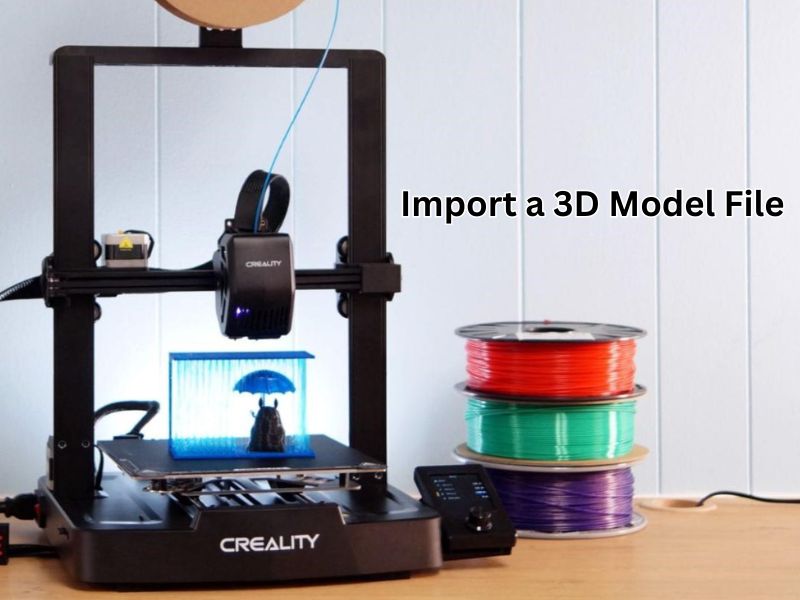
How to Import a 3D Model File into Creality Slicer
Once your Creality Slicer is ready, it’s time to load your 3D model. The software supports popular file types like STL, OBJ, and 3MF. These are the formats most designers and 3D model libraries use.
You can add a file in two easy ways. Either drag and drop the file directly into the slicer window or click the “Add” or “Import” button, typically located at the top or side menu. Within seconds, your model will appear on the digital print bed. It’s that simple.
Adjust Model Size, Position, and Rotation Before Slicing
After importing the model, it’s essential to verify its position on the build plate. Sometimes models load in the wrong direction or size.
- Resize it if needed. Use the scale tool to resize the model. You can keep proportions locked or adjust one axis at a time.
- Rotate the model to improve print stability or reduce the need for supports. You can spin it along the X, Y, or Z axis with simple click-and-drag tools.
- Mirror the design if you need a flipped version—handy for left- and right-side prints.
- Use the “Center” or “Lay Flat” tool to align the object neatly on the plate.
Quick Tip: Always check that your model fits inside the print area. If the model is too big, part of it may hang off the plate or cause errors during slicing. A properly placed model results in fewer print failures and cleaner outcomes.
Fine-Tune Key Print Settings to Improve Results
Adjust Layer Height, Infill Density, and Wall Thickness
Getting a good 3D print starts with the right slicer settings. When learning how to use creality slicer, understanding layer height is key. It controls the smoothness of your print. Smaller layers create better detail but take more time. A common choice is 0.2 mm for standard prints. Use 0.1 mm for finer detail or 0.3 mm for faster, stronger prints.
Infill density affects how solid your print feels. For a strong part, go with 50% or higher. For models that don’t require strength—such as display pieces—10–15% is usually sufficient.
Wall thickness helps your model stay strong. Thicker walls protect against cracks and improve the print’s finish. A setting of 1.2 mm (three wall lines) is a safe starting point.
Decide If You Need Supports, Brim, or Raft for Your Print
Not all models can be printed flat and easily. If your design has overhangs or tricky angles, supports are your best friend. They hold up the print while it builds and can be removed afterward. When using a high-performance 3D printer, selecting the right supports—either standard or tree-style—based on your model’s shape will help ensure a successful print.
A brim is helpful when your print doesn’t stick well to the bed. If you’re learning how to use Creality Slicer, adding a brim creates a thin border around the base to improve grip. It’s especially useful for tall or narrow prints.
A raft is like a thick foundation under your model. It helps when printing on uneven surfaces or with materials that warp easily. Once printing is complete, you can peel it off to reveal a smooth bottom layer.
Preview Your Print Layer by Layer Before Slicing
Before you hit that slice button, take a moment to preview. The slicer shows each layer as it will print. You can scroll through to check for weak spots, missing supports, or odd infill.
This simple step saves you from failed prints. You’ll spot mistakes early, fix them, and avoid wasting filament.
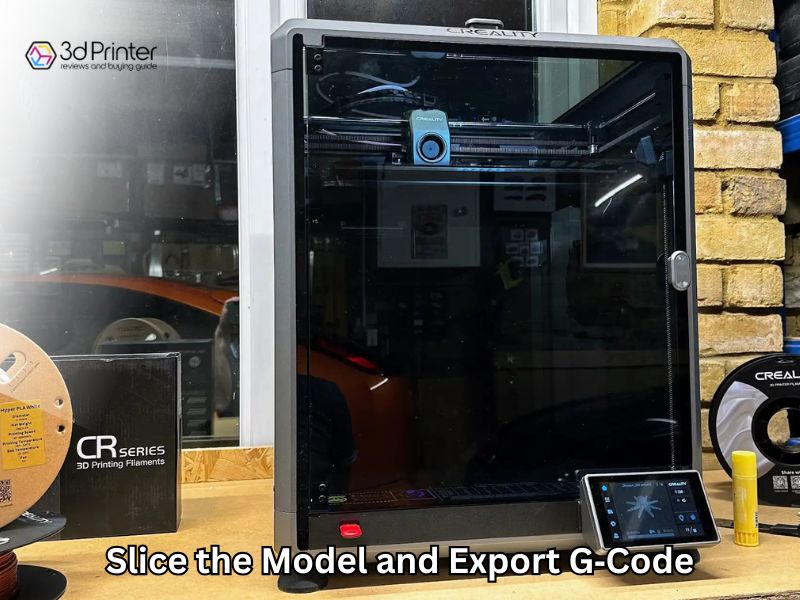
Slice the Model and Export G‑Code for Printing
Click “Slice” and Understand What the Print Summary Means
Once your 3D model is set up, click the “Slice” button. This command instructs Creality Slicer to process your design and convert it into G-code. That’s the language your 3D printer understands.
After slicing, you’ll see a summary preview. Here’s what the key details mean:
- Estimated Print Time – This indicates the estimated time it will take to print, based on your current settings. It helps you plan ahead.
- Material Usage – Indicates the amount of filament required for the print, typically in grams. Handy for checking if you have enough material loaded.
- Layer Information – Displays the number of layers your model will be sliced into. It also shows the thickness of each layer.
If the print time seems too long or the filament usage is excessive, try adjusting the infill, layer height, or print speed. These small tweaks can save hours and reduce material waste.
Save or Send G‑Code to Your Printer Using SD Card or LAN
Once your model is sliced, it’s time to export the G‑Code. Creality Slicer gives you two easy options:
1. Save to SD Card
Click “Export” and choose your SD card as the location. Ensure the file name is concise and straightforward—avoid using special symbols to prevent printing issues. After saving, remove the SD card and insert it into your 3D printer. Use the printer menu to start the job.
2. Send Over LAN
If your printer is connected to the same network, select “LAN Print”. Choose your printer from the list and send the file directly. You can start the print remotely from your computer, which saves time and lets you monitor the progress from your desk.
Both methods work well. SD cards are great for stability, while LAN offers speed and convenience if your setup supports it.
Start Printing and Keep an Eye on Your Progress
Start Your Print Using the SD Card
After slicing your model, save the G-code file onto an SD card. Simply insert the card into your printer’s slot, browse the menu on the screen, and pick your file to start printing. Learning how to use Creality Slicer includes this simple step. Using an SD card is easy and reliable, especially if you prefer not to connect your printer to a computer every time. It’s perfect for those who want a simple, no-fuss way to get their prints going.
Use LAN Printing to Control Your Printer from Anywhere
For added convenience, Creality Slicer allows you to print over your home or office Wi-Fi network. This means you can send your sliced files directly to the printer without needing to swap SD cards. You can start, pause, or stop prints remotely from your computer. LAN printing gives you the freedom to manage your projects even if you’re busy or away from your printer. It’s a great way to stay in control and save time.
Advanced Tips to Level Up Your 3D Printing Experience
Once you’ve mastered the basics of Creality Slicer, it’s time to explore some advanced tips. These tricks will help you print with multiple colors, create unique photo-based designs, and even record your printing process.
How to Set Up Dual-Color Prints with Creality Slicer
Printing with two colors or materials can make your projects stand out. If you’re wondering how to use Creality Slicer for this, it works well with dual-extruder printers. To get started, select the right printer profile that supports two extruders. Then, import your 3D model and assign different parts to each extruder in the slicer. The software will handle the rest by creating tool paths for both colors. Remember to calibrate your printer carefully so the colors line up perfectly. This method adds more creativity and function to your prints.
Create Stunning Lithophanes Using Built-In Tools
Lithophanes are a cool way to turn photos into 3D art. Creality Slicer makes it easy to create these by converting your pictures into layered 3D models. Simply select the lithophane option, upload your photo, and adjust the size and thickness as needed. Dark parts of your image will print thicker, while light parts will print thinner. When you shine a light behind the finished print, your photo comes to life in amazing detail. It’s a simple way to make personalized gifts or decorations.
Connect Creality Slicer with OctoPrint and Use Time-Lapse Feature
If you want to watch your print from anywhere and capture its progress on video, linking Creality Slicer with OctoPrint is a smart move. OctoPrint is a free tool that lets you control your printer over Wi-Fi. After setting it up, you can send sliced files directly from Creality Slicer to OctoPrint. By adding a plugin called OctoLapse, you can create smooth time-lapse videos that show your print layer by layer. These videos are perfect for sharing your work or spotting issues early. Knowing how to use Creality Slicer with OctoPrint makes printing easier and more fun.
Hidden Features and Troubleshooting That Most Users Miss
Switch Between Basic and Expert Modes to Unlock More Print Controls
Creality Slicer has Basic and Expert modes. Basic is easy to use, but Expert mode gives you more control. In Expert mode, you can tweak settings like retraction speed, coasting, and pressure control. These help reduce stringing and improve print quality. For optimal results, try Expert mode. It lets you adjust details that Basic mode hides.
Solve Common Slicing Errors and Printing Issues
If you’re wondering how to use Creality Slicer, start by checking your model size against the printer’s build volume and scaling it down if needed. Ensure the model is properly positioned on the build plate. If support doesn’t appear, confirm that support settings are enabled and correctly set. Use preview mode to verify support generation. Missing layers often result from model errors or slicing glitches, so check for holes or non-manifold edges before slicing. Keeping your slicer updated also helps prevent these problems.
Smart Workflow Tips to Save Time and Improve Print Quality
Saving time and getting great prints go hand in hand with smart slicing habits. One easy trick is to save your custom profiles in Creality Slicer. Once you find settings that work well for your printer and filament, save them for future use. This way, you avoid tweaking every detail before each print.
Additionally, when learning how to use Creality Slicer, be sure to use the recommended presets for popular materials like PLA or ABS. These settings strike a balance between speed and quality, enabling you to achieve great results more quickly. For models you print regularly, save the entire project with your preferred settings to make future prints quicker and easier.
By using saved profiles and presets, you’ll enjoy smoother prints and spend less time preparing files.
Final Thought
Creality Slicer provides you with the tools to transform digital models into smooth, reliable prints. Whether you’re creating something for fun or for business, this slicer helps you work faster and more accurately. With built-in settings designed for Creality printers, even beginners can get started with confidence. Now that you’ve learned how to use Creality Slicer step by step, open the slicer, import your model, and give it a try. Don’t be afraid to experiment—you’ll learn more with every print. Your next successful 3D project is just one slice away.
Frequently Asked Questions
What are the minimum system requirements for Creality Slicer?
Creality Slicer requires a 64-bit processor (Intel Core 2 or equivalent AMD), 4 GB of RAM (8 GB or more is beneficial), and a graphics card that supports OpenGL 4.x or higher. It is compatible with Windows 7 or newer and macOS 10.14 or later.
How do I choose the right print quality preset?
Creality Slicer offers three main presets:
High Quality: Uses thinner layers and prints slower for smoother, detailed results.
Fast: Prints thicker layers and less infill to save time (good for quick drafts).
Standard: Balances speed and detail (ideal for everyday prints).
What is the G-Code, and how do I get it to my printer?
G-code is the language your 3D printer understands, converted from your 3D model by the slicer. You can transfer the G-code to your printer in two ways:
LAN Print: If your printer is network-connected, you can select “LAN Print” to send the file directly from your computer.
SD Card: Click “Export,” save the .gcode file to your SD card, and insert it into the printer.
What are the key settings I need to fine-tune before slicing?
The three most critical settings for print quality are:
- Layer Height: Controls smoothness and detail (e.g., 0.2 mm for standard quality, 0.1 mm for fine detail).
- Infill Density: Determines the internal solidity and strength (e.g., 10–15% for display pieces, 50% or higher for strong, functional parts).
- Wall Thickness: Affects structural integrity and finish. A setting of 1.2 mm (three wall lines) is a recommended starting point.
Can Creality Slicer be used to create dual-color prints or lithophanes?
Yes. For dual-color prints, you must select a compatible dual-extruder printer profile, import your model, and assign different parts to each extruder. The slicer also has built-in tools to create Lithophanes, converting photos into layered 3D models where light and dark areas are represented by varying thickness.