
If you’ve ever wanted to design like a pro and get cleaner 3D prints, Fusion 360 is your go-to tool. With years of hands-on experience, I’ve learned what works and what slows you down. In this guide, I’ll walk you through how to use Fusion 360 for 3D printer the right way. From smart modeling tips to export-ready files, you’ll learn practical steps that make a big difference. Whether you’re running a small shop or printing at home, these methods will save time, cut frustration, and help you get better prints faster.
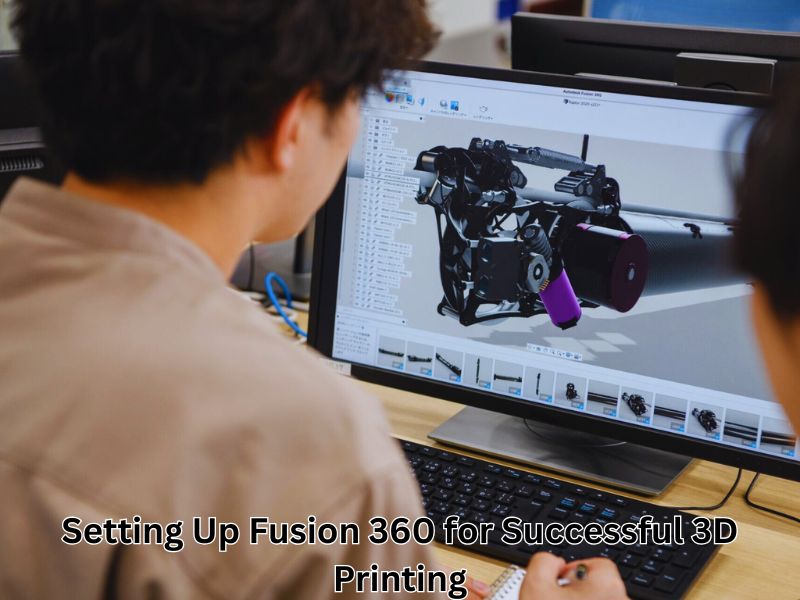
Setting Up Fusion 360 for Successful 3D Printing
Before you dive into designing, it’s essential to set up Fusion 360 to work in a way that aligns with your 3D printer’s capabilities. Making a few simple changes at the beginning can save hours later on and help you achieve cleaner, more accurate prints. If you’re looking for the best 3d printer for small business, pairing it with the right Fusion 360 setup will make your workflow even more efficient and reliable.
Change Important Preferences to Match 3D Printer Needs
Switch to Z‑up orientation for better alignment with your 3D printer
How to use Fusion 360 for 3D printing starts with understanding its default settings. Fusion 360 starts with a Y-up view, which doesn’t align with the orientation of most 3D printers. Switching to Z-up ensures your design stands upright when exported. This reduces the chance of incorrect orientation during slicing.
Adjust grid size, units, and visual settings for accurate designs
Set your design units to millimeters since most 3D printers follow metric sizing. Customize your grid spacing to stay organized while sketching. You can also change the visual style for a cleaner look, making it easier to spot any design flaws before exporting.
Activate Additive Features to Unlock 3D Print Tools
Enable the Manufacturing workspace for print-ready tools
Fusion 360 comes with a powerful “Manufacture” mode, specifically designed for 3D printing. If you’re learning how to use fusion 360 for 3d printing, switch to the Additive setup within this workspace to access features such as print orientation, layer control, and print simulation.
Install the 3D Printing Essentials add-in for better mesh handling
This free tool helps you clean up models, generate custom support files, and prepare your STL or 3MF files for use. It’s a huge time-saver, especially if you print often or run a small shop.
Set Up Custom Printer Profiles and Templates
Create printer-specific profiles to streamline your workflow
If you use more than one printer or switch between materials, set up profiles with the right build volume, nozzle size, and bed settings. That way, you won’t have to reset everything each time.
Save templates for consistent results every time you print
Templates let you store your favorite print settings and reuse them. This is especially helpful for batch printing or running a business. It keeps every print job smooth, fast, and repeatable.
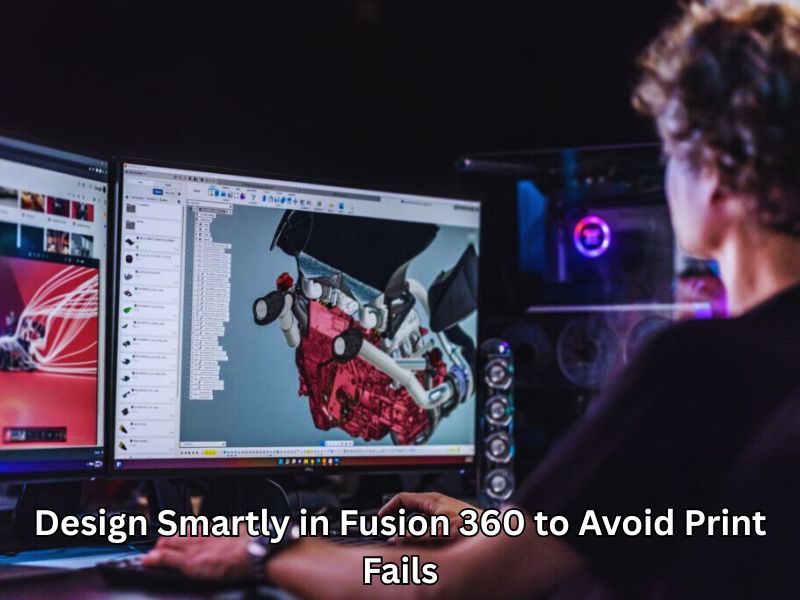
Design Smartly in Fusion 360 to Avoid Print Fails
Creating a strong, clean 3D print starts with a smart design. Fusion 360 provides tools that help you build models that print smoothly, provided they are used correctly.
Use Constraints and Parameters to Build Clean Sketches
Always lock your shapes with dimensions and constraints to ensure stability and prevent changes. This keeps sketches stable and avoids broken geometry. Use parameters for items such as wall thickness or hole sizes. When you change one number, your entire design updates automatically. These are key steps in how to use fusion 360 for 3d printing effectively, especially when aiming for accurate and print-ready models.
Make Walls, Overhangs, and Holes That Print Smoothly
Use a wall thickness that fits your printer’s nozzle—usually at least 1.2 mm. Avoid steep overhangs. If your model requires support, try breaking it down into smaller parts instead. This reduces waste and failed prints.
Add Fillets and Ribs to Boost Strength and Printability
Sharp corners can crack or warp. Smooth them out with fillets. Thin features? Add ribs to make them stronger without using more material.
Think About Orientation and Accessibility Before You Print
Select a print angle that minimizes the need for supports and yields cleaner results. Avoid hidden areas that are tough to reach or clean after printing. Planning ahead saves time and frustration.
Exporting and Preparing Files for 3D Printing in Fusion 360
| Step | Details & Tips |
| Save Your Model as STL | STL is the most common 3D print format, fast and widely supported by slicers. |
| Choose Mesh Resolution | Use high resolution for detailed parts; low resolution works for basic or test prints to keep the file size smaller. |
| Preview the Mesh | Always check for gaps, jagged edges, or errors before exporting to ensure clean prints. |
| Direct Print Option | Use “Send to 3D Print Utility” to quickly open your slicer with the mesh preloaded—ideal for single parts or quick tests. |
| Manual Export Option | Export STL or 3MF files manually for multiple parts, offline work, or better file organization. |
| File Formats: STL vs 3MF | STL is a standard and simple format; 3MF supports advanced features like grouped meshes and unit information, making it great for complex prints. |
| Check Scale Settings | STL files don’t store units—always verify the scale in the slicer to avoid printing models of the wrong size. |
Explore Fusion 360’s Advanced Features to Print Like a Pro
Use Generative Design to Create Strong, Lightweight Models
Want to build smarter, lighter parts without relying on guesswork? Generative design in Fusion 360 does just that. You set your goals—like where the part should be strong, how much weight it needs to hold, and what material you’re using. Fusion 360 takes care of the rest by suggesting optimized shapes.
These designs often look unique—like something from nature—but they serve a clear purpose. They reduce weight while improving strength. This is a significant win for small business owners and makers who prioritize sustainability and want to learn how to use fusion 360 for 3d printing to get better, more efficient results.
Even if you’re printing from a basic FDM printer, you can use these designs to create stronger parts that stand out.
Run Basic Simulations to Test Your Design Before Printing
Before you hit “print,” it’s smart to know how your design will hold up. One important part of how to use fusion 360 for 3d printing like a pro is taking advantage of its built-in simulation tools. These features allow you to check stress, pressure, and thermal behavior before wasting time or filament.
You can quickly identify areas that are too weak or likely to bend. This is ideal for load-bearing parts or components that will be exposed to heat, such as enclosures or brackets. Just choose the type of simulation, apply a few settings, and let Fusion show you what’s going on.
With this step, you’ll avoid failed prints and wasted filament. Identify and address weak areas early to ensure your design is robust enough to function as expected. Whether you’re running a business or just printing at home with a high-performance 3D printer, this tool helps you print smarter, not harder.
Pro Tips to Work Faster and Smarter with Fusion 360
Automate Tasks with Scripts and Add‑Ins
Saving time is key when working with Fusion 360. Using ready-made scripts can help you skip repetitive tasks, such as exporting files or correcting minor errors. These handy tools let you focus more on designing and less on clicking buttons. Additionally, Fusion 360 offers numerous add-ins that enhance its capabilities, making your 3D printing process smoother and faster. If you’re wondering how to use Fusion 360 for 3D printing more efficiently, exploring these options is a smart move to boost productivity.
Customize the Interface for a More Productive Workflow
Fusion 360 allows you to set up your workspace exactly as you like it. You can move toolbars around and keep your favorite commands easily accessible. This way, you don’t waste time searching for the tools you use most. Saving your personal settings and shortcuts ensures that your workflow remains consistent every time you open a new project. Small changes like these make a big difference in staying focused and working efficiently.
Build Reusable Templates for Common Print Jobs
If you frequently print similar designs, creating templates can be a significant time-saver. Templates allow you to reuse design setups and print settings without having to start over every time. This is especially helpful for small businesses or anyone who does repeated orders. Using templates also helps keep your prints consistent and reduces errors that could cost you time and materials.
Fix Common 3D Printing Problems from Inside Fusion 360
Many printing problems arise from design mistakes. Fusion 360 provides tools to identify these issues early. Fixing loose or incomplete sketches prevents issues like warping or weak parts. Checking for gaps helps avoid holes in your prints. Designing with print challenges in mind — such as avoiding steep overhangs or sharp edges — can help reduce problems like stringing or layer shifts. Spending time on these fixes before printing saves you headaches later.
Unique Expert Topics That Make This Guide Stand Out
Try Conformal Slicing and Multi-Axis Printing for Future Projects
Fusion 360 is opening doors to advanced 3D printing techniques, such as conformal slicing and multi-axis printing. These methods enable you to print complex shapes more smoothly by allowing the printer to lay down material along curved paths and at multiple angles. This means stronger parts with fewer supports and better surface quality. If you’re ready to take your prints beyond the basics, learning how Fusion 360 handles these cutting-edge features can give you an edge in creating designs that are both innovative and practical.
Design with the Environment in Mind Using Eco-Friendly Settings
Today, 3D printing isn’t just about making things—it’s about making them responsibly. How to use Fusion 360 for 3D printing goes beyond design; it helps you create parts that use less material through smart infill patterns and optimized wall thickness. This reduces waste and cuts down print time, saving both filament and energy. You can also design with recycled or eco-friendly filaments in mind, making your projects more environmentally friendly. Keeping sustainability in focus not only helps the planet but can also improve your print efficiency and costs.
Comparing Fusion 360 to Other CAD Tools for 3D Printing
Choosing the right CAD software is crucial for achieving success with 3D printing. If you’re learning how to use Fusion 360 for 3D printing, it’s helpful to compare it with other tools. Tinkercad is simple and great for beginners, but it lacks advanced features. SolidWorks offers powerful design tools, but it is costly and complex. FreeCAD is free and capable, but it is less intuitive.
Fusion 360 strikes the perfect balance—easy for beginners, yet powerful for pros. Its cloud-based platform supports collaboration and accessibility. Additionally, free licenses for hobbyists and startups make it a top choice for designing smarter and printing better.
Final Thoughts
Mastering how to use Fusion 360 for 3D printing opens up endless possibilities, whether you’re a hobbyist or running a small business. By focusing on smart design, proper setup, and efficient file preparation, you can avoid common pitfalls and consistently produce high-quality prints. Fusion 360’s blend of user-friendly tools and advanced features helps you bring ideas to life with precision and ease. Continue practicing, explore its unique features, and watch your 3D printing skills develop. With patience and the right techniques, you’ll be printing like a pro in no time.
FAQ
Is Fusion 360 easy for beginners to use?
Yes! Fusion 360 is user-friendly and offers helpful tutorials. It’s a great choice if you’re just starting with 3D printing.
Can Fusion 360 handle professional 3D printing needs?
Definitely. It has powerful design and simulation tools used by pros for detailed, high-quality prints.
How do I export my Fusion 360 model for 3D printing?
Simply export your design as an STL or 3MF file. These work well with most slicer programs.
What settings should I use in Fusion 360 for the best prints?
Set the workspace for additive manufacturing and use Z-up orientation. Export with fine mesh quality for smooth prints.
Do I need other software besides Fusion 360?
Yes, you’ll need slicer software, such as Cura, to convert your model into printer-ready G-code.
How can I avoid common printing mistakes using Fusion 360?
Use parametric designs, check your mesh, avoid thin walls, and run simulations to spot weak areas.