 Skip to content
Yes, you can turn a regular image into a 3D model—no engineering degree needed.
Over the years, I’ve helped hobbyists, small business owners, and creative DIYers turn their ideas into physical objects using 3D printing. One of the most exciting ways to do that is by converting a photo or drawing into a 3D model. It sounds technical, but trust me—it’s doable, even if you’re just starting. Choosing the best 3d printer for small business can make this process even smoother and more efficient.
Thanks to beginner-friendly software and powerful online tools, you can now transform a flat image into a 3D design ready for printing. Whether you want to craft a custom keychain, a unique lithophane, or even a prototype for your product, this tutorial will show you the steps to convert images to 3d model—one clear step at a time.
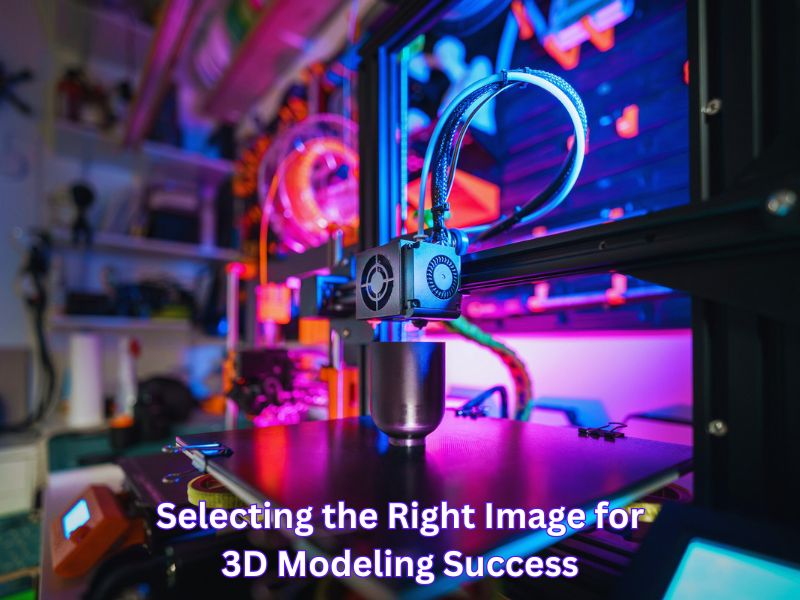
Step 1: Selecting the Right Image for 3D Modeling Success
The quality of your final 3D model depends significantly on the image you start with. Let’s explore how to choose the best one.
Importance of High-Resolution Images
A high-resolution image provides fine details that help the software generate more accurate models. The more pixels, the better the software can detect edges, curves, and texture. When converting images to 3d model, using files with at least 300 DPI ensures the 3D model will have enough detail for precision.
Ensuring Proper Lighting and Minimal Shadows
Proper lighting is essential for producing clear images. Natural light is ideal, but avoid harsh sunlight, as it can create deep shadows or overexpose certain areas. Use diffused light sources like softboxes or LED strips to create even lighting, minimizing the risk of shadows distorting important features of your object.
Choosing Simple Backgrounds to Enhance Object Recognition
A solid, neutral background is crucial for the software to focus on the subject. Cluttered or complex backgrounds can confuse image-processing algorithms, leading to inaccuracies in the 3D model. A white or light-colored background is best, ensuring the object stands out clearly.
Capturing Multiple Angles for Comprehensive Modeling
One image is never enough to create a 3D model. To capture all aspects of your object, take photos from various angles. If you’re using photogrammetry software, aim for 30–60 images taken from all around your object. This will provide the software with enough data to accurately 3D Print from a picture.
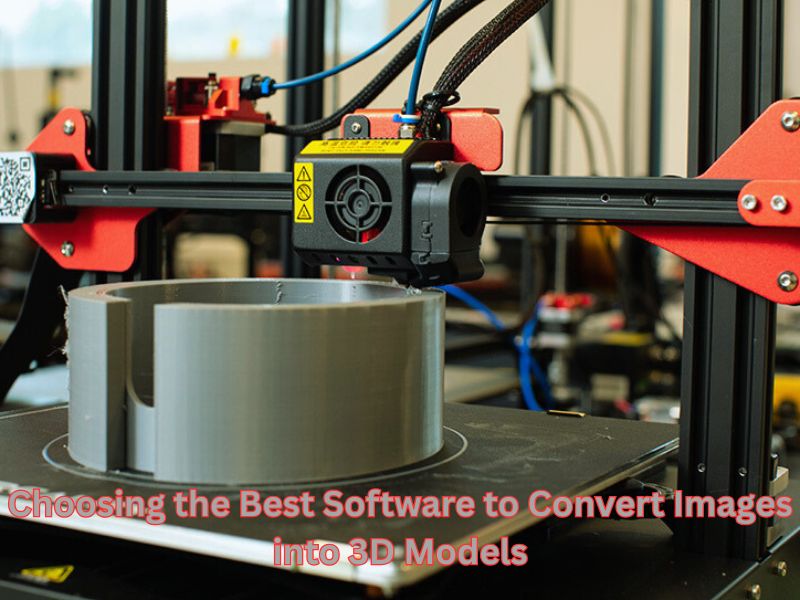
Step 2: Choosing the Best Software to Convert Images into 3D Models
Choosing the right software for converting your images is key. Numerous tools are available, each suited to different types of projects and user experience levels.
Blender: Free and Versatile Tool for Detailed Modeling
Blender is a powerhouse for 3D modeling, offering features like sculpting, animation, and rendering. Although it has a steep learning curve, it’s an excellent option for those who want to dive deep into 3D creation. It’s beneficial for converting images to a 3d model, making it perfect for users with some experience or those willing to invest time in learning.
Tinkercad: User-Friendly Platform Ideal for Beginners
Tinkercad is a beginner-friendly, web-based tool for creating simple 3D models without complicated steps. It’s perfect for creating basic models quickly, quick prototypes, simple designs, and educational projects.
Autodesk ReCap: Advanced Software for Photogrammetry
Autodesk ReCap is a professional-grade photogrammetry tool. It is one of the best options for turning large, real-world objects into digital models. It’s beneficial for industrial applications and can handle large datasets, making it a strong choice for converting images to 3d model with high accuracy.
Meshroom: Open-Source Solution for Creating 3D Models from Photos
Meshroom is a free, open-source photogrammetry tool. It processes multiple images to generate detailed 3D models, balancing ease of use and advanced features. It’s an excellent choice for hobbyists and professionals alike, particularly those working on image-to-3D model projects that require a powerful GPU for faster processing.
Comparing Features and Suitability for Different Project Needs
Each tool serves a unique purpose. Blender is ideal for detailed artistic projects, while Tinkercad is excellent for quick, simple designs. Autodesk ReCap is suitable for industrial-scale models, while Meshroom offers a free, accessible alternative with robust capabilities for those seeking an open-source option.
Decide Between Lithophane or 3D Model
Before diving into software, choose your project type.
| Type | Best For | Difficulty | Output |
| Lithophane | Photos, portraits | Easy | Light-catching engraved photo panel |
| 3D Modeling | Objects, sculptures | Moderate | Fully 3D object like a figurine |
If you’re entirely new, lithophanes are a fantastic way to start. For those ready to experiment, basic 3D modeling opens up creative doors.
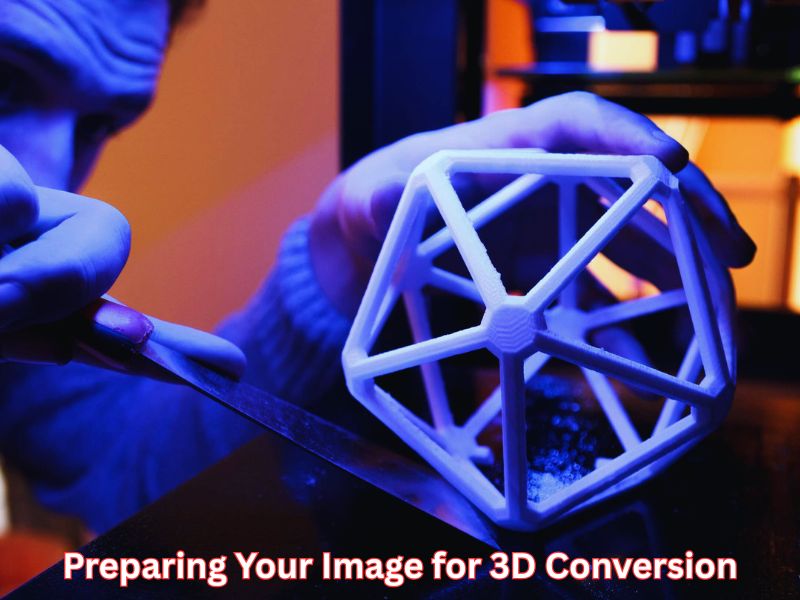
Step 3: Preparing Your Image for 3D Conversion
Once you have your image, it’s time to prepare it for 3D modeling. Proper preparation ensures better results.
Editing Techniques to Enhance Image Quality
Before uploading your photo, make sure it’s as clear as possible. Use software like Photoshop or GIMP to adjust the brightness, contrast, and sharpness of the image. This helps highlight essential features and makes detecting edges easier for your chosen software.
Adjusting Brightness and Contrast
Adjusting brightness and contrast is key to getting the most out of your image. Increasing contrast can help separate the object from the background, while adjusting brightness ensures that the photo is neither too dark nor too light, revealing fine details in both highlights and shadows. These adjustments are essential for creating accurate images to 3D model conversions.
Removing Background Noise
It’s vital to clean up any unnecessary details in the background. Tools like Photoshop’s Magic Wand or GIMP’s selection tools allow you to isolate your object and remove any distractions or noise. A clean image ensures better processing by the software, especially when converting images to 3D model using photogrammetry.
Converting Images to SVG Format for Vector-Based Modeling
For simple shapes and logos, you can convert your image into an SVG format, which is easier for software to turn into 3D models. Use software like Inkscape or Adobe Illustrator to trace your image and create a vector that can be easily extruded into a 3D shape.
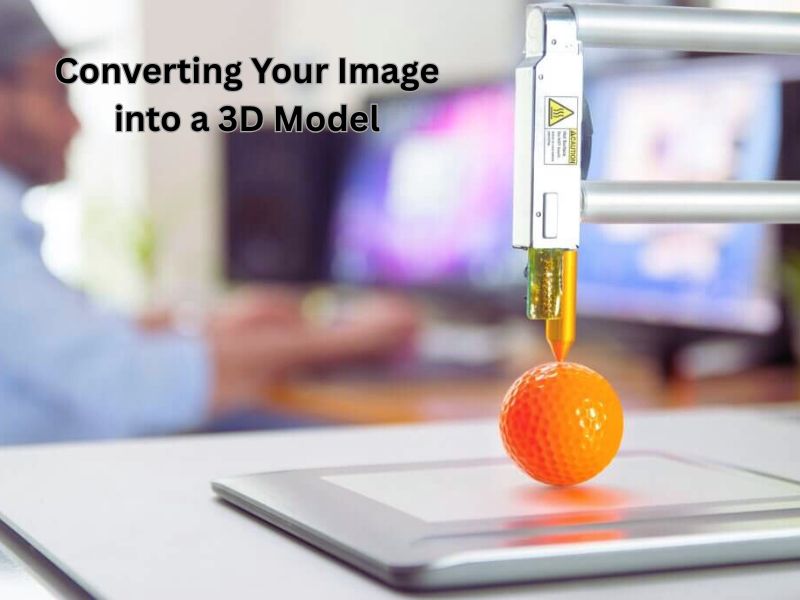
Step 4: Converting Your Image into a 3D Model
Now that your image is prepared, it’s time to convert it into a 3D model.
Importing the Prepared Image into Your Chosen Software
Each program has its own method of importing files, but in most cases, you can drag and drop your image or SVG file into the software. Once it’s in, you can adjust scale, position, and other factors to build your model.
Utilizing Displacement Mapping to Add Depth
Displacement mapping allows you to add depth to your model based on image contrast, which is especially useful when converting images to a 3d model. For example, if you’re working with a picture of a face, light areas would represent raised features like a nose, while dark areas would be indented, such as eyes ora mouth. This technique adds realism to 3D models.
Extruding 2D Shapes to Create 3D Geometry
Once you have a vector-based image or shape, the next step is extrusion. Extruding involves pulling a 2D shape into the third dimension, thereby giving it thickness. Most 3D design software has an extrusion tool, allowing you to convert flat images into solid 3D shapes.
Applying Texture Mapping and UV Unwrapping for Realism
Texture mapping is applying an image texture to your 3D model. UV unwrapping is necessary to use the texture to fit the model’s geometry correctly. This step is crucial for creating a realistic 3D object, particularly in product design and character creation. The process of images to 3d model often involves texture mapping and UV unwrapping to ensure a lifelike result.

Step 5: Refining and Enhancing Your 3D Model
Refining your 3D model ensures that it’s both functional and visually appealing.
Smoothing Surfaces and Eliminating Imperfections
Once the model is created, it’s time to refine and smooth out any rough edges and imperfections. You can use the sculpting tools available in Blender or Meshmixer to smooth surfaces and fix areas where the model might have imperfections from the image to the 3d model conversion process.
Adding Fine Details to Increase Model Accuracy
For better realism, add finer details like texture, wrinkles, or features that were missed during the initial conversion. This might involve manually sculpting or adding elements to your design to match the original object as closely as possible.
Incorporating Color and Texture for a Realistic Appearance
If your 3D printer supports full-color printing or uses the model digitally, apply colors and textures to match your object. Use image editing software to map colors, and consider adding photo-realistic textures for a high-quality result when converting images to a 3d model for optimal accuracy and realism.
Step 6: Exporting Your 3D Model for Printing or Sharing
Once your 3D model is complete, you’ll want to save it for 3D printing or sharing online.
Choosing the Appropriate File Format
- STL: The most common file format for 3D printing, suitable for most applications.
- OBJ: Ideal for models with color and texture.
- FBX: Used for animations or models meant for use in gaming engines.
Ensuring Compatibility with 3D Printers and Online Platforms
Check that your 3D model is compatible with your specific 3D printer. Most 3D printers accept STL or OBJ files, so choose the one best suited for your machine. Also, ensure the model fits within the build volume of your 3D printer. When converting images to a 3d model, double-check that the exported file format works well with your printer’s requirements.
Tips for Successful 3D Printing
- Ensure your model is “watertight”—without holes or gaps.
- Use the proper support structures if the model has overhangs.
- If the model is too large, consider scaling it down to fit your printer’s capabilities.
Unique Insights: Avoiding Common Pitfalls in Image-to-3D Conversion
Despite the power of modern tools, common issues still arise when converting images into 3D models.
Understanding the Limitations of Photogrammetry
Photogrammetry works best with objects that have transparent, non-reflective surfaces. Avoid using objects that are transparent, highly reflective, or have complex textures, as these can confuse the software.
Dealing with Complex or Reflective Surfaces
If you have a shiny or reflective object, coat it with a matte spray to reduce glare. This will help the software to pick up details more accurately and avoid distortion during processing.
Ensuring Consistent Scale and Proportions in Your Model
Always include a reference object, such as a coin or ruler, in your photos. This ensures the model’s proportions remain consistent during conversion and helps avoid scaling issues when printing.
Bonus Section: Leveraging AI Tools to Simplify 3D Modeling
AI-powered tools can drastically reduce the time and effort required for 3D modeling.
Exploring AI-Powered Solutions for Automatic 3D Model Generation
AI-based platforms like Luma AI or Meshy allow you to generate 3D models directly from images or videos. These tools use machine learning algorithms to predict depth and create models with minimal input.
Benefits of Using AI in Reducing Manual Workload
AI tools automate repetitive tasks, such as texture mapping and mesh repair, giving you more time to focus on creative aspects. They simplify complex modeling tasks and improve workflow efficiency.
Recommended AI Tools for Beginners and Professionals
- Luma AI: Converts images or short videos into accurate 3D models.
- Meshy: Automates the process of 3D modeling from simple photos.
- Kaedim: Specializes in turning 2D sketches into 3D models suitable for game development or 3D printing.
This expanded guide should now provide a comprehensive walkthrough for turning your 2D images into 3D models. With patience and practice, you can unlock the full potential of 3D modeling for your projects.
Wrapping Up
Converting images into 3D models empowers DIY enthusiasts to bring their ideas to life with precision and creativity. By capturing high-quality images, selecting appropriate software, and refining the models, you can create detailed and accurate 3D representations of real-world objects. Whether you’re aiming to 3D print a custom design, develop assets for digital environments, or enhance educational projects, mastering this process opens up a world of possibilities. With advancements in AI tools and photogrammetry software, transforming 2D images into 3D models is more accessible than ever, even for beginners.
Frequently Asked Questions
Can a 3D model be created from a single 2D image or photo?
Yes, it is possible, especially with modern AI-powered 2D to 3D converters that use depth-mapping and structure analysis algorithms. However, a model generated from a single image will typically have less accurate geometry and detail on unseen sides. For the best, most accurate, and production-ready models, it is highly recommended to use multiple images (multi-view) captured from different angles.
What are the main methods used to convert a 2D image into a 3D model?
There are three primary methods:
Extrusion/Manual Modeling (Vector Tracing): For logos, sketches, or flat line art (vector graphics like SVG), a designer can trace the 2D shapes in modeling software (like Blender or Tinkercad) and then “extrude” the shapes to add thickness and depth.
Photogrammetry: This technique uses a large number of overlapping photographs (20-100+) taken from every angle of a real-world object. Specialized software (like Agisoft Metashape or Adobe Substance 3D Sampler) analyzes the shared points across the images to reconstruct the object’s precise 3D geometry (a dense point cloud and mesh).
AI/Deep Learning Tools: AI generators enable users to upload a single image or multiple images and instantly generate a 3D model, often in seconds or minutes, by predicting the object’s depth and structure.
Do I need professional 3D modeling skills to convert an image?
Not anymore. While manual modeling (extrusion/tracing) requires some software knowledge, modern AI-powered tools and online converters are designed for beginners. You typically only need to upload the image, and the AI handles the complex model generation process with one-click simplicity.
What kind of images work best for 2D to 3D conversion?
The quality and type of the source image are critical for good results:
- High Resolution: Use high-resolution photos with clear details. Low-resolution images can result in jagged geometry or loss of surface detail.
- Clear Edges and Contrast: Strong outlines help the software or AI define the object’s shape more precisely.
- Neutral/Even Lighting: Consistent, even lighting avoids harsh shadows or overexposed areas, which can confuse depth-mapping and photogrammetry algorithms.
- Minimal Background Clutter: A clean or neutral background ensures the software focuses on the subject, reducing noise in the final 3D mesh.
Can I 3D print the model created from a picture?
Yes. Once your model is generated and refined, it can be exported as an STL file. It may require a final cleanup step in a 3D editing program (like Blender or MeshLab) to fill any holes or correct the geometry before sending it to a 3D printer slicing software.
