TLDR
The Creality K2 Plus is the best 3D printer for cosplay for most serious helmet and armor makers in this comparison. Its 350 × 350 × 350 mm build volume reduces how often large wearable parts need to be divided, while its enclosure and active chamber heating offer a path beyond basic PLA printing. Choose the Bambu Lab H2S if low-friction operation matters more than price, the Prusa XL+ if independent toolheads are central to your workflow, or the Elegoo Neptune 4 Max if maximum stated build volume is the priority.
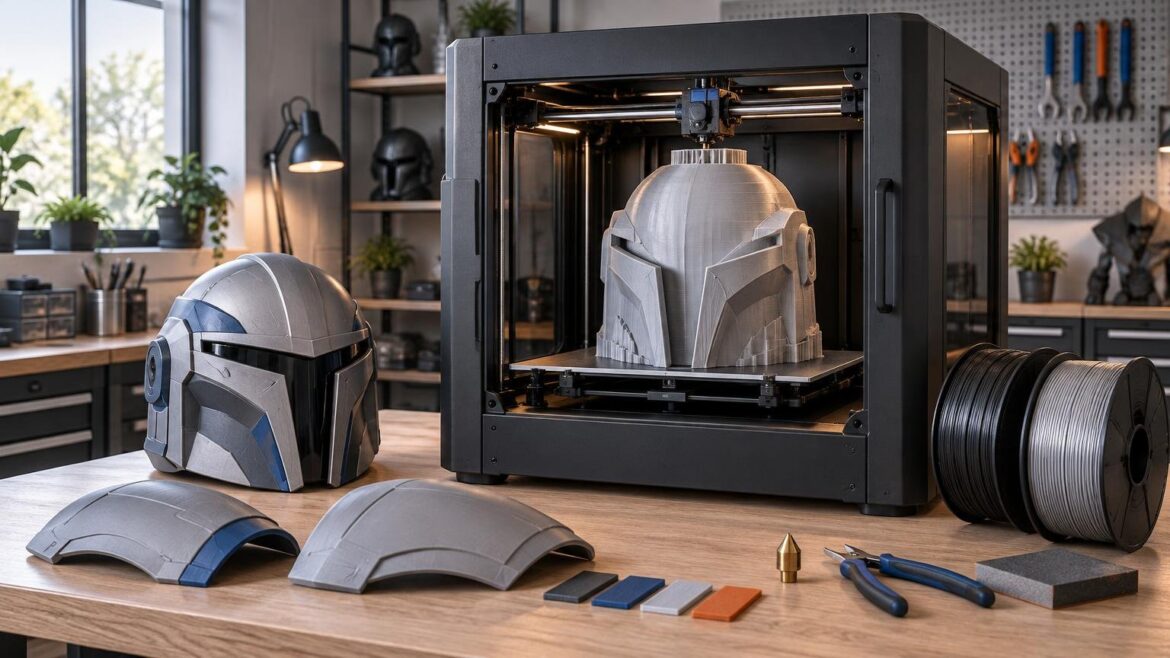
For most cosplay work, dependable large-format FDM printing matters more than multicolor features or an eye-catching maximum speed. A larger printer can produce helmets, armor panels, masks, and prop bodies with fewer seams, but it also consumes more room and makes every failed long print more expensive. A smaller 256–300 mm machine can still build a complete costume if you are willing to split, key, bond, and finish the parts.
Quick comparison of the leading cosplay printers
| Printer | Stated build volume | Enclosure or chamber | Material or color route | Best fit |
|---|---|---|---|---|
| Creality K2 Plus | 350 × 350 × 350 mm | Enclosed; active chamber heating up to 60 °C | Optional CFS, with configurations up to 16 colors | Best overall balance for large wearables |
| Bambu Lab H2S | 340 × 320 × 340 mm | Large enclosed machine | Filament-changing ecosystem | Makers prioritizing a lower-friction workflow |
| Prusa XL+ | 360 × 360 × 360 mm | Optional enclosure; optional heated-chamber configuration | One to five independent toolheads | Specialist multi-material workflows |
| Elegoo Neptune 4 Max | 420 × 420 × 480 mm | Open-frame design | Conventional single-tool FDM workflow | Maximum stated volume |
Build-volume figures describe the machine’s available printing space, not guaranteed helmet compatibility. Orientation, supports, brim clearance, wall thickness, model shape, and the wearer’s measurements all affect whether a helmet can print in one piece. Buyers comparing even larger alternatives can continue with our large-format 3D printer guide.
Best overall: Creality K2 Plus
The K2 Plus offers the most balanced specification set for large cosplay work. Creality lists a 350 mm cube, a nozzle temperature of up to 350 °C, a bed rated to 120 °C, and active chamber heating up to 60 °C. The manufacturer also offers an optional CFS multicolor system, with expandable configurations supporting up to 16 colors.
The 350 mm dimensions are the important part for costume builders. Compared with an ordinary desktop bed, that extra room can mean fewer cuts through a helmet dome, breastplate, shoulder shell, or large prop body. Fewer sections reduce alignment work and the number of bonded seams that must be reinforced and hidden. It does not eliminate splitting, especially for unusually wide helmets or long weapons.
Active chamber heating makes the K2 Plus more adaptable if your projects eventually move toward warp-prone, higher-temperature materials. That feature should not be interpreted as blanket compatibility with every engineering filament, however. Confirm the current hot-end, build-surface, ventilation, and manufacturer material guidance for the exact filament before buying it in bulk.
The CFS is useful for decorative parts that emerge in several colors, but it should not decide the purchase for most armor builders. Sanding, filler primer, seam correction, and paint often cover the printed color anyway. Treat multicolor as a workflow bonus for emblems, control panels, badges, and props that will retain their printed finish.
Best premium lower-friction option: Bambu Lab H2S
The Bambu Lab H2S is the stronger fit for a maker who wants a large enclosed machine without turning setup and routine operation into another hobby. Tom’s Hardware reports a 340 × 320 × 340 mm build volume and describes the H2S as largely plug-and-play, with strong print quality. Its review also identifies premium cost and proprietary replacement parts as drawbacks. Read the independent Bambu Lab H2S review.
Its build volume is slightly less generous than the K2 Plus or Prusa XL+ in some dimensions, but it remains large enough to reduce section counts on many wearable projects. The practical attraction is workflow: if a printer starts jobs consistently and requires less intervention, it is easier to keep a multi-part costume moving toward its deadline.
The tradeoff is ecosystem dependence. Proprietary parts can affect repair choices, supply flexibility, and long-term ownership cost. Before committing, check the current price of consumable and replacement components rather than comparing only printer bundles. Our guide to 3D printer lifespan and replaceable components explains why parts access matters when a machine will accumulate long cosplay prints.
Best specialist multi-material option: Prusa XL+
Prusa lists the XL+ with a 360 × 360 × 360 mm build volume and configurations ranging from one to five independent toolheads. It uses open-brand 1.75 mm filament and has a segmented bed rated to 120 °C. Prusa states that the optional enclosure can reach a 50 °C chamber temperature, while the enclosure and heater combination can reach 60 °C.
Independent toolheads are fundamentally different from routing several filaments through one nozzle. Each toolhead can remain loaded and parked separately, which can reduce purging and keep different nozzle configurations available within a job. That can be valuable for specialized props, support strategies, embedded labels, or repeated production work.
Do not pay for five toolheads merely because a costume has five paint colors. Most finished armor will still need surface work, and paint offers more control over weathering, shading, metallic effects, and color matching. The XL+ makes the most sense when its tool-changing workflow solves a recurring production problem, not when it is being used as an expensive substitute for painting.
Best for maximum stated volume: Elegoo Neptune 4 Max
Elegoo lists the Neptune 4 Max with a 420 × 420 × 480 mm build volume, the largest stated capacity among these four machines. That space can accommodate wider armor panels, tall prop sections, and some helmets that would need division on smaller printers.
Volume alone is not enough to make it the automatic winner. The Neptune 4 Max is an open-frame machine, and a bed this large also creates substantial workspace requirements. Buyers should account for the full motion envelope, cable clearance, spool placement, controls, and access for removing prints—not just the machine’s listed outer dimensions.
Treat it as the capacity-first option rather than an unqualified beginner recommendation. The supplied evidence establishes the build volume but does not support broader conclusions about current firmware, long-term reliability, or troubleshooting demands. Verify those points, along with current support and replacement-part availability, before purchase.
How to choose the best 3D printer for cosplay
Start with the largest part you actually intend to print
Measure the wearer and inspect several representative files before choosing a printer. A helmet’s external width is not its only requirement: the sliced orientation may need extra room for supports, a brim, or a tilted placement. Large shoulder armor may be shallow but wide, while a sword or staff is usually better divided into mechanically reinforced sections regardless of printer height.
A 256 mm or 300 mm printer can make complete armor. The difference is labor allocation. Smaller machines exchange lower cost and a manageable footprint for more keyed joints, adhesive work, reinforcement, alignment, and seam finishing. A 350 mm-class machine is worth the extra room when large wearables are a recurring workload and reducing assembly time matters.
Choose FDM for armor and resin for small detail
FDM is usually the practical starting process for helmets, armor shells, masks, and large props. It offers larger build areas and produces parts that can be cut, bonded, reinforced, sanded, and painted using familiar fabrication methods. Resin is better reserved for small pieces where fine surface detail matters, such as jewelry, buckles, miniature emblems, teeth, or decorative inserts.
A resin printer also brings washing, curing, liquid-resin handling, and a separate controlled workspace into the decision. Anyone considering a second machine for detail parts should evaluate the entire beginner resin printing setup, not just the printer.
Match the enclosure to the material plan
PLA is a straightforward choice for display props and many painted costume pieces, while PETG is commonly considered when additional toughness or temperature tolerance is useful. Flexible filament can serve gaskets, straps, or soft components, although it introduces its own feeding and slicing requirements.
An enclosure becomes more relevant when drafts and temperature swings contribute to warping, particularly with higher-temperature materials. Active chamber heating goes further by controlling the environment rather than merely surrounding the print. Neither feature means every filament is automatically suitable, and an enclosure should not be confused with a complete indoor-air control system.
Treat nozzle size as a time-versus-detail decision
A standard 0.4 mm nozzle remains versatile for masks, mechanical fittings, decorative props, and mixed workloads. A 0.6 mm nozzle can reduce the number of toolpaths needed for broad helmet and armor walls, improving throughput at the cost of some fine-detail capability. Large costume shells often benefit from the larger nozzle because they will be sanded and primed anyway.
Compare printers using a representative sliced helmet or armor panel rather than manufacturer speed limits. Keep layer height, wall thickness, infill, material, and nozzle size consistent. A useful evaluation should track print time, material use, failures, dimensional fit, and required cleanup; our real-project FDM benchmarking method provides a repeatable framework.
Budget for finishing, not just printing
A successful print is an unfinished fabrication component. Visible layer lines, support marks, and seams normally remain after it leaves the bed. The complete workflow can include trimming, test fitting, bonding, internal reinforcement, gap filling, sanding, filler primer, paint, clear coat, padding, straps, magnets, hinges, or electronics.
Larger one-piece prints reduce seams but can make failures more costly. Sectioned parts are easier to reprint individually and can sometimes be oriented for better surface quality or strength. Use alignment keys and place seams along existing panel lines where possible. The best division strategy is the one that makes assembly and finishing predictable, not simply the one that produces the fewest files.
Plan the workspace and ventilation
A large printer needs more than an empty patch of desk. Allow room for moving beds where applicable, opening doors or lids, loading filament, servicing the toolhead, and operating an external spool system. A stable surface matters during tall prints, and the machine should remain accessible when a job fails deep into a multi-day project.
Ventilation deserves a separate plan. NIOSH reports that local exhaust ventilation can substantially reduce ultrafine-particle emissions from 3D printing and describes filtration and ventilation as parts of a broader control approach. Its 3D printing emissions and controls guidance is a useful starting point. A consumer enclosure or built-in filter alone should not be treated as proof that a workspace has adequate air-quality controls.
Common cosplay printer questions
What build volume is large enough for a helmet?
There is no universal helmet dimension. Around 300 mm in the critical axes is a useful starting point, while a 340–360 mm-class machine gives more orientation freedom and reduces the likelihood of splitting. Always check the actual sliced file with supports and brim before assuming it fits.
Should a beginner buy a large-format printer?
Only if the planned projects regularly need the space and the buyer can accommodate the footprint. Printing armor in sections on a smaller, well-supported machine can be easier than learning on a very large printer. Large beds amplify the importance of first-layer consistency and make failed jobs consume more material.
Does multicolor printing matter for cosplay?
Sometimes, but less than marketing suggests. It is helpful for badges, accent parts, signs, and props intended to retain their printed colors. For helmets and armor that will be filled, primed, weathered, and painted, build volume and reliability deserve priority.
The final buying checklist
- Measure the available workspace, including doors, lids, bed movement, filament equipment, and service access.
- Slice the largest helmet, armor panel, and prop you realistically expect to make.
- Decide whether fewer seams justify the cost and footprint of a 350 mm-class printer.
- Identify the filaments you intend to use and verify current manufacturer guidance for each machine.
- Choose between a general-purpose 0.4 mm nozzle and a faster large-shell workflow built around a 0.6 mm nozzle.
- Plan ventilation, filtration, and printer placement as a system rather than relying on an enclosure alone.
- Check current pricing, bundles, included accessories, support terms, firmware status, consumables, and replacement-part availability.
Which cosplay printer should you buy?
Choose the Creality K2 Plus if you want the strongest overall balance of large build volume, enclosure capability, active chamber heating, and optional multicolor expansion. Choose the Bambu Lab H2S when a streamlined ownership experience is worth a premium and you accept a more proprietary parts ecosystem. The Prusa XL+ is the specialist choice for independent toolheads, while the Neptune 4 Max is the volume-first option for buyers prepared to evaluate its open-frame workflow carefully.
Before ordering, slice a real project and decide how much seam work you are willing to accept. That exercise will reveal whether you need a giant machine, a dependable 350 mm-class printer, or a smaller model paired with a disciplined assembly and finishing process.
References
- K2 Combo | K2 Series 3D Printer – Creality
- Bambu Lab H2S Review: The One We Wanted | Tom's Hardware
- Prusa XL+ Single-Tool | Original Prusa 3D printers directly from Josef Prusa
- ELEGOO Neptune 4 Max FDM 3D Printer – ELEGOO US
- Characterizing 3D Printing Emissions and Controls in an Office Environment | NIOSH Science Bulletin | CDC